How to Install Webmin on REDHAT 8.5
- 00:06 cat /etc/os-release
- 00:27 dnf install -y wget perl perl-Net-SSLeay openssl unzip perl-Encode-Detect perl-Data-Dumper
- 01:03 wget https://download.webmin.com/jcameron-key.asc
- 01:14 rpm --import jcameron-key.asc
- 01:31 wget https://prdownloads.sourceforge.net/webadmin/webmin-1.970-1.noarch.rpm
- 02:04 rpm -Uvh webmin-1.970-1.noarch.rpm
- 02:28 firewall-cmd --add-port=10000/tcp --zone=public --permanent
- 02:49 firewall-cmd --reload
To Install Webmin on REDHAT 8.5
Introduction
Webmin is a powerful and flexible web-based server management control panel for Unix-like systems that allows the user to configure operating system internals, including users, disk quotas, services, or configuration files, also modify and control open-source apps, such as the Apache HTTP Server, PHP or MySQL
Step 1: Check the Installed version of OS by using the below command
[root@linuxhelp ~]# cat /etc/os-release
NAME="Red Hat Enterprise Linux"
VERSION="8.5 (Ootpa)"
ID="rhel"
ID_LIKE="fedora"
VERSION_ID="8.5"
PLATFORM_ID="platform:el8"
PRETTY_NAME="Red Hat Enterprise Linux 8.5 (Ootpa)"
ANSI_COLOR="0;31"
CPE_NAME="cpe:/o:redhat:enterprise_linux:8::baseos"
HOME_URL="https://www.redhat.com/"
DOCUMENTATION_URL="https://access.redhat.com/documentation/red_hat_enterprise_linux/8/"
BUG_REPORT_URL=https://bugzilla.redhat.com/
Step 2: Install Prerequisites for Webmin by using the below command
[root@localhost ~]# dnf install -y wget perl perl-Net-SSLeay openssl unzip perl-Encode-Detect perl-Data-Dumper

Updating Subscription Management repositories.
Unable to read consumer identity

This system is not registered with an entitlement server. You can use subscription-manager to register.

AppStream                                                                                                   3.1 MB/s | 3.2 kB     00:00
BaseOS                                                                                                      2.7 MB/s | 2.8 kB     00:00
Extra Packages for Enterprise Linux 8 - x86_64                                                              9.2 kB/s | 7.1 kB     00:00
Safe Remi's RPM repository for Enterprise Linux 8 - x86_64
Package unzip-6.0-45.el8.x86_64 is already installed.
Package perl-Data-Dumper-2.167-399.el8.x86_64 is already installed.
Dependencies resolved.
============================================================================================================================================
 Package                                    Architecture         Version                                              Repository       Size
============================================================================================================================================
Installing:
 perl                                       x86_64               4:5.26.3-420.el8                                     1                73 k


Verifying        : perl-Compress-Raw-Zlib-2.081-1.el8.x86_64                                                                      110/114
  Verifying        : perl-IO-Compress-2.081-1.el8.noarch                                                                            111/114
  Verifying        : perl-IO-Zlib-1:1.10-420.el8.noarch                                                                             112/114
  Verifying        : perl-Text-Diff-1.45-2.el8.noarch                                                                               113/114
  Verifying        : python3-pyparsing-2.1.10-7.el8.noarch                                                                          114/114
Installed products updated.
qt5-srpm-macros-5.15.2-1.el8.noarch                                         redhat-rpm-config-125-1.el8.noarch
  rust-srpm-macros-5-2.el8.noarch                                             systemtap-sdt-devel-4.5-3.el8.x86_64

Complete!
Step 3: Download Webmin’s GPG key for encryption and signing messages using wget command
[root@linuxhelp ~]# wget https://download.webmin.com/jcameron-key.asc
--2022-06-21 22:35:06--  https://download.webmin.com/jcameron-key.asc
Resolving download.webmin.com (download.webmin.com)... 104.207.151.13, 45.76.69.64
Connecting to download.webmin.com


jcameron-key.asc                   100%[================================================================>]   1.29K  --.-KB/s    in 0s

2022-06-21 22:35:07 (47.5 MB/s) - ‘jcameron-key.asc’ saved [1320/1320]
Step 4: Once downloaded, import it using the rpm command by using the below command
[root@linuxhelp ~]# rpm --import jcameron-key.asc
Step 5 Download Webmin from the official Webmin download page using the wget command
[root@linuxhelp ~]# wget https://prdownloads.sourceforge.net/webadmin/webmin-1.970-1.noarch.rpm

Connecting to prdownloads.sourceforge.net (prdownloads.sourceforge.net)|204.68.111.105|:443... connected.
HTTP request sent, awaiting response... 301 Moved Permanently
Location: https://downloads.sourceforge.net/project/webadmin/webmin/1.970/webmin-1.970-1.noarch.rpm [following]
--2022-06-21 22:38:36--  https://downloads.sourceforge.net/project/webadmin/webmin/1.970/webmin-1.970-1.noarch.rpm
webmin-1.970-1.noarch.rpm          100%[================================================================>]  38.89M  94.8KB/s    in 8m 0s
Step 6: When the download is complete, install Webmin by using the below command
[root@linuxhelp ~]#  rpm -Uvh webmin-1.970-1.noarch.rpm
Verifying...                          ################################# [100%]
Preparing...                          ################################# [100%]
Operating system is Redhat Enterprise Linux
Updating / installing...
   1:webmin-1.970-1                   ################################# [100%]
Webmin install complete. You can now login to https://linuxhelp:10000/
as root with your root password.
Step 7: Add firewall by default 10000 is a port number for webmin by using the below command
[root@linuxhelp ~]# firewall-cmd --add-port=10000/tcp --zone=public --permanent
Success
Step 8: Reload firewall by using the below command
[root@linuxhelp ~]# firewall-cmd --reload
success
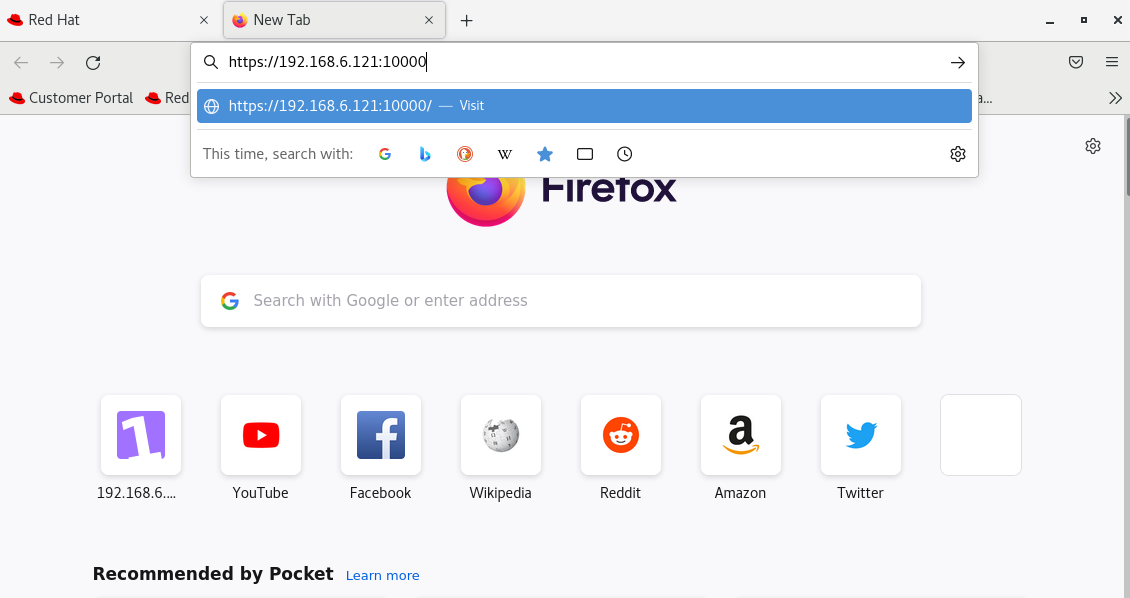
Step 9: To Access Webmin, Search your system IP with webmin default port on browser as shown in the below image
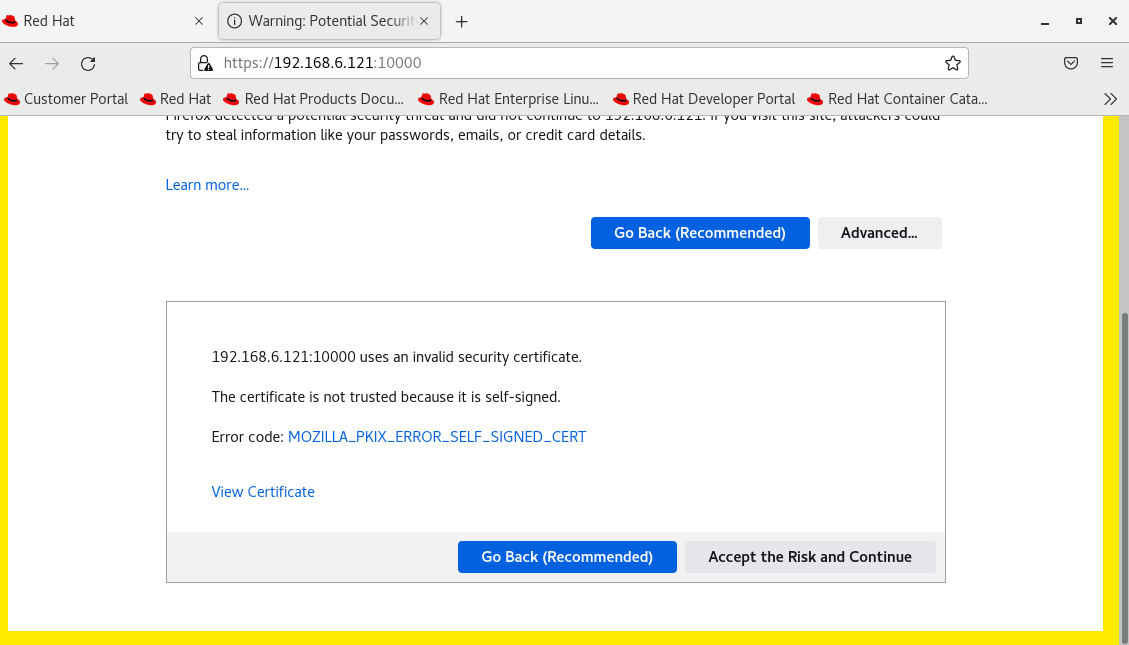
Step 10: At first, you will get an alert as shown in the below image

Step 11: click on the ‘Advanced’ tab. And Accept the risk and Continue as shown in the below image
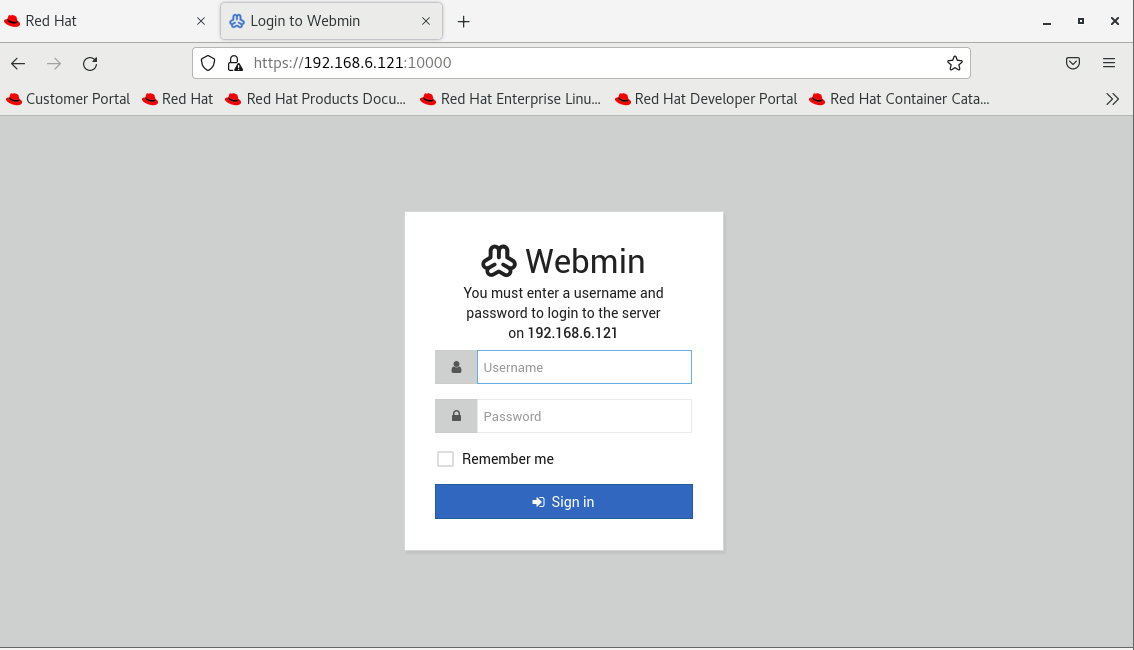
Step 12: Login Webmin using the root credentials as shown in the below image
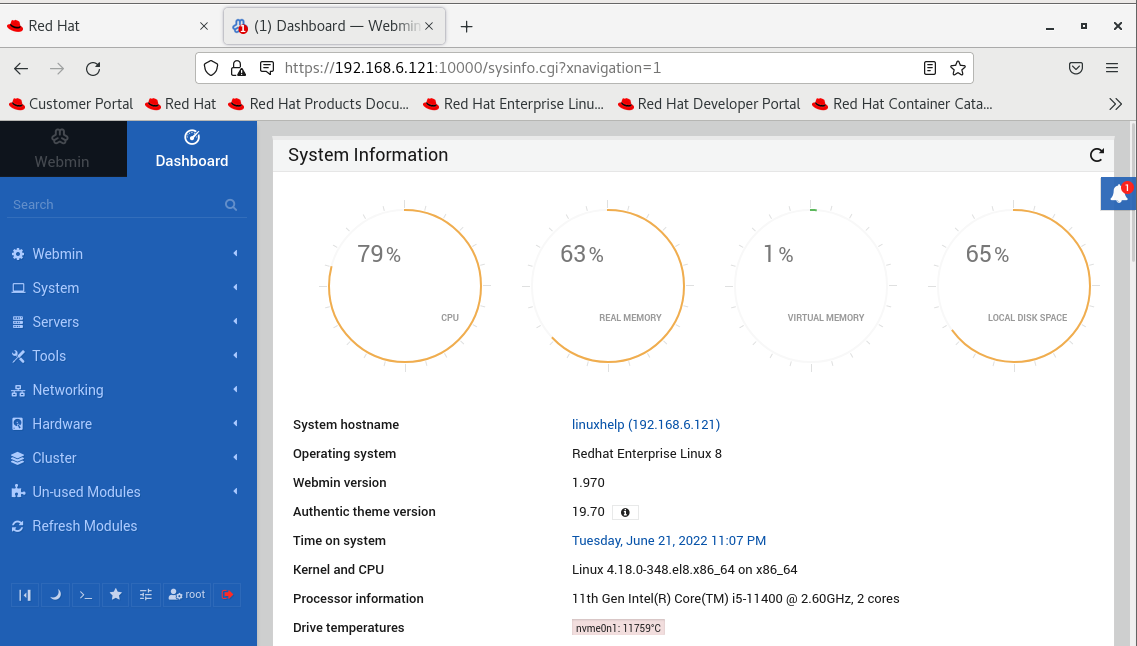
Step 13: This is the Dashboard page of Webmin
Conclusion:
We have reached the end of this article. In this guide, we have walked you through the steps required to Install Webmin on REDHAT 8.5. Your feedback is much welcome.


Comments ( 0 )
No comments available