How to install SHOUTCast Radio Server in Linux
Installation of SHOUTCast Radio Server on Linux
SHOUTcast is a proprietary software used to stream media over Internet, especially used in music live streaming by the radio stations in Internet, and is developed by Nullsoft with versions for all major platforms, including Linux. In this article we will guide you on the installation of The SHOUTcast Distributed Network Audio Server in Fedora 23, with the help of which you can use media players such as Winamp or Mixxx to connect to the streaming server and also broadcast audio playlists to web listeners.
Requirements
Fedora 23 server
For Installation of Fedora23: https://www.linuxhelp.com/install-fedora-server-cockpit-management/
Installation of SHOUTcast Server
First create a local user from which you will run the server, since running the DNAS server from root account can bring serious security issues to your machine.
To do so, login your system with root account and create a new user known as radio, after that logout from your account and login with newly created user.
[root@linuxhelp ~]# adduser radio
[root@linuxhelp ~]# passwd radio
Changing password for user radio.
New password:
BAD PASSWORD: The password is shorter than 8 characters
Retype new password:
passwd: all authentication tokens updated successfully.
[root@linuxhelp ~]# exit
exit
[user1@linuxhelp ~]$ su radio
Password:
[radio@linuxhelp user1]$ cd
[radio@linuxhelp ~]$ pwd
/home/radio
After logging in your system with radio account, you need to create two directories named download and server. Now switch over to download folder.
[radio@linuxhelp ~]$ mkdir download
[radio@linuxhelp ~]$ mkdir server
[radio@linuxhelp ~]$ ls
download server
[radio@linuxhelp ~]$ cd download/
Next you need to download the latest version of SHOUTcast server archive for Linux by visiting the following official link:
http://download.nullsoft.com/shoutcast/tools
Alternatively you can also download the tar package using wget command.
----------- For 32-bit -----------
$ wget http://download.nullsoft.com/shoutcast/tools/sc_serv2_linux_09_09_2014.tar.gz
----------- For 64-bit -----------
[radio@linuxhelp download]$ wget http://download.nullsoft.com/shoutcast/tools/sc_serv2_linux_x64-latest.tar.gz
--2016-05-02 17:45:40-- http://download.nullsoft.com/shoutcast/tools/sc_serv2_linux_x64-latest.tar.gz
Resolving download.nullsoft.com (download.nullsoft.com)... 5.39.58.66
Connecting to download.nullsoft.com (download.nullsoft.com)|5.39.58.66|:80... connected.
HTTP request sent, awaiting response... 200 OK
Length: 3497199 (3.3M) [application/x-gzip]
Saving to: ‘ sc_serv2_linux_x64-latest.tar.gz’

sc_serv2_linux_x64- 100%[=====================> ] 3.33M 47.2KB/s in 75s

2016-05-02 17:46:55 (45.7 KB/s) - ‘ sc_serv2_linux_x64-latest.tar.gz’  saved [3497199/3497199]
Now extract the downloaded archive file. Then list the directory to locate sc_serv executable binary file and finally copy it to installation directory, which is located in server folder.
[radio@linuxhelp download]$ tar xfz sc_serv2_linux_x64-latest.tar.gz
[radio@linuxhelp download]$ ls
cacert.pem Readme_DNAS_Server.html
control sc_serv
DNAS_Server_Changelog.html sc_serv2_linux_x64-latest.tar.gz
docs setup
examples setup.sh
logs tos.txt
[radio@linuxhelp download]$ cp sc_serv /home/radio/server/
[radio@linuxhelp download]$ cd /home/radio/server/
[radio@linuxhelp server]$ ls
sc_serv
Create two directories named control and logs, this completes the actual installation process.
[radio@linuxhelp server]$ mkdir control
[radio@linuxhelp server]$ mkdir logs
[radio@linuxhelp server]$ ls
control logs sc_serv
Creating SHOUTcast Configuration File
Create a configuration file for SHOUTcast to run and operate the server. Open your text editor and then create a new file, called sc_serv.conf.
You need to be sure that this file is created in the same path as your sc_serv executable binary files are located.
[radio@linuxhelp server]$ nano sc_serv.conf
Now you need to add the following lines to sc_serv.conf file
adminpassword=password
password=password1
requirestreamconfigs=1
streamadminpassword_1=password2
streamid_1=1
streampassword_1=password3
streampath_1=http://192.168.5.96:8000
logfile=logs/sc_serv.log
w3clog=logs/sc_w3c.log
banfile=control/sc_serv.ban
ripfile=control/sc_serv.rip
Password statements that you need to change accordingly are as follows,
adminpassword &ndash Admin password required to perform remote administration via the web interface to the server.
streampassword_1 &ndash Password required by remote media player to connect and stream media content to server.
Alternatively, you can go to download directory and run builder.sh or setup.sh scripts, which will help you configure the server from a web interface, which can be accessed from the below address.
http://localhost:8000
OR
http://ipaddress:8000
Once you complete the configuration, you can copy it to the server installation directory.
To start up the server run the sc_serv file from your current directory that must be the server directory and put it on background with & ( bash operator ) and then navigate to http://localhost:8000. You should also use netstat command to check if the server is running and also to know the port numbers it listens.
[radio@linuxhelp server]$ chmod +x sc_serv
[radio@linuxhelp server]$ ./sc_serv &
[1] 3117
2016-05-02 17:53:00 INFO *********************************************************************
2016-05-02 17:53:00 INFO ** SHOUTcast Distributed Network Audio Server (DNAS) **
2016-05-02 17:53:00 INFO ** Copyright (C) 2014-2015 Radionomy SA, All Rights Reserved **
2016-05-02 17:53:00 INFO *********************************************************************
2016-05-02 17:53:00 INFO [MAIN] SHOUTcast DNAS/posix(linux x64) v2.4.7.256 (Apr 1 2015)
2016-05-02 17:53:00 INFO [MAIN] PID: 3117
2016-05-02 17:53:00 INFO [MAIN] Saving log output to `/home/radio/server/logs/sc_serv.log'
2016-05-02 17:53:00 INFO [MAIN] Automatic log rotation interval: 1 day
2016-05-02 17:53:00 INFO [MAIN] Loaded config from `/home/radio/server/sc_serv.conf'
2016-05-02 17:53:00 INFO [MAIN] Calculated CPU count is 1 ->  using the available CPU
2016-05-02 17:53:00 INFO [MAIN] Limited to 1024 file descriptors [relates to ulimit -n]
2016-05-02 17:53:00 INFO [MAIN] Starting 1 network thread
2016-05-02 17:53:01 INFO [MICROSERVER] Listening for source and client connections on port 8000
2016-05-02 17:53:01 INFO [MICROSERVER] Listening for legacy source connections on port 8001
Opening Firewall Connections
The SHOUTcast server will run now, but cannot be accessed due to Fedora Firewall restrictions. In order to open the server to external connections login with root account and then append the rule, which will open port 8000 TCP.
Next reload the Firewall in order to apply changes and also logout from your root account.
[radio@linuxhelp server]$ su
Password:
[root@linuxhelp server]# firewall-cmd --add-port=8000/tcp --permanent
success
[root@linuxhelp server]# firewall-cmd --reload
success
[root@linuxhelp server]# exit
exit
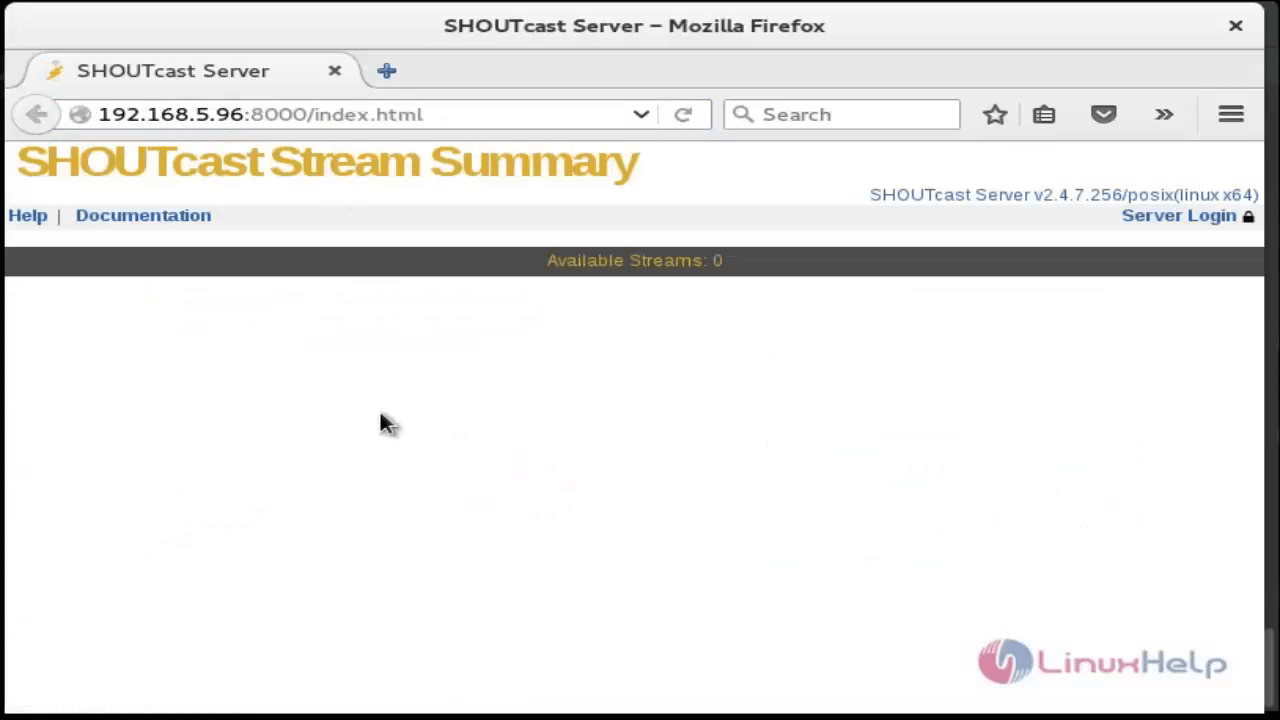
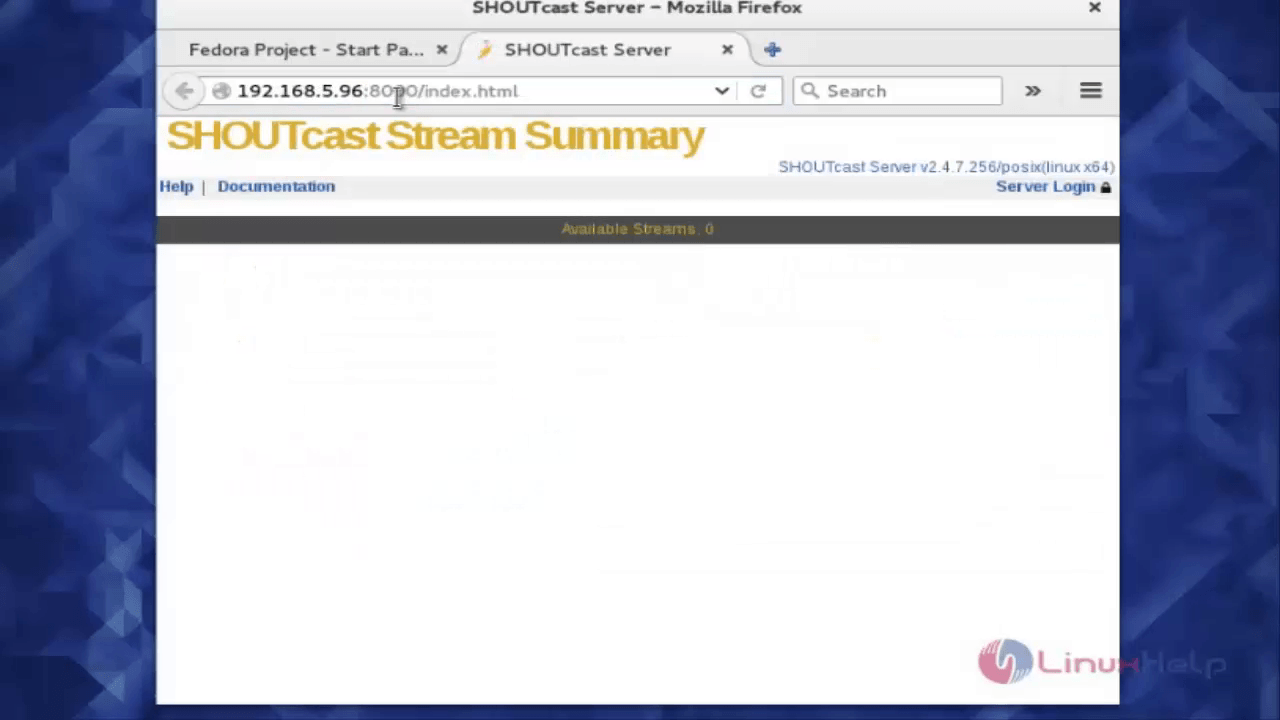
You need to open a browser from a remote machine and then type the server IP Address with port 8000 &ndash http://192.168.1.80:8000, Now the SHOUTcast web interface will appear with no live streams available.
Managing SHOUTcast Server and Creating Daemon script
The command that is used to handle SHOUTcast radio server is the binary file itself. It runs from its installation path location to read configuration file. Use daemon command option to run the server as a daemon.
You can tell the server to read its configurations from a different location by indicating where the configuration file resides.
[radio@linuxhelp server]$ pwd
/home/radio/server
[radio@linuxhelp server]$ ./sc_serv
2016-05-02 17:57:32 INFO *********************************************************************
2016-05-02 17:57:32 INFO ** SHOUTcast Distributed Network Audio Server (DNAS) **
2016-05-02 17:57:32 INFO ** Copyright (C) 2014-2015 Radionomy SA, All Rights Reserved **
2016-05-02 17:57:32 INFO *********************************************************************
2016-05-02 17:57:32 INFO [MAIN] SHOUTcast DNAS/posix(linux x64) v2.4.7.256 (Apr 1 2015)
2016-05-02 17:57:32 INFO [MAIN] PID: 4354
2016-05-02 17:57:32 INFO [MAIN] Saving log output to `/home/radio/server/logs/sc_serv.log'
2016-05-02 17:57:32 INFO [MAIN] Automatic log rotation interval: 1 day
2016-05-02 17:57:32 INFO [MAIN] Loaded config from `/home/radio/server/sc_serv.conf'
2016-05-02 17:57:32 INFO [MAIN] Calculated CPU count is 1 ->  using the available CPU
2016-05-02 17:57:32 INFO [MAIN] Limited to 1024 file descriptors [relates to ulimit -n]
2016-05-02 17:57:32 INFO [MAIN] Starting 1 network thread
2016-05-02 17:57:33 INFO [MAIN] Terminating listeners...
2016-05-02 17:57:35 INFO [MAIN] Shutdown after 3 seconds running
[radio@linuxhelp server]$ ps aux | grep sc_serv
radio 3117 1.1 0.8 220748 9044 pts/0 Sl 17:53 0:03 ./sc_serv
radio 4366 0.0 0.2 117000 2208 pts/0 S+ 17:58 0:00 grep --color=auto sc_serv
We will stop the process temporarily to make configuration in sc_serv.
[radio@linuxhelp server]$ killall sc_serv
2016-05-02 17:58:55 INFO [MAIN] Exiting threads...
2016-05-02 17:58:55 INFO [MAIN] Terminating listeners...
2016-05-02 17:58:55 INFO [MAIN] Shutdown after 5 minutes 55 seconds running

[1]+ Done ./sc_serv
A simple command to start or stop SHOUTcast radio server, is to login as root user and create the below executable script on /usr/local/bin/ path.
[radio@linuxhelp server]$ su
Password:
[root@linuxhelp server]# nano /usr/local/bin/radio
Now add the following excerpt to radio file.
#!/bin/bash
case $1 in
start)
cd /home/radio/server/
./sc_serv &

stop)
killall sc_serv

start_daemon)
cd /home/radio/server/
./sc_serv daemon

*)
echo " Usage radio start|stop"

esac
Make the created file as executable.
[root@linuxhelp server]# chmod +x /usr/local/bin/radio
[root@linuxhelp server]# exit
exit
Use the radio command with the below switches to manage the server:
$ radio start_daemon ## Starts SHOUTcast server as a daemon
$ radio start ## Starts SHOUTcast server in foreground
$ radio stop ## Stops SHOUTcast server
[radio@linuxhelp server]$ radio start_daemon
sc_serv2 going daemon with PID [2707]
[radio@linuxhelp server]$ radio start
2016-05-02 18:30:00 INFO *********************************************************************
2016-05-02 18:30:00 INFO ** SHOUTcast Distributed Network Audio Server (DNAS) **
2016-05-02 18:30:00 INFO ** Copyright (C) 2014-2015 Radionomy SA, All Rights Reserved **
2016-05-02 18:30:00 INFO *********************************************************************
2016-05-02 18:30:00 INFO [MAIN] SHOUTcast DNAS/posix(linux x64) v2.4.7.256 (Apr 1 2015)
2016-05-02 18:30:00 INFO [MAIN] PID: 2719
2016-05-02 18:30:00 INFO [MAIN] Saving log output to `/home/radio/server/logs/sc_serv.log'
2016-05-02 18:30:00 INFO [MAIN] Automatic log rotation interval: 1 day
2016-05-02 18:30:00 INFO [MAIN] Loaded config from `/home/radio/server/sc_serv.conf'
2016-05-02 18:30:00 INFO [MAIN] Calculated CPU count is 1 ->  using the available CPU
2016-05-02 18:30:00 INFO [MAIN] Limited to 1024 file descriptors [relates to ulimit -n]
2016-05-02 18:30:00 INFO [MAIN] Starting 1 network thread
2016-05-02 18:30:00 INFO [MAIN] Terminating listeners...
2016-05-02 18:30:00 INFO [MAIN] Shutdown
[radio@linuxhelp server]$
[radio@linuxhelp server]$ radio stop
If you would like to start the server after rebooting, run the following command from radio account home path and logout. Now login again to check the functionality.
[radio@linuxhelp server]$ whoami
radio
[radio@linuxhelp server]$ echo “ radio start_daemon”  > >  ~/.bashrc
[radio@linuxhelp server]$

Comments ( 0 )
No comments available