How to install RainLoop Webmail
To install RainLoop Webmail
Rainloop is a web mail application for web based email accounts like Gmail, Yahoo Mail and Hotmail. It is a free open source application written in php for modern and fast web based Email client.
Characteristic Features
Social : Integration with Facebook, Google and Twitter enables users to log-in with their social network credentials.
Simplicity : Provides easy way to installing and upgrading RainLoop application without any technical skills. The built-in upgrade tool allows users to easily obtain new version and plugins from a single click via admin interface.
Security : Built-in protection module clears hazardous HTML entities for preventing several attacks. In addition, token-based security engine is used for protection from CSRF attacks.
Modern : Modern user interface, with drag’ n’ drop of files, progress bar for file uploading, browser notifications, embed images into messages, keyboard shortcuts, multi-language mails, etc.
Technological : Supports all latest mail server protocols, such as SMTP and IMAP. Multi-level caching engine allows for increasing performance of application and reducing load on mail and server.
Customizable : Highly customization options to customize interface layout using visual themes and support for multi-language interface, with new languages easily added.
Extensibility : Plugin system provides several features like changing password, global address, compose screen, keeping user settings in database, etc are easily integrated into application.
Performance : The application well designed with efficient memory use in mind, so it can work smoothly even on low-end servers. But still in most cases, the performance and speed of application directly depends on performance of server and bandwidth available.
Prerequisite
- PHP version 5.3 or higher
- PHP Extensions
- GNU/Linux operating system
- Apache web server
To Install RainLoop Webmail in Linux
To Install (LAMP) Apache, PHP and MySQL
For Debian based systems
# apt-get install apache2
# apt-get install mysql-server mysql-client
# apt-get install php5 libapache2-mod-auth-mysql libmysqlclient15-dev php5-mysql curl libcurl3 libcurl3-dev php5-curl php5-json
# service apache2 start
# service mysql start
For Red Hat system
[root@linuxhelp ~]# yum install httpd mariadb mariadb-server php php-mysql php-xml pcre php-common curl -y
Loaded plugins: fastestmirror, langpacks
Resolving Dependencies
-->  Running transaction check
--->  Package curl.x86_64 0:7.29.0-19.el7 will be updated
--->  Package curl.x86_64 0:7.29.0-25.el7.centos will be an update
.
.
.
Updated:
  curl.x86_64 0:7.29.0-25.el7.centos                        pcre.x86_64 0:8.32-15.el7

Dependency Updated:
  libcurl.x86_64 0:7.29.0-25.el7.centos                   mariadb-libs.x86_64 1:5.5.47-1.el7_2

Complete!
Now restart and enable the Apache and MariaDB services.
[root@linuxhelp ~]# systemctl restart mariadb
[root@linuxhelp ~]# systemctl enable httpd
ln -s ' /usr/lib/systemd/system/httpd.service'  ' /etc/systemd/system/multi-user.target.wants/httpd.service'
[root@linuxhelp ~]# systemctl enable mariadb
ln -s ' /usr/lib/systemd/system/mariadb.service'  ' /etc/systemd/system/multi-user.target.wants/mariadb.service'
[root@linuxhelp ~]# systemctl status httpd
httpd.service - The Apache HTTP Server
   Loaded: loaded (/usr/lib/systemd/system/httpd.service  enabled)
   Active: active (running) since Mon 2016-05-09 03:25:27 IST  44s ago
     Docs: man:httpd(8)
           man:apachectl(8)
 Main PID: 43843 (httpd)
   Status: " Total requests: 0  Current requests/sec: 0  Current traffic:   0 B/sec"
   CGroup: /system.slice/httpd.service
           ??43843 /usr/sbin/httpd -DFOREGROUND
           ??43854 /usr/sbin/httpd -DFOREGROUND
           ??43855 /usr/sbin/httpd -DFOREGROUND
           ??43856 /usr/sbin/httpd -DFOREGROUND
           ??43857 /usr/sbin/httpd -DFOREGROUND
           ??43860 /usr/sbin/httpd -DFOREGROUND

May 09 03:25:27 linuxhelp httpd[43843]: AH00557: httpd: apr_sockaddr_info_ge...p
May 09 03:25:27 linuxhelp httpd[43843]: AH00558: httpd: Could not reliably d...e
May 09 03:25:27 linuxhelp systemd[1]: Started The Apache HTTP Server.
Hint: Some lines were ellipsized, use -l to show in full.
[root@linuxhelp ~]# systemctl status mariadb
mariadb.service - MariaDB database server
   Loaded: loaded (/usr/lib/systemd/system/mariadb.service  enabled)
   Active: active (running) since Mon 2016-05-09 03:25:45 IST  31s ago
 Main PID: 43896 (mysqld_safe)
   CGroup: /system.slice/mariadb.service
           ??43896 /bin/sh /usr/bin/mysqld_safe --basedir=/usr
           ??44054 /usr/libexec/mysqld --basedir=/usr --datadir=/var/lib/mysq...

May 09 03:25:38 linuxhelp mysqld_safe[43896]: 160509 03:25:38 mysqld_safe Lo....
May 09 03:25:38 linuxhelp mysqld_safe[43896]: 160509 03:25:38 mysqld_safe St...l
May 09 03:25:45 linuxhelp systemd[1]: Started MariaDB database server.
Hint: Some lines were ellipsized, use -l to show in full.
To Download and Install RainLoop Webmail
Download the latest RainLoop Webmail by either from the official website or by using ‘ wget‘ command. Create a directory rainloop under your document root directory.
[root@linuxhelp ~]# mkdir /var/www/html/rainloop
[root@linuxhelp ~]# cd /var/www/html/rainloop
[root@linuxhelp rainloop]# wget http://repository.rainloop.net/v1/rainloop-1.6.3.715-f96ed936916b7f3d9039819323c591b9.zip
--2016-05-09 00:56:44--  http://repository.rainloop.net/v1/rainloop-1.6.3.715-f96ed936916b7f3d9039819323c591b9.zip
Resolving repository.rainloop.net (repository.rainloop.net)... 104.28.6.34, 104.28.7.34
Connecting to repository.rainloop.net (repository.rainloop.net)|104.28.6.34|:80... connected.
HTTP request sent, awaiting response... 200 OK
Length: 3755314 (3.6M) [application/zip]
Saving to: ‘ rainloop-1.6.3.715-f96ed936916b7f3d9039819323c591b9.zip’

100%[==================================================================================================> ] 3,755,314    548KB/s   in 6.8s

2016-05-09 00:56:51 (537 KB/s) - ‘ rainloop-1.6.3.715-f96ed936916b7f3d9039819323c591b9.zip’  saved [3755314/3755314]
Now unzip the downloaded zip file.
[root@linuxhelp ~]# unzip rainloop-1.6.3.715-f96ed936916b7f3d9039819323c591b9.zip
inflating: rainloop/v/1.6.3.715/app/i18n/moment/LICENSE
  inflating: rainloop/v/1.6.3.715/app/i18n/moment/ar-ma.js
  inflating: rainloop/v/1.6.3.715/app/i18n/moment/ar.js
  inflating: rainloop/v/1.6.3.715/app/i18n/moment/bg.js
  inflating: rainloop/v/1.6.3.715/app/i18n/moment/br.js
  inflating: rainloop/v/1.6.3.715/app/i18n/moment/bs.js
  inflating: rainloop/v/1.6.3.715/app/i18n/moment/ca.js
  inflating: rainloop/v/1.6.3.715/app/i18n/moment/cs.js
  inflating: rainloop/v/1.6.3.715/app/i18n/moment/cv.js
[root@linuxhelp rainloop]# ls
data  index.php  rainloop  rainloop-1.6.3.715-f96ed936916b7f3d9039819323c591b9.zip
[root@linuxhelp ~]# rm -rf rainloop-1.6.3.715-f96ed936916b7f3d9039819323c591b9.zip
To set Permissions
Once extraction of the package content is completed, provide correct permissions for the files and directories before installing the application. Go to the application directory i.e. ‘ /var/www/rainloop‘ or ‘ /var/www/html/rainloop‘ and execute following commands thereon.
[root@linuxhelp ~]# find . -type d -exec chmod 755 {}
[root@linuxhelp ~]# find . -type f -exec chmod 644 {}
Now set the context to the Rainloop directory under your document root directory.
[root@linuxhelp rainloop]# ls
data  index.php  rainloop
[root@linuxhelp rainloop]# chcon -Rt httpd_sys_rw_content_t /var/www/html/rainloop/
[root@linuxhelp rainloop]# ls -Z
drwxr-xr-x. root root unconfined_u:object_r:httpd_sys_rw_content_t:s0 data
-rw-r--r--. root root unconfined_u:object_r:httpd_sys_rw_content_t:s0 index.php
drwxr-xr-x. root root unconfined_u:object_r:httpd_sys_rw_content_t:s0 rainloop
Now set the owner for the application.
[root@linuxhelp rainloop]# chown -R apache:apache .
[root@linuxhelp rainloop]# ls -l
total 4
drwxr-xr-x. 2 apache apache   20 May  9 00:57 data
-rw-r--r--. 1 apache apache 1045 Feb 28  2014 index.php
drwxr-xr-x. 3 apache apache   14 May  9 00:57 rainloop
Important: User account for web server may vary, depending on specific Linux distribution.
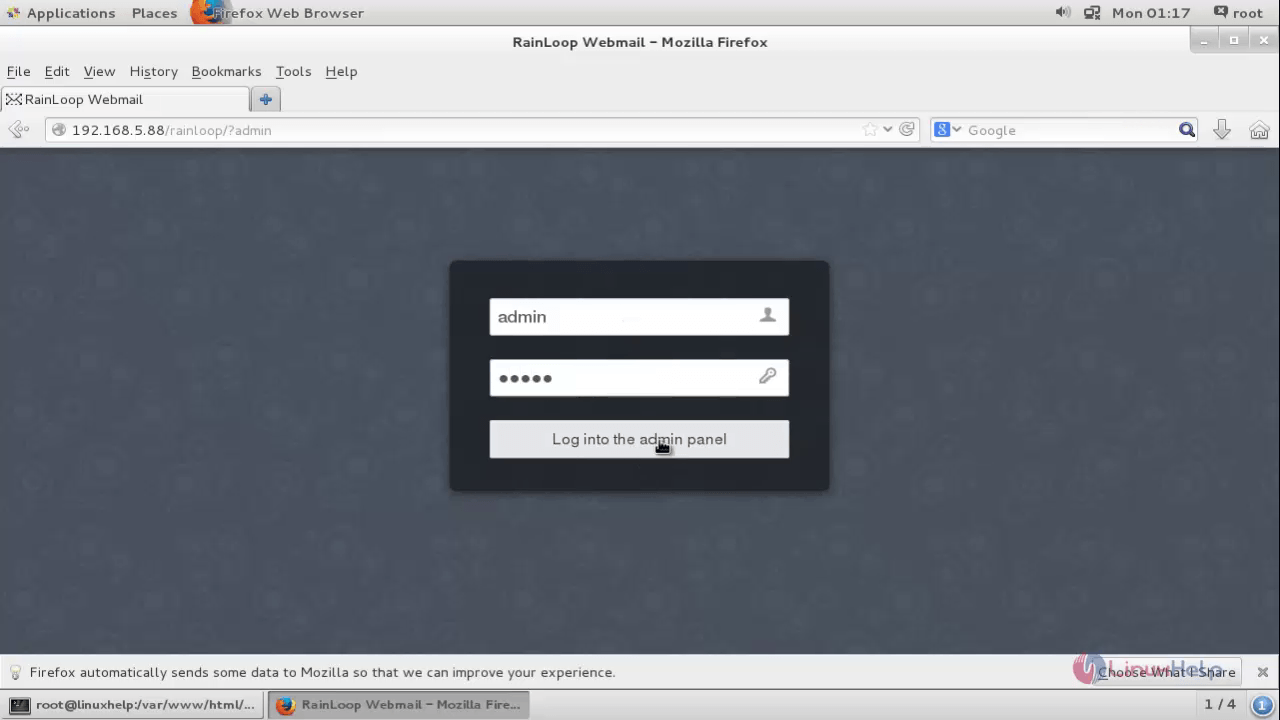
To Configure RainLoop via Admin Interface
Navigate to the following URL using the default login credentials to Configure RainLoop.
URL : http://< Your-IP-Address> /rainloop/?admin
User : admin
Password : 12345
Admin Login Page
To Change Admin Password
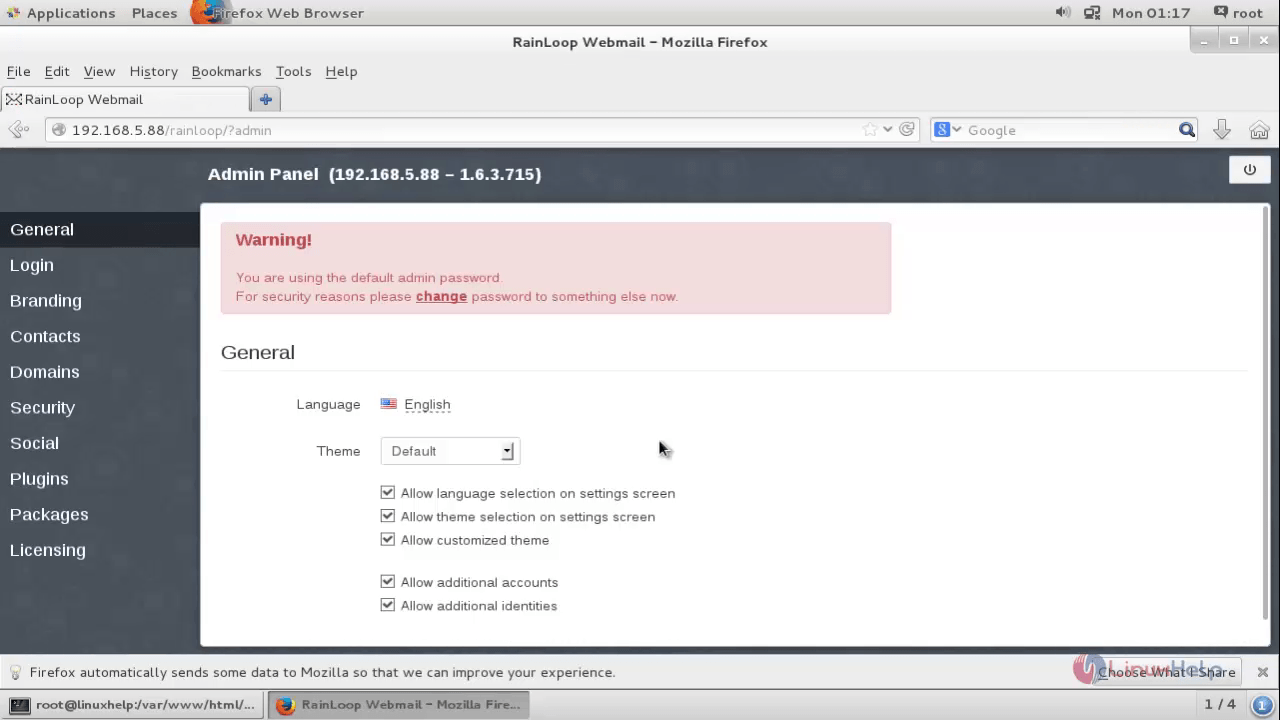
Now you can change the login credential of your choice.

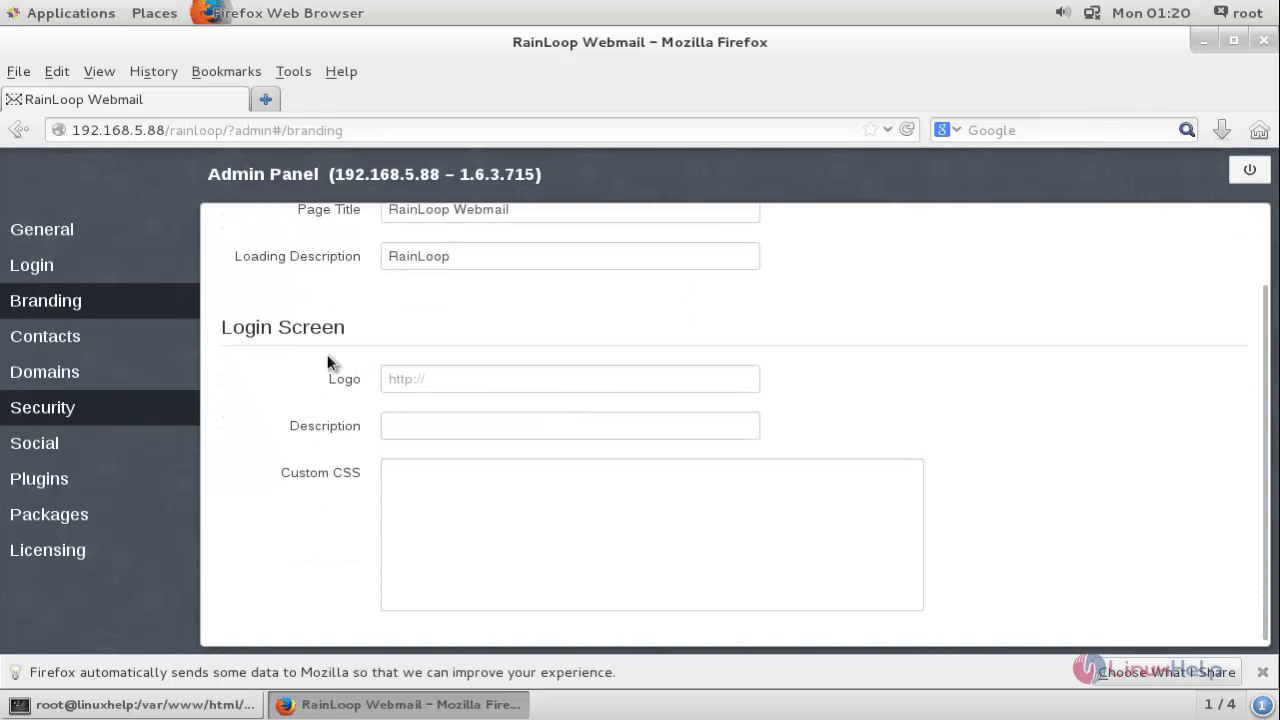
Branding Contacts
Customize your login screen by adding custom Titles, Descriptions and specific logo path.
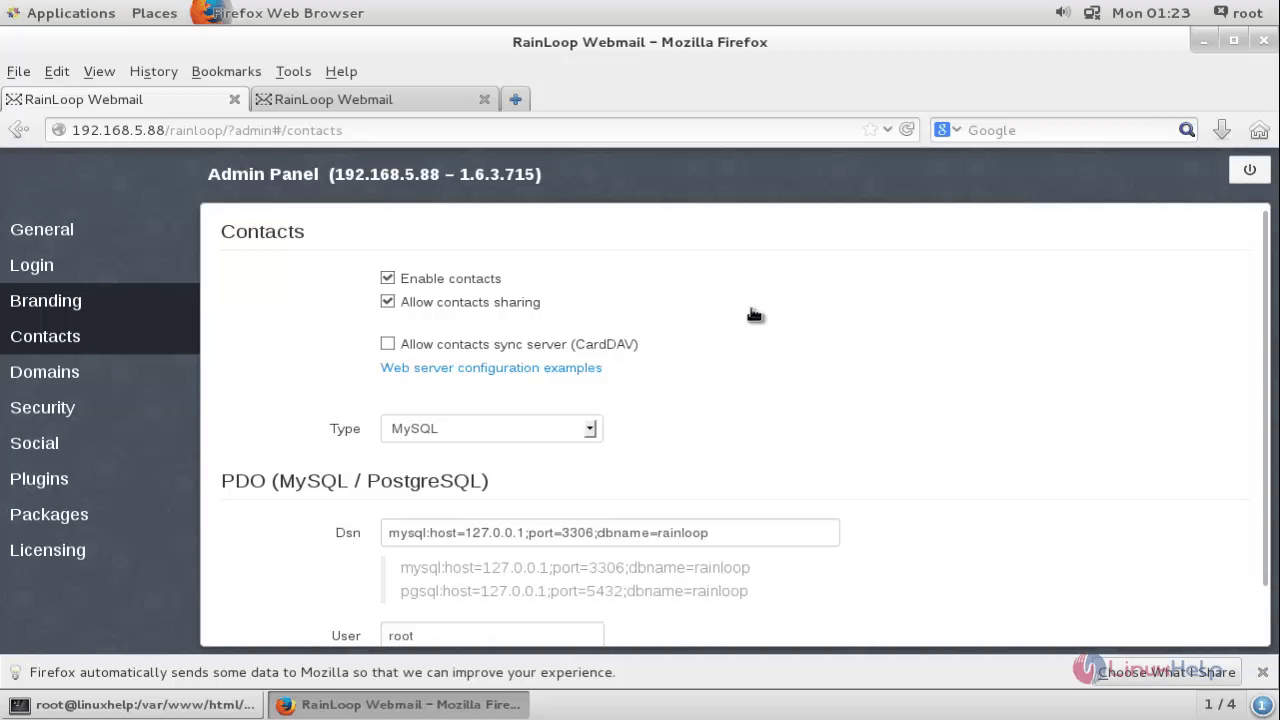
To Enable Contacts
Go to the terminal, Create the database in MySQL prompt.
[root@linuxhelp rainloop]# mysql -u root -p
Enter password:
Welcome to the MariaDB monitor.  Commands end with   or g.
Your MariaDB connection id is 2
Server version: 5.5.47-MariaDB MariaDB Server

Copyright (c) 2000, 2015, Oracle, MariaDB Corporation Ab and others.

Type ' help '  or ' h'  for help. Type ' c'  to clear the current input statement.

MariaDB [(none)]>  create database rainloop
Query OK, 1 row affected (0.08 sec)

MariaDB [(none)]>  exit
Bye
Go to Admin Panel and select the Contacts and then configure the contact settings as per your requirements.
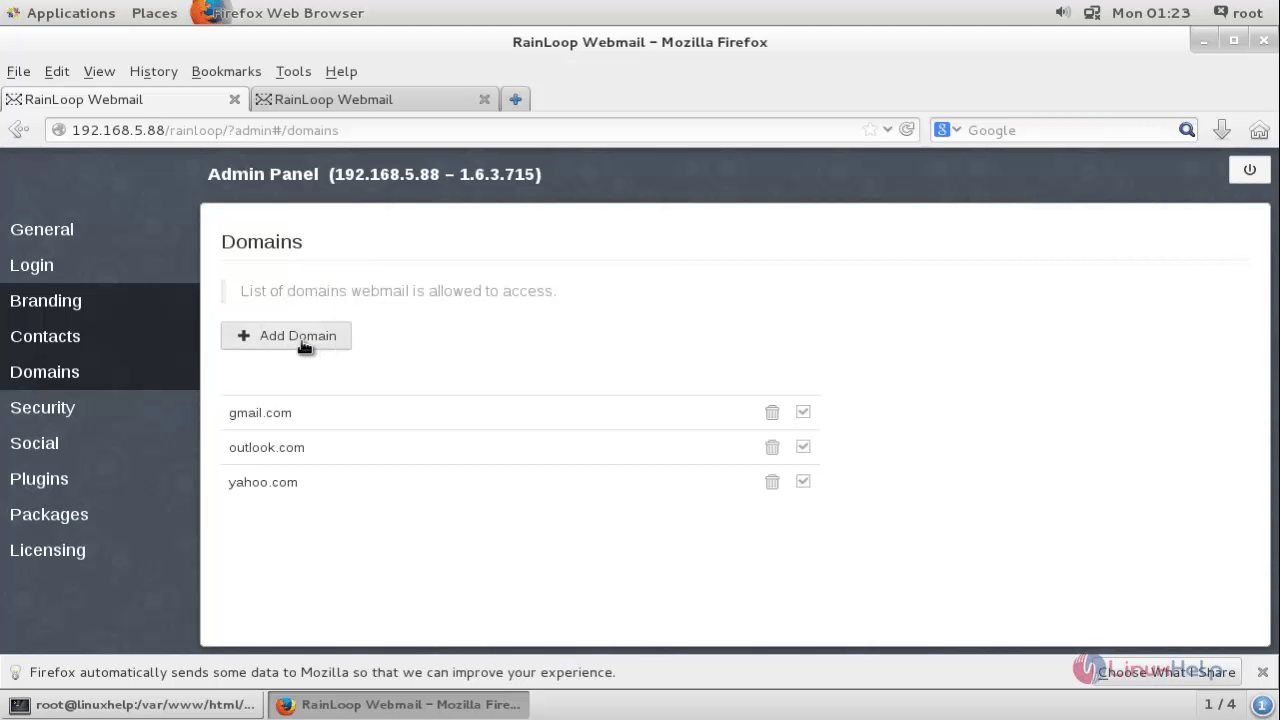
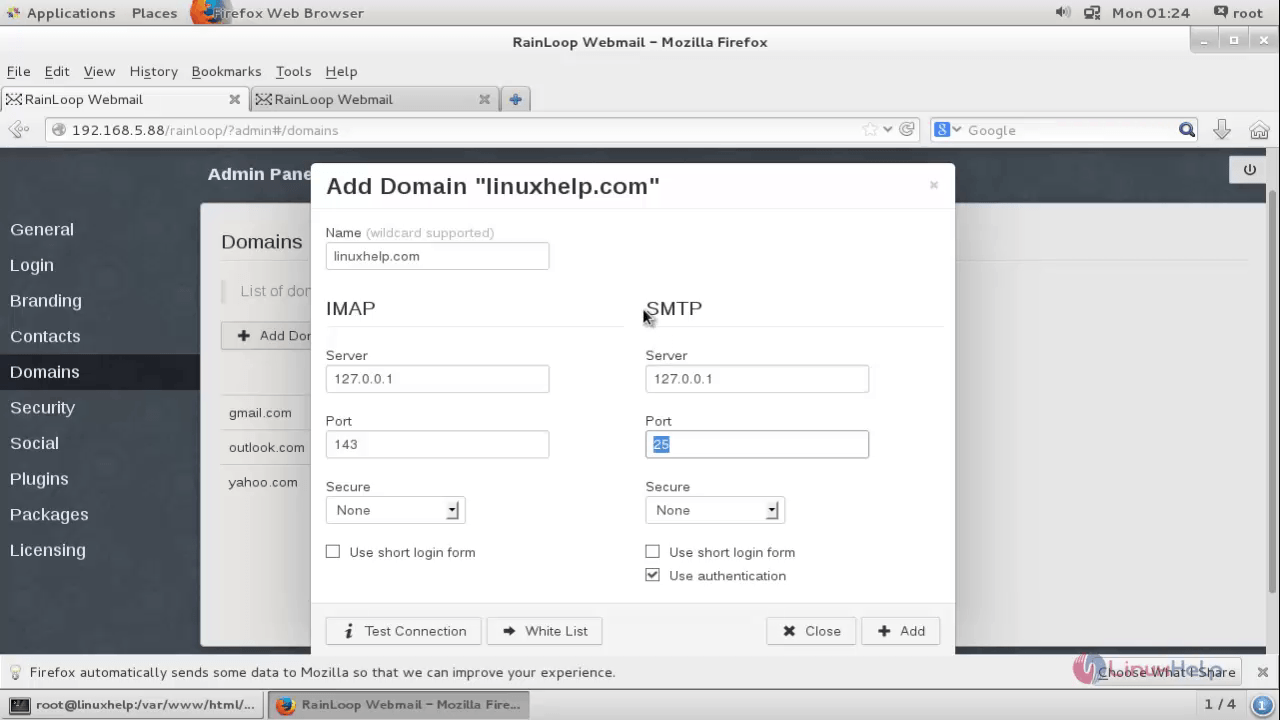
To Add Domains
Go to Admin Panel &rarr Domains &rarr Add Domain and add or configure your domains.
To add Plugins
Run the following command, to enable the plugins to change the email account password.
RedHat based systems, you need to download and enable Razor’ s Edge Repository for your specific distribution and then install the ‘ poppassd’ package using the following command.
[root@linuxhelp rainloop]# rpm -Uvh http://rpm.razorsedge.org/centos-4/RE/razorsedge-release-5-1.el4.re.noarch.rpm
Retrieving http://rpm.razorsedge.org/centos-4/RE/razorsedge-release-5-1.el4.re.noarch.rpm
warning: /var/tmp/rpm-tmp.tvCmV9: Header V3 DSA/SHA1 Signature, key ID ba7a4a9e: NOKEY
Preparing...                          ################################# [100%]
Updating / installing...
   1:razorsedge-release-0:5-1.el4.re  ################################# [100%]
[root@linuxhelp rainloop]# yum install poppassd &ndash y
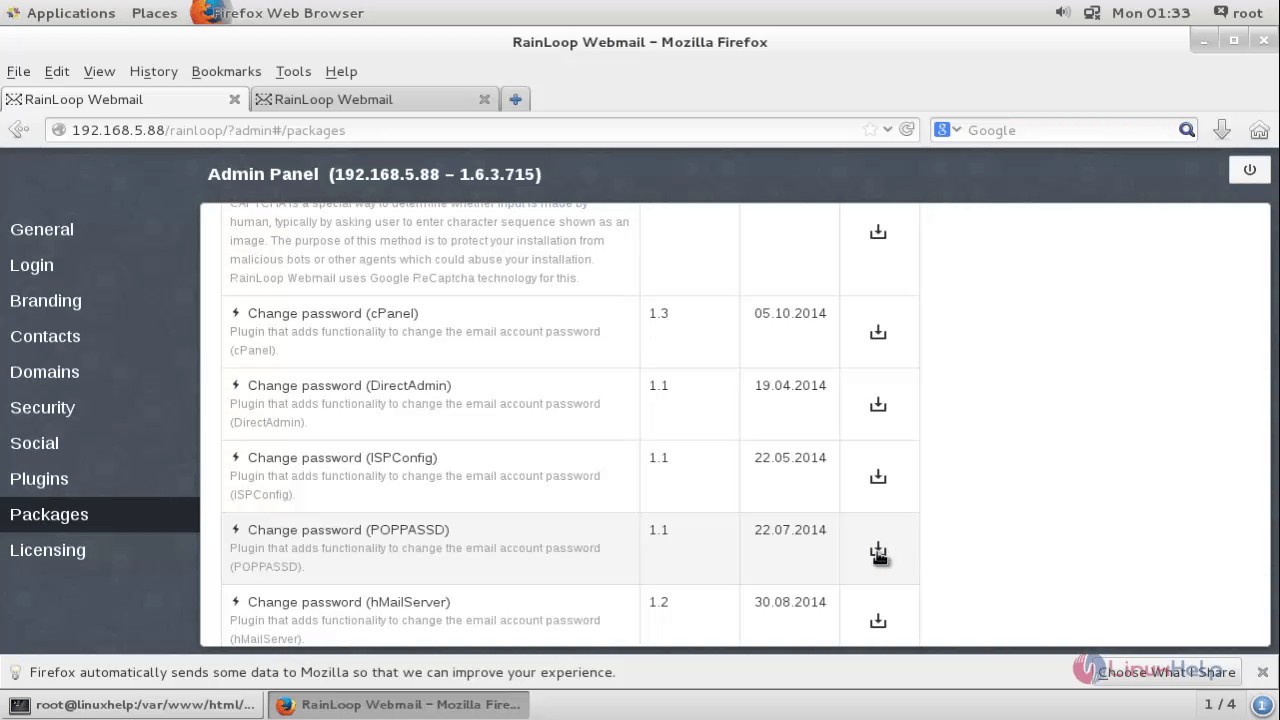
Go to the Admin Panel&rarr Package section to install plugin.
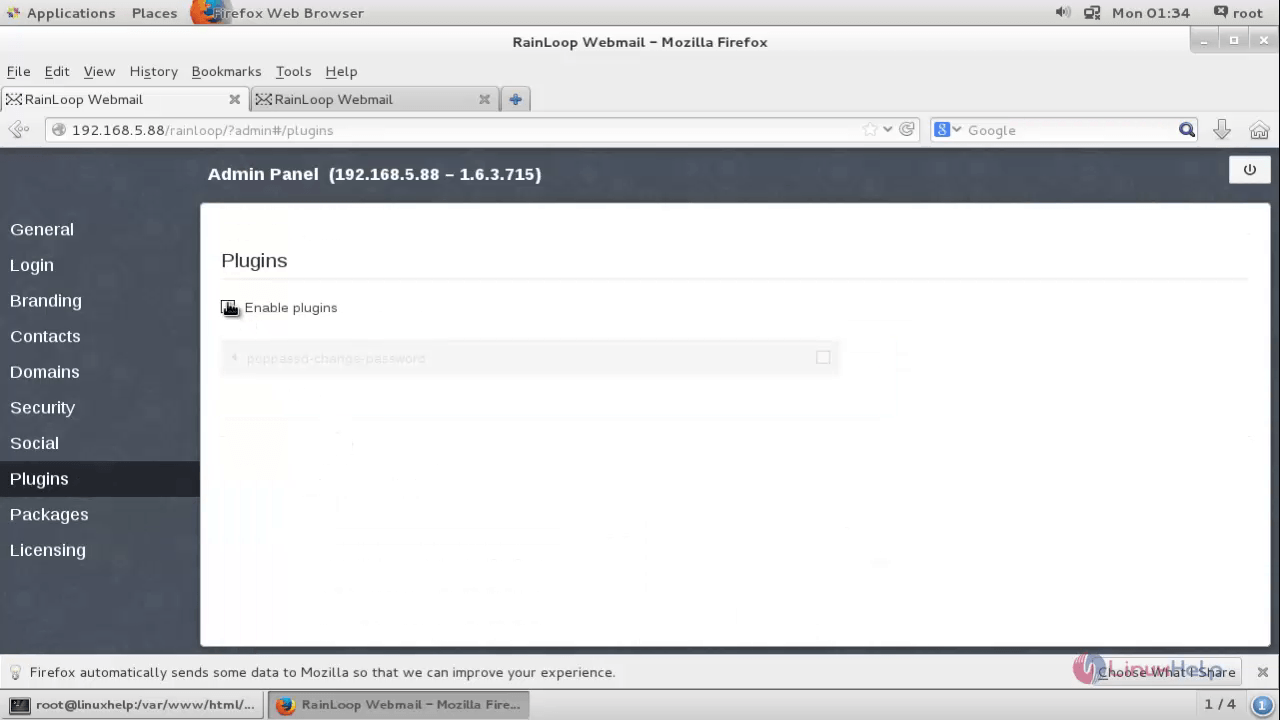
Go to the Admin Panel &rarr Plugins, enable the poppassd plugin and tick the ‘ poppassd-change-password‘ box. Add the server details and enter ‘ *‘ for Allowed emails and save.
Comments ( 1 )