How to install Phabricator in Linux
To install Phabricator in Linux
Phabricator is a powerful open source tool that helps software companies to create and build software. Phabricator is written in php language and available under Apache 2.0 open source license for MacOSX and Linux, and also supports any platform. Most of the popular companies like Facebook, Dropbox, Groupon develop their web applications using Phabricator. Installation of Phabricator is explained in this article.
Important : It can be install on an entire domain or on a sub domain and cannot be installed to a specific path on any existing domain.
To install phabricator via scripts
Use the following link to setup Phabricator in Ubuntu and Redhat based Linux system
For RedHat Derivatives
http://www.phabricator.com/rsrc/install/install_rhel-derivs.sh
For Ubuntu Derivatives
http://www.phabricator.com/rsrc/install/install_ubuntu.sh
But it is recommended to set up LAMP server to install a Phabricator.
To install LAMP
Install Mariadb
Install mariadb by using the following command.
For Ubuntu Derivatives
# apt-get install mysql-server &ndash y
For Redhat Derivatives
[root@linuxhelp ~]# yum install mariadb-server mariadb
Resolving Dependencies
-->  Running transaction check
--->  Package mariadb.x86_64 1:5.5.47-1.el7_2 will be installed
-->  Processing Dependency: mariadb-libs(x86-64) = 1:5.5.47-1.el7_2 for package: 1:mariadb-5.5.47-1.el7_2.x86_64
.
.
.
perl-Data-Dumper.x86_64 0:2.145-3.el7 perl-IO-Compress.noarch 0:2.061-2.el7
perl-Net-Daemon.noarch 0:0.48-5.el7 perl-PlRPC.noarch 0:0.2020-14.el7
Dependency Updated:
mariadb-libs.x86_64 1:5.5.47-1.el7_2
Complete!
Now Mariadb is successfully installed.
Restart mariadb services by running the following command.
[root@linuxhelp ~]# systemctl restart mariadb
Important : For Ubuntu based distributions you have to enter root password for MysQL during installation. For RedHat based distributions we need to set it manually by the following command.
[root@linuxhelp ~]# mysql_secure_installation
/usr/bin/mysql_secure_installation: line 379: find_mysql_client: command not found
NOTE: RUNNING ALL PARTS OF THIS SCRIPT IS RECOMMENDED FOR ALL MariaDB
SERVERS IN PRODUCTION USE! PLEASE READ EACH STEP CAREFULLY!
In order to log into MariaDB to secure it, we' ll need the current
password for the root user. If you' ve just installed MariaDB, and
you haven' t set the root password yet, the password will be blank,
so you should just press enter here.
Enter current password for root (enter for none):
OK, successfully used password, moving on...
.
.
.
Reloading the privilege tables will ensure that all changes made so far
will take effect immediately.
Reload privilege tables now? [Y/n] y
... Success!
Cleaning up...
All done! If you' ve completed all of the above steps, your MariaDB
installation should now be secure.
Thanks for using MariaDB!
Run the following command to restart mariadb
[root@linuxhelp ~]# systemctl restart mariadb
Now enable the services.
[root@linuxhelp ~]# systemctl enable mariadb
ln -s ' /usr/lib/systemd/system/mariadb.service'  ' /etc/systemd/system/multi-user.target.wants/mariadb.service'
Check the system status by running the following command.
[root@linuxhelp ~]# systemctl status mariadb
mariadb.service - MariaDB database server
Loaded: loaded (/usr/lib/systemd/system/mariadb.service  enabled)
Active: active (running) since Fri 2016-05-13 01:19:19 IST  55s ago
Main PID: 21986 (mysqld_safe)
CGroup: /system.slice/mariadb.service
??21986 /bin/sh /usr/bin/mysqld_safe --basedir=/usr
??22198 /usr/libexec/mysqld --basedir=/usr --datadir=/var/lib/mysql --plugin-dir=/usr/lib64/mysql/plugin --log-error=/var/log/...
May 13 01:19:15 linuxhelp systemd[1]: Starting MariaDB database server...
May 13 01:19:16 linuxhelp mysqld_safe[21986]: 160513 01:19:16 mysqld_safe Logging to ' /var/log/mariadb/mariadb.log' .
May 13 01:19:16 linuxhelp mysqld_safe[21986]: 160513 01:19:16 mysqld_safe Starting mysqld daemon with databases from /var/lib/mysql
May 13 01:19:19 linuxhelp systemd[1]: Started MariaDB database server.
To setup the Webserver for phabricator
Webserver allows to host the phabricator web page. Now install apache webserver. For Ubuntu you need to install apache2 instead of installing httpd package.
Run the following command to install webserver.
[root@linuxhelp ~]# yum install httpd -y
Loaded plugins: fastestmirror, langpacks
-->  Running transaction check
--->  Package httpd.x86_64 0:2.4.6-40.el7.centos will be installed
-->  Processing Dependency: httpd-tools = 2.4.6-40.el7.centos for package: httpd-2.4.6-40.el7.centos.x86_64
.
.
.
Installed:
  httpd.x86_64 0:2.4.6-40.el7.centos
Dependency Installed:
  apr.x86_64 0:1.4.8-3.el7    apr-util.x86_64 0:1.5.2-6.el7    httpd-tools.x86_64 0:2.4.6-40.el7.centos    mailcap.noarch 0:2.1.41-2.el7
Complete!
Run the following command to start the services.
[root@linuxhelp ~]# systemctl start httpd
Enable the services by running the following command.
[root@linuxhelp ~]# systemctl enable httpd
ln -s ' /usr/lib/systemd/system/httpd.service'  ' /etc/systemd/system/multi-user.target.wants/httpd.service'
Use the following command to Check the status.
[root@linuxhelp ~]# systemctl status httpd
httpd.service - The Apache HTTP Server
Loaded: loaded (/usr/lib/systemd/system/httpd.service  enabled)
Active: active (running) since Fri 2016-05-13 01:22:05 IST  22s ago
Docs: man:httpd(8)
man:apachectl(8)
Main PID: 41062 (httpd)
Status: " Total requests: 0  Current requests/sec: 0  Current traffic: 0 B/sec"
CGroup: /system.slice/httpd.service
??41062 /usr/sbin/httpd -DFOREGROUND
??41063 /usr/sbin/httpd -DFOREGROUND
??41064 /usr/sbin/httpd -DFOREGROUND
??41065 /usr/sbin/httpd -DFOREGROUND
??41066 /usr/sbin/httpd -DFOREGROUND
??41067 /usr/sbin/httpd -DFOREGROUND
May 13 01:22:05 linuxhelp httpd[41062]: AH00557: httpd: apr_sockaddr_info_get() failed for linuxhelp
May 13 01:22:05 linuxhelp httpd[41062]: AH00558: httpd: Could not reliably determine the server' s fully qualified domain name, usi...message
May 13 01:22:05 linuxhelp systemd[1]: Started The Apache HTTP Server.
Now install the Git, PHP and PHP extensions for phabricator.
[root@linuxhelp ~]# yum install git php php-mysql php-gd php-curl php-apc php-cli php-mbstring &ndash y
Resolving Dependencies
-->  Running transaction check
--->  Package php.x86_64 0:5.4.16-36.el7_1 will be installed
--->  Package php-cli.x86_64 0:5.4.16-36.el7_1 will be installed
.
.
.
Dependency Installed:
libzip.x86_64 0:0.10.1-8.el7 php-pdo.x86_64 0:5.4.16-36.el7_1
Git.noarch 0:1.8.3.1-6.el7_2.1
t1lib.x86_64 0:5.1.2-14.el7
Complete!
To install phabricator
Create a directory ‘ myproject‘ under ' /var/www/html/' .
[root@linuxhelp ~]# mkdir /var/www/html/myproject
[root@linuxhelp ~]# cd /var/www/html/myproject/
Download the phabricator and its dependency package from its official git repository using the following command.
[root@linuxhelp myproject]# git clone https://github.com/phacility/libphutil.git
Cloning into ' libphutil' ...
remote: Counting objects: 13491, done.
remote: Compressing objects: 100% (7/7), done.
remote: Total 13491 (delta 0), reused 0 (delta 0), pack-reused 13484
Receiving objects: 100% (13491/13491), 7.70 MiB | 273.00 KiB/s, done.
Resolving deltas: 100% (7638/7638), done.
[root@linuxhelp myproject]# git clone https://github.com/phacility/arcanist.git
Cloning into ' arcanist' ...
remote: Counting objects: 17390, done.
remote: Total 17390 (delta 0), reused 0 (delta 0), pack-reused 17390
Receiving objects: 100% (17390/17390), 6.50 MiB | 658.00 KiB/s, done.
Resolving deltas: 100% (10646/10646), done.
[root@linuxhelp myproject]# git clone https://github.com/phacility/phabricator.git
Cloning into ' phabricator' ...
remote: Counting objects: 205411, done.
remote: Compressing objects: 100% (337/337), done.
remote: Total 205411 (delta 196), reused 5 (delta 5), pack-reused 205069
Receiving objects: 100% (205411/205411), 111.03 MiB | 230.00 KiB/s, done.
Resolving deltas: 100% (136675/136675), done.
Checking out files: 100% (6624/6624), done.
To provide write permission for the files inside myproject directory, set ownership for apache user and group as follows.
[root@linuxhelp myproject]# chown -R apache:apache /var/www/html/myproject
[root@linuxhelp myproject]# ls -l
total 12
drwxr-xr-x. 8 apache apache 4096 May 13 01:29 arcanist
drwxr-xr-x. 9 apache apache 4096 May 13 01:28 libphutil
drwxr-xr-x. 11 apache apache 4096 May 13 01:37 phabricator
To Configure Apache for Ubuntu
We need to enable mod_php, mod_rewrite and mod_ssl modules on Ubuntu based distributions, most of the modules are enabled by default. Confirm it while installing.
root@linuxhelp:~# sudo a2enmod rewrite
root@linuxhelp:~# sudo a2enmod ssl
After enabling the modules, restart the web server to reflect changes.
root@linuxhelp:~# /etc/init.d/apache2 restart
In Apache configuration file, create a separate Virtualhost.
[root@linuxhelp myproject]# vim /etc/httpd/conf/httpd.conf
Add the following Virtualhost entry at the bottom of the file. Enter the Phabricator files location in DocumentRoot.
ServerAdmin root@project.linuxhelp.com
ServerName project.linuxhelp.com
DocumentRoot /var/www/html/myproject/phabricator/webroot
RewriteEngine on
RewriteRule ^/rsrc/(.*) - [L,QSA]
RewriteRule ^/favicon.ico - [L,QSA]
RewriteRule ^(.*)$ /index.php?__path__=$1 [B,L,QSA]
< Directory " /var/www/html/myproject/phabricator/webroot" >
Order allow,deny
Allow from all
We need to enable the newly created virtualhost entry by using the following command on Ubuntu. But it is not required in the case of RedHat based systems.
root@linuxhelp:~# a2ensite phabricator.conf
Restart the Apache service to reflect the new changes.
On Ubuntu
root@linuxhelp:~# /etc/init.d/apache2 restart
On Redhat
[root@linuxhelp myproject]# systemclt httpd restart
To Configure MySQL
Before the setup, make sure your MySQL is running to load the mysql setting into it.
[root@linuxhelp myproject]# cd phabricator/
[root@linuxhelp phabricator]# ./bin/config set mysql.host localhost
Set ' mysql.host'  in local configuration.
[root@linuxhelp phabricator]# ./bin/config set mysql.user root
Set ' mysql.user'  in local configuration.
[root@linuxhelp phabricator]# ./bin/config set mysql.pass root
Set ' mysql.pass'  in local configuration.
To load database schema run the storage upgrade script. Press‘ y‘ to continue data schema.
[root@linuxhelp phabricator]# ./bin/storage upgrade --user root --password root
Before running storage upgrades, you should take down the Phabricator web
interface and stop any running Phabricator daemons (you can disable this
warning with --force).
Are you ready to continue? [y/N] y
Loading quickstart template...
Applying patch ' phabricator:20160102.badges.award.sql' ...
Applying patch ' phabricator:20160119.project.1.silence.sql' ...
Applying patch ' phabricator:20160503.repo.04.mirrormigrate.php' ...
Applying patch ' phabricator:20160503.repo.05.urimigrate.php' ...

.
.
.
MySQL needs to copy table data to make some adjustments, so these migrations may take some time.
Fix these schema issues? [y/N] y
Fixing schema issues...
Done.
Completed fixing all schema issues.
After adding the schema to mysql, restart the service .
[root@linuxhelp phabricator]# systemctl restart mariadb
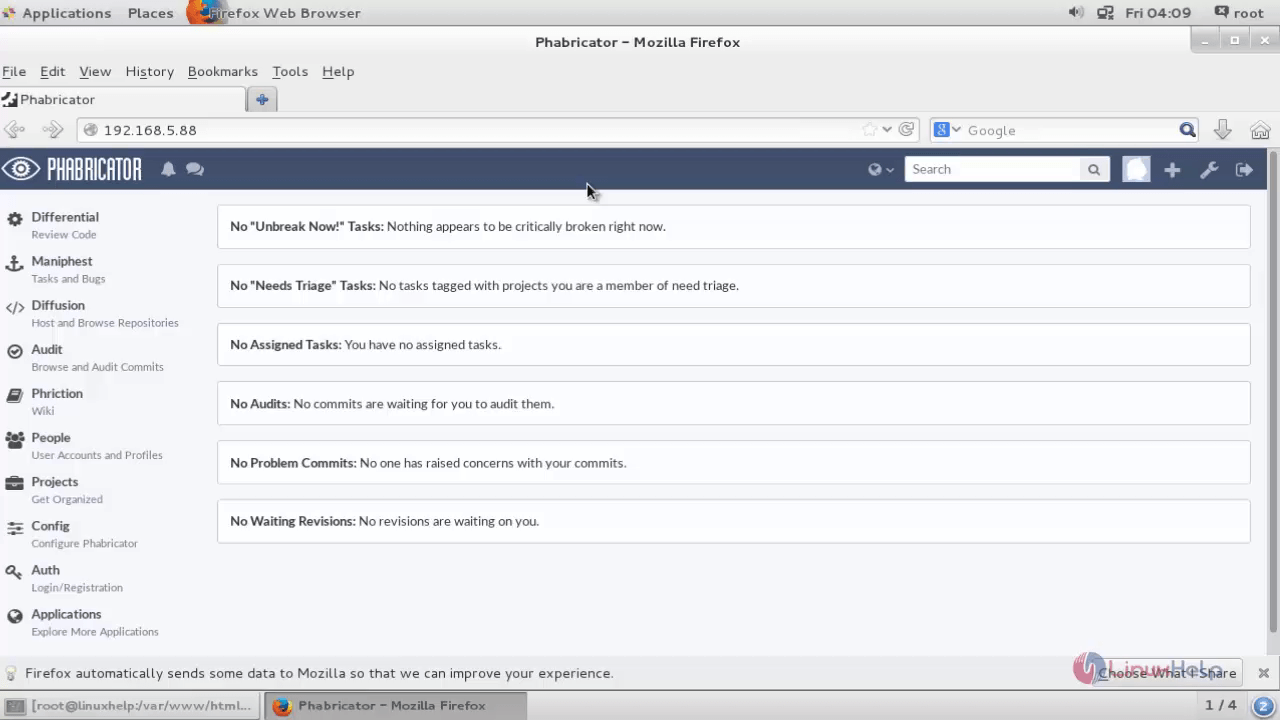
To Configure Phabricator Web UI
Navigate to //project.linuxhelp.com/ or http://< ipaddress> and enter the username and password and click create admin account.
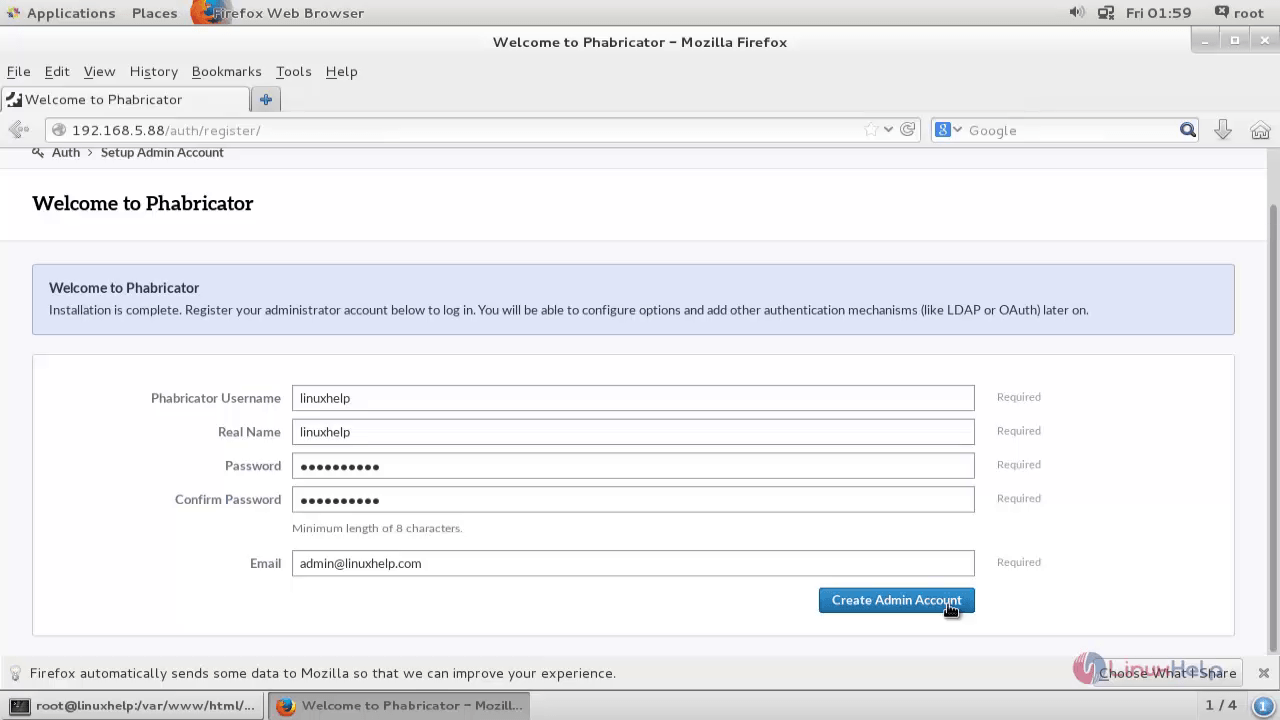
If the admin setup page is not displayed then create admin login manually from the terminal.
[root@linuxhelp phabricator]# ./bin/accountadmin
We can login into admin section using same credentials. Before start using Phabricator, resolve the setup issue displayed in the top left corner.
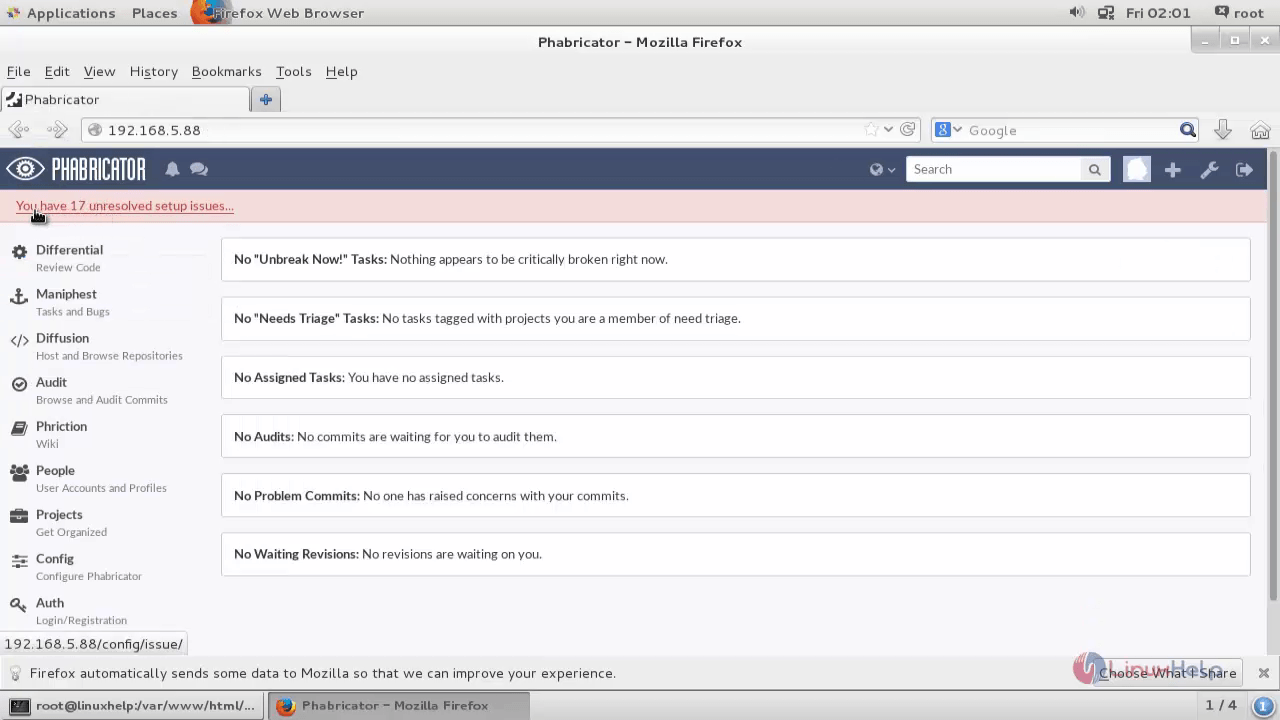
Click unresolved issues. To view the issues.
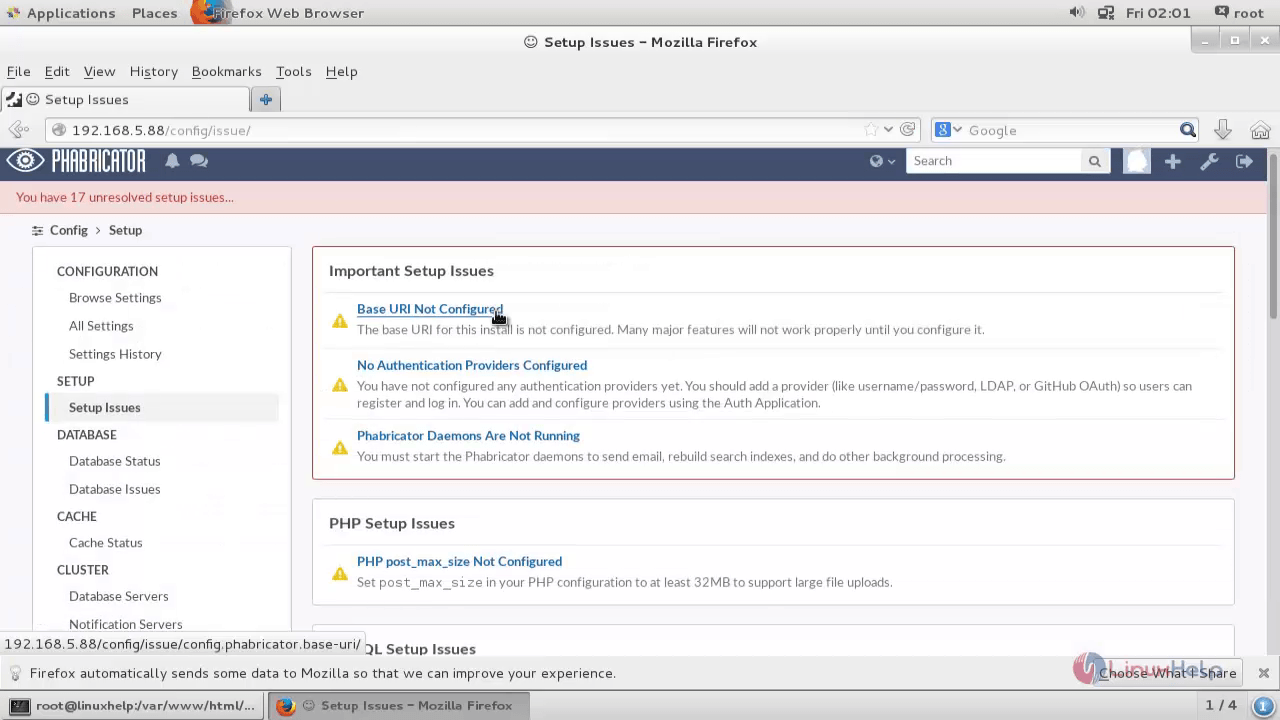
Click on the first issue to resolve it.
It will display the solution for the issues
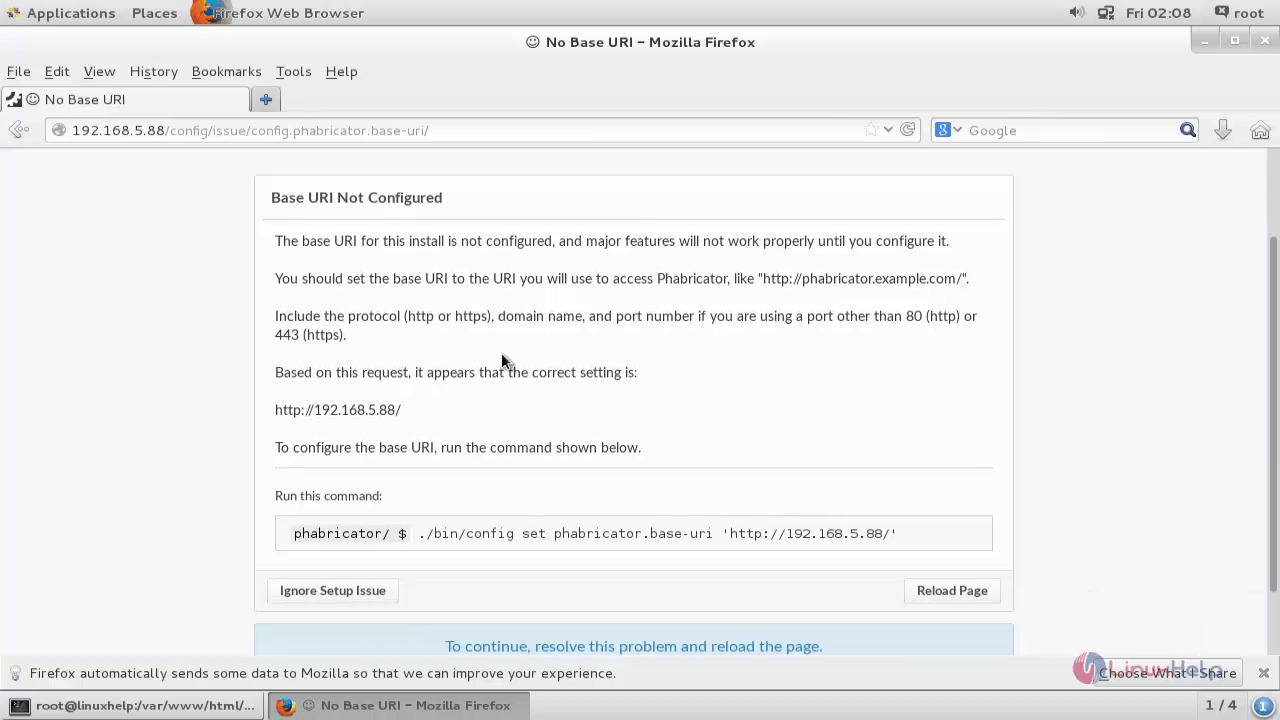
Now run the following command to configure uri.
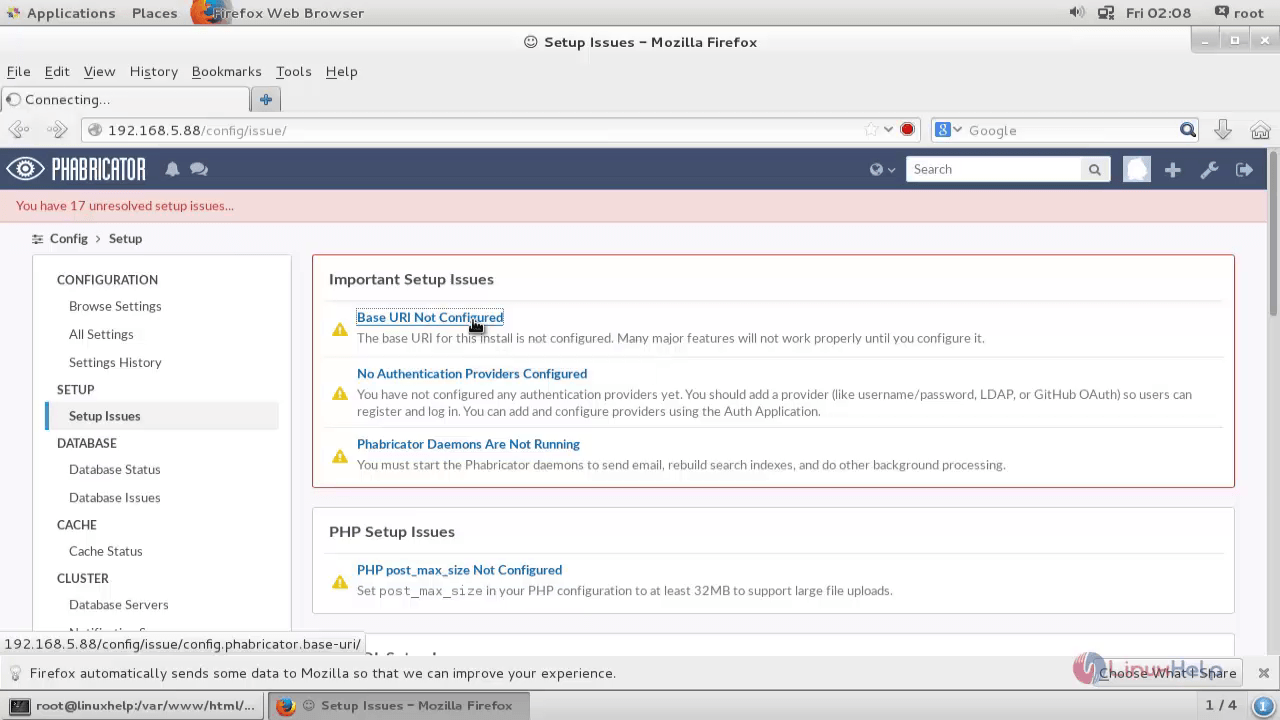
[root@linuxhelp phabricator]# ./bin/config set phabricator.base-uri ‘ http://192.168.5.88/’
Now click the reload page, then the issue will be cleared.
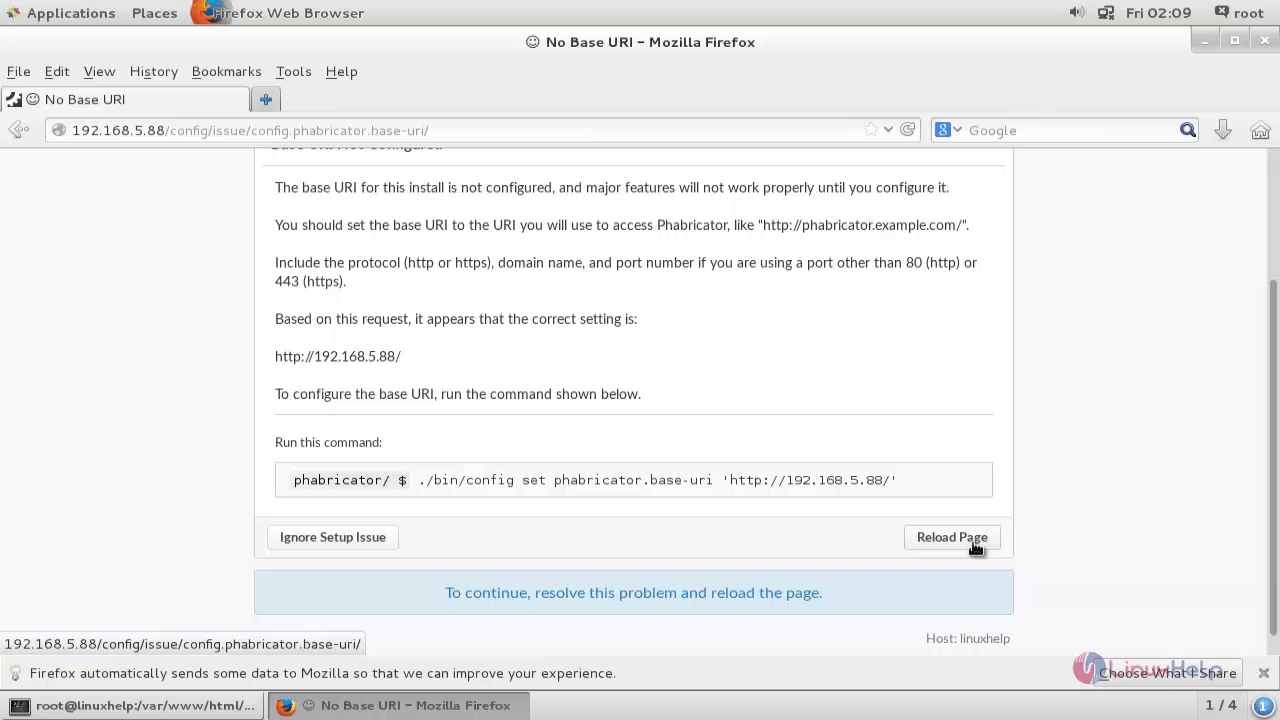
Clear all the issues in the same way.
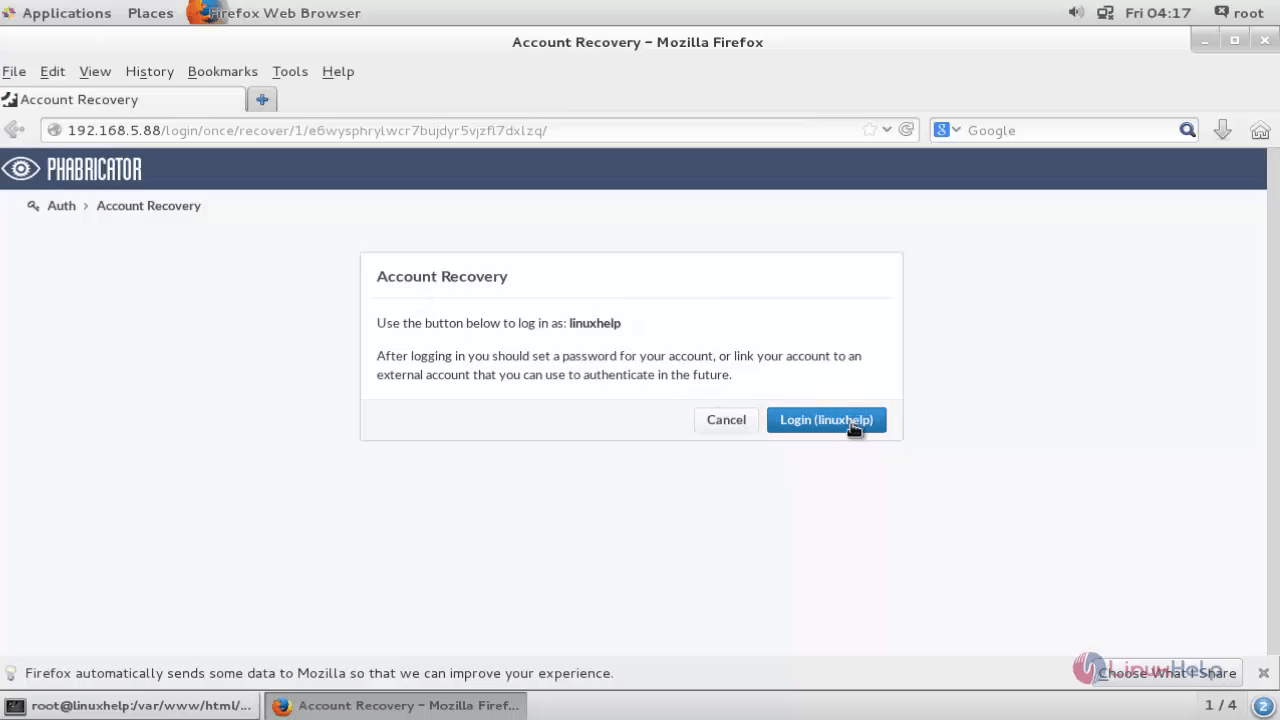
To Recover Phabricator Admin Password
Run the following command to recover the admin password.
[root@linuxhelp phabricator]# ./bin/auth recover linuxhelp
Finally, copy the given access code and access the URL to recover.
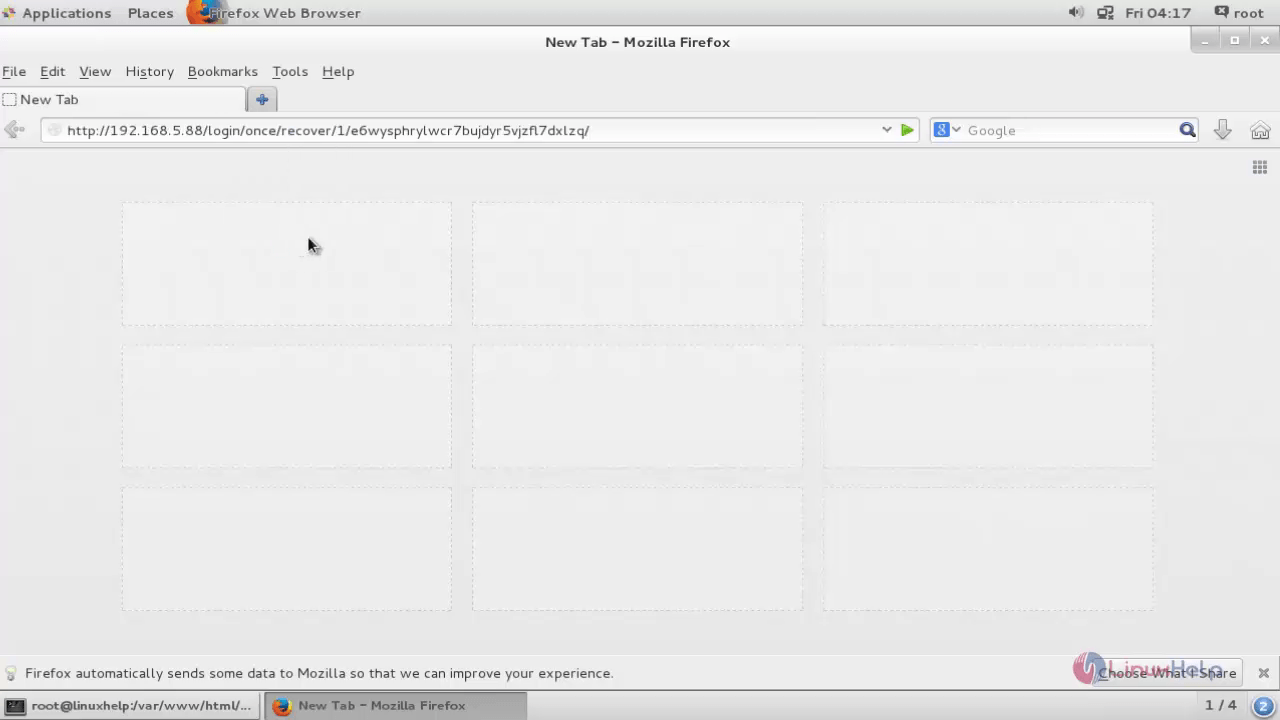
Click login.
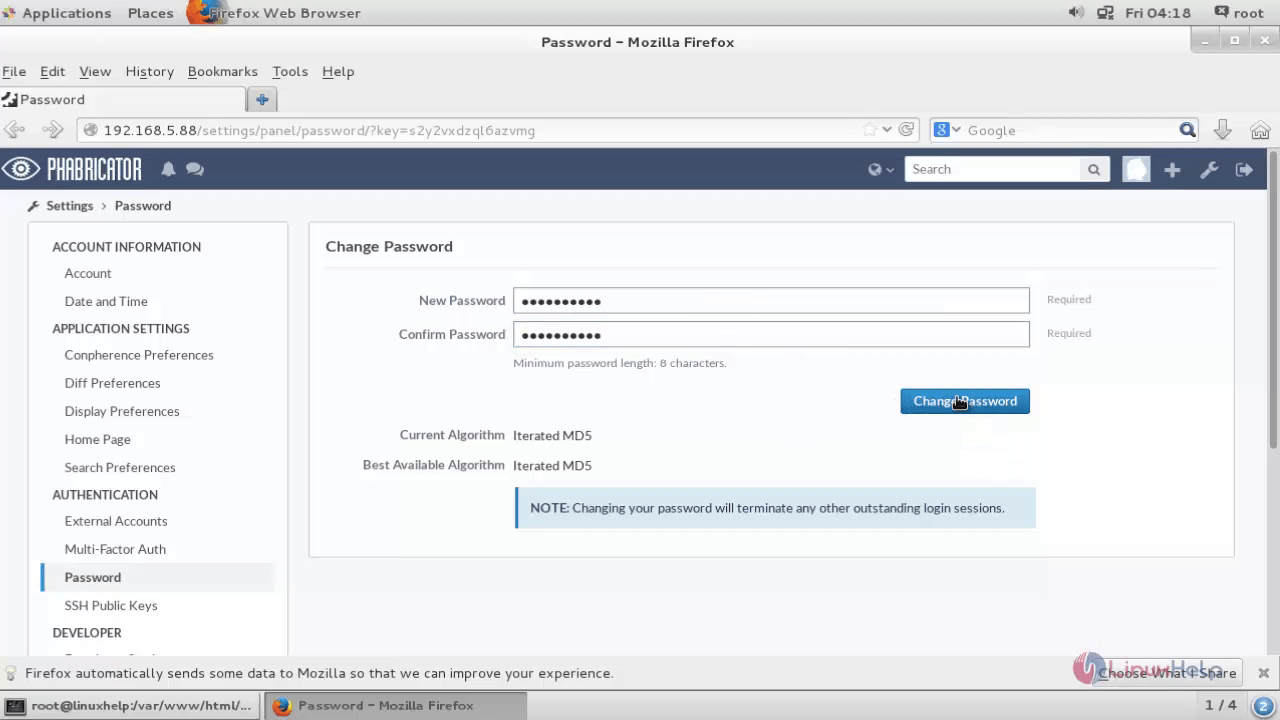
Enter the new password to change the password.


Comments ( 0 )
No comments available