How to install Cockpit Web Console on Oracle Linux 8.5
- 00:47 cat /etc/os-release
- 01:07 yum install epel-release
- 01:44 yum install cockpit
- 01:45 systemctl enable --now cockpit.socket
- 02:00 systemctl start cockpit.socket
- 02:11 systemctl status cockpit.socket
- 02:28 ps auxf|grep cockpit
- 02:48 firewall-cmd --add-service=cockpit --permanent
- 03:08 firewall-cmd --reload
To Install Cockpit Web Console on Oracle Linux 8.5
Introduction:
The Cockpit is a web console with an easy-to-use web-based interface that allows you to carry out administrative tasks on your servers.
The Cockpit web console operates the same system APIs as you would in a terminal, and tasks performed in a terminal are fast reflected in the web console. In addition, you can configure the settings instantly in the web console or through the terminal.
Installation Steps:
Step 1: Check the Oracle Linux Version by using the below command
[root@linuxhelp ~]#  cat /etc/os-release
NAME="Oracle Linux Server"
VERSION="8.5"
ID="ol"
Step 2: Install Cockpit web console package by using the below command
 [root@linuxhelp ~]# yum install cockpit
Last metadata expiration check: 0:01:53 ago on Sun 02 Oct 2022 02:39:38 AM IST.
Package cockpit-251.1-1.0.1.el8.x86_64 is already installed.
Dependencies resolved.
==================================================================================================
 Package           Architecture     Version                     Repository                   Size
==================================================================================================
Upgrading:
 cockpit           x86_64           264.1-1.0.1.el8             ol8_baseos_latest            79 k
Transaction Summary
cockpit-264.1-1.0.1.el8.x86_64.rpm                                402 kB/s |  79 kB     00:00
--------------------------------------------------------------------------------------------------
Total                                                             397 kB/s |  79 kB     00:00
Oracle Linux 8 BaseOS Latest (x86_64)                             353 kB/s | 3.1 kB     00:00
Importing GPG key 0xAD986DA3:
 Userid     : "Oracle OSS group (Open Source Software group) <build@oss.oracle.com>"

 Fingerprint: 76FD 3DB1 3AB6 7410 B89D B10E 8256 2EA9 AD98 6DA3
 From       : /etc/pki/rpm-gpg/RPM-GPG-KEY-oracle
Is this ok [y/N]: y
Key imported successfully
Running transaction check
Transaction check succeeded.
Running transaction test
Transaction test succeeded.
Running transaction
  Preparing        :                                                                          1/1
  Upgrading        : cockpit-264.1-1.0.1.el8.x86_64                                           1/2
  Cleanup          : cockpit-251.1-1.0.1.el8.x86_64                                           2/2
  Running scriptlet: cockpit-251.1-1.0.1.el8.x86_64                                           2/2
  Verifying        : cockpit-264.1-1.0.1.el8.x86_64                                           1/2
  Verifying        : cockpit-251.1-1.0.1.el8.x86_64                                           2/2
Upgraded:

cockpit-264.1-1.0.1.el8.x86_64
Complete!
Step 3: Next, enable and start the cockpit.socket service to connect to the system through the web console by using the below command
 [root@linuxhelp ~]# systemctl enable --now cockpit.service
The unit files have no installation config (WantedBy, RequiredBy, Also, Alias
settings in the [Install] section, and DefaultInstance for template units).
This means they are not meant to be enabled using systemctl.
Possible reasons for having this kind of units are:
1) A unit may be statically enabled by being symlinked from another unit's
   .wants/ or .requires/ directory.
2) A unit's purpose may be to act as a helper for some other unit which has
   a requirement dependency on it.
3) A unit may be started when needed via activation (socket, path, timer,
   D-Bus, udev, scripted systemctl call, ...).
4) In case of template units, the unit is meant to be enabled with some
   instance name specified.

 [root@linuxhelp ~]# systemctl start cockpit.service
Step 4: Verify the service and running the cockpit process using the below command
 [root@linuxhelp ~]# systemctl status cockpit.socket
● cockpit.socket - Cockpit Web Service Socket
   Loaded: loaded (/usr/lib/systemd/system/cockpit.socket; disabled; vendor preset: disabled)
   Active: active (running) since Sun 2022-10-02 02:42:17 IST; 53s ago
     Docs: man:cockpit-ws(8)
   Listen: [::]:9090 (Stream)
    Tasks: 0 (limit: 10474)
   Memory: 996.0K
   CGroup: /system.slice/cockpit.socket
Oct 02 02:42:17 linuxhelp systemd[1]: Starting Cockpit Web Service Socket.
Oct 02 02:42:17 linuxhelp systemd[1]: Listening on Cockpit Web Service Socket.
 [root@linuxhelp ~]# ps auxf|grep cockpit
root        9249  0.2  3.2 385840 55728 pts/0    T    02:41   0:00                      \_ /usr/libexec/platform-python /usr/bin/yum install cockpit
root       39419  0.0  0.0  12132  1136 pts/0    S+   02:44   0:00                      \_ grep --color=auto cockpit
Step 5: If you are running a firewalld on the system, you need to open the cockpit port 9090 in the firewall by using the below command.
[root@linuxhelp ~]# firewall-cmd --add-service=cockpit --permanent
Warning: ALREADY_ENABLED: cockpit
success
[root@linuxhelp ~]# firewall-cmd --reload
success
Step 6: Open the Cockpit web console in your web browser by using the below URL’s:
Locally: https://localhost:9090
Remotely with the server’s hostname: https://example.com:9090
Remotely with the server’s IP address: https://192.168.0.10:9090
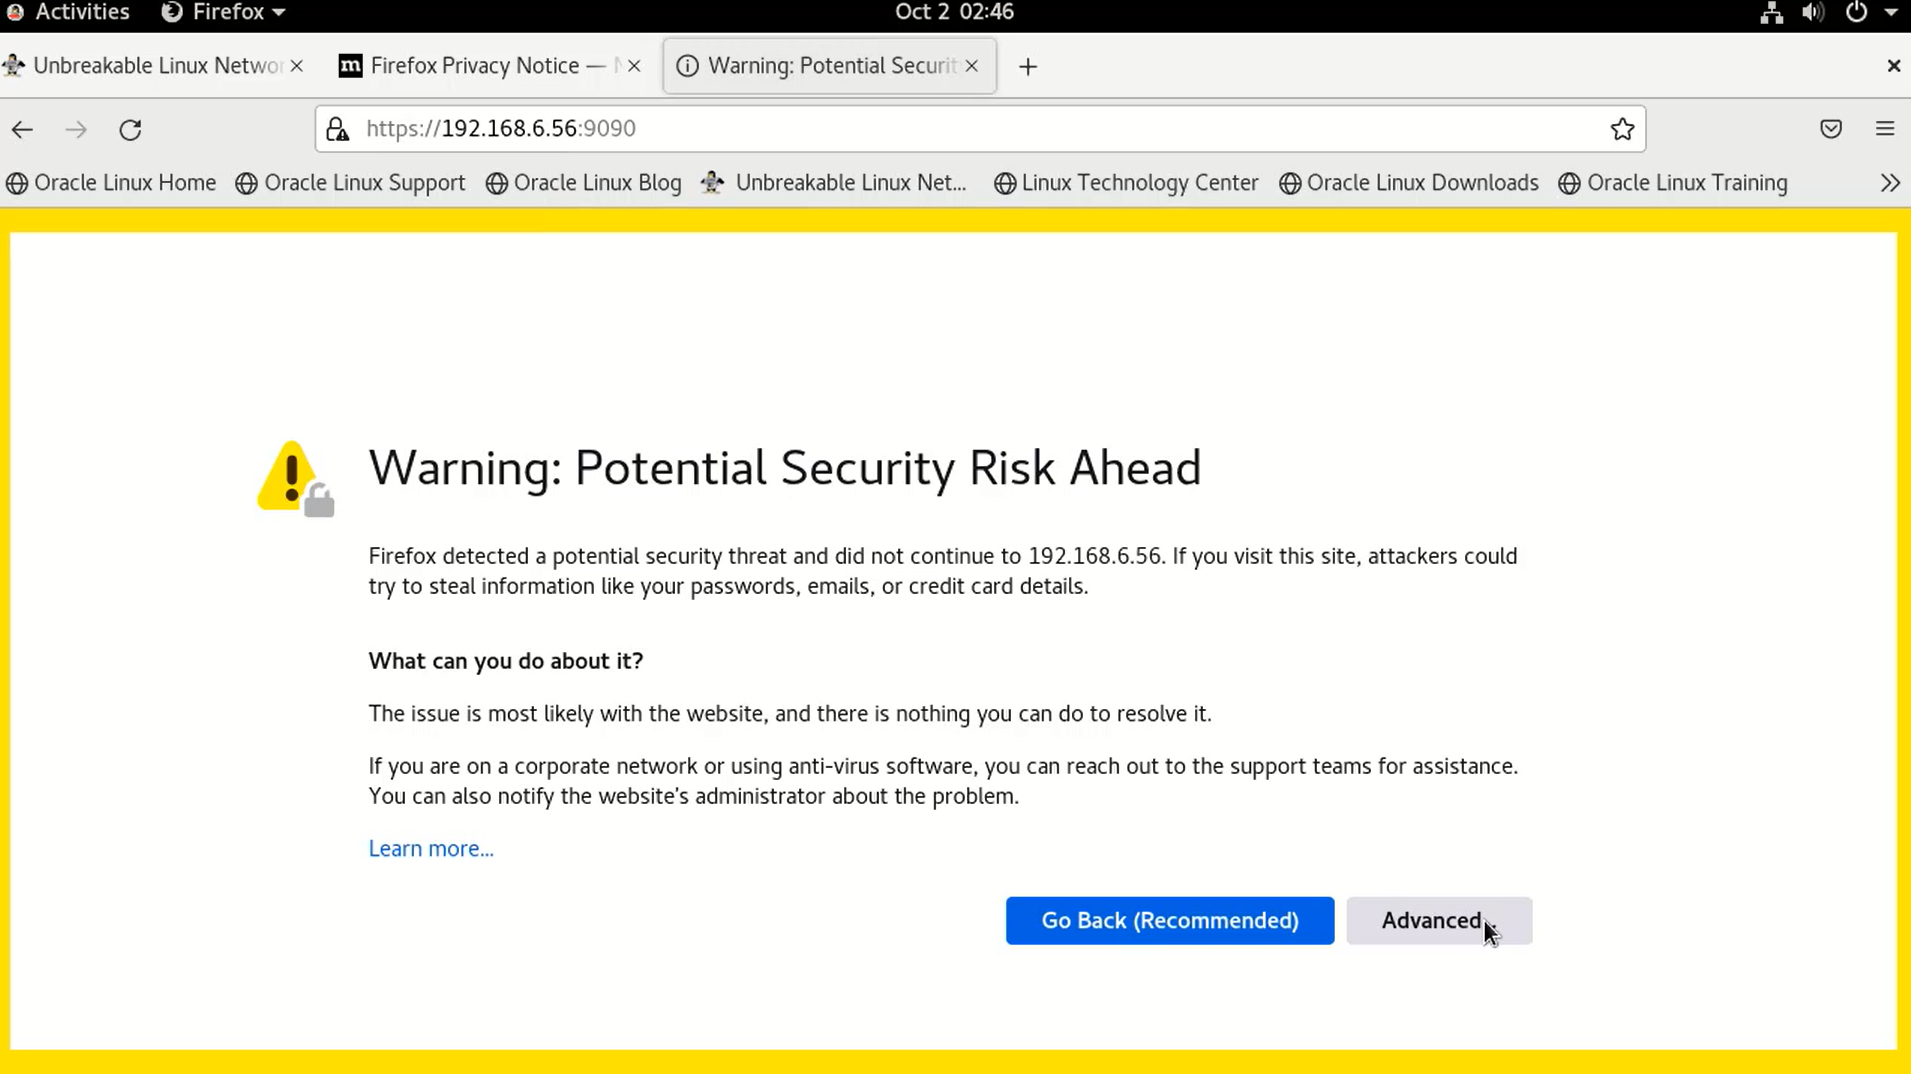
Step 7: If you are using a self-signed certificate, you will get a warning on the browser, simply verify the certificate and accept the security exception to proceed further with the login as shown in the below image.
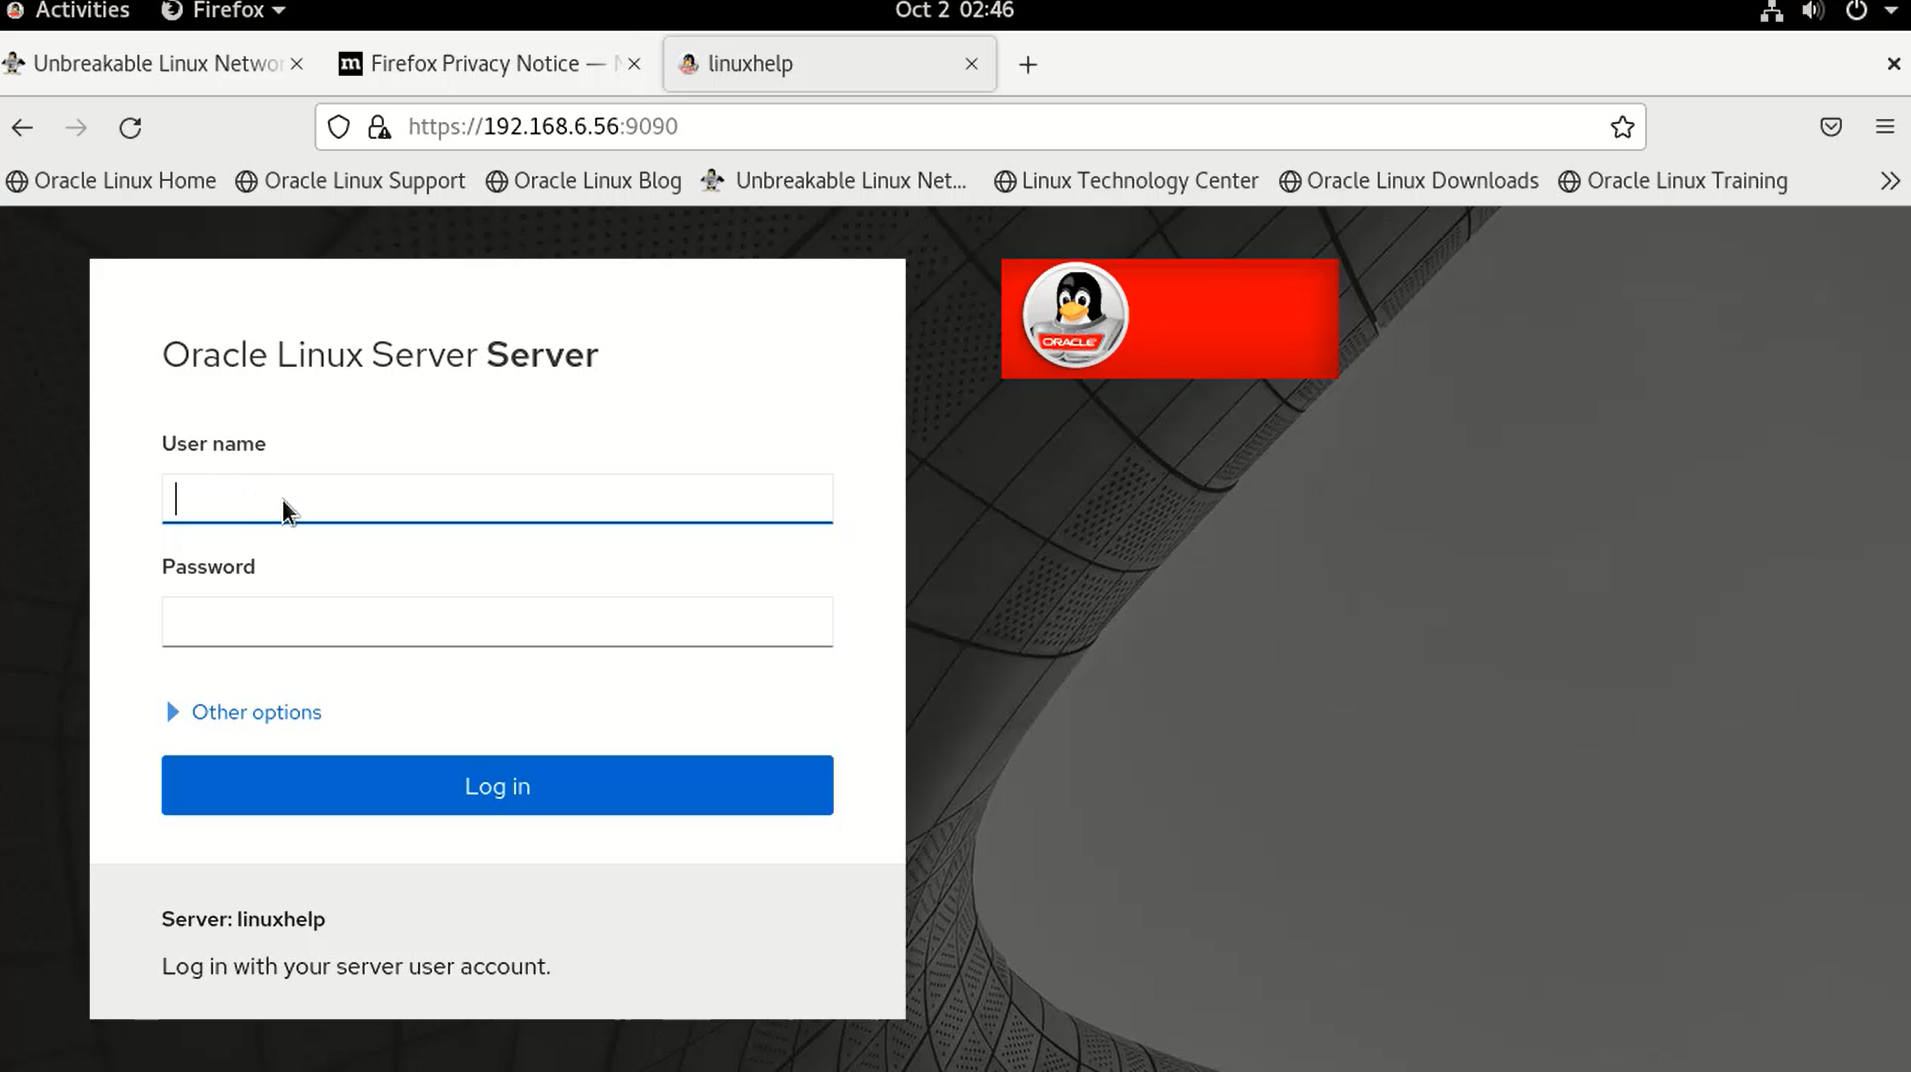
Step 8: In the web console login screen, enter your system user name and password as shown in the below image.
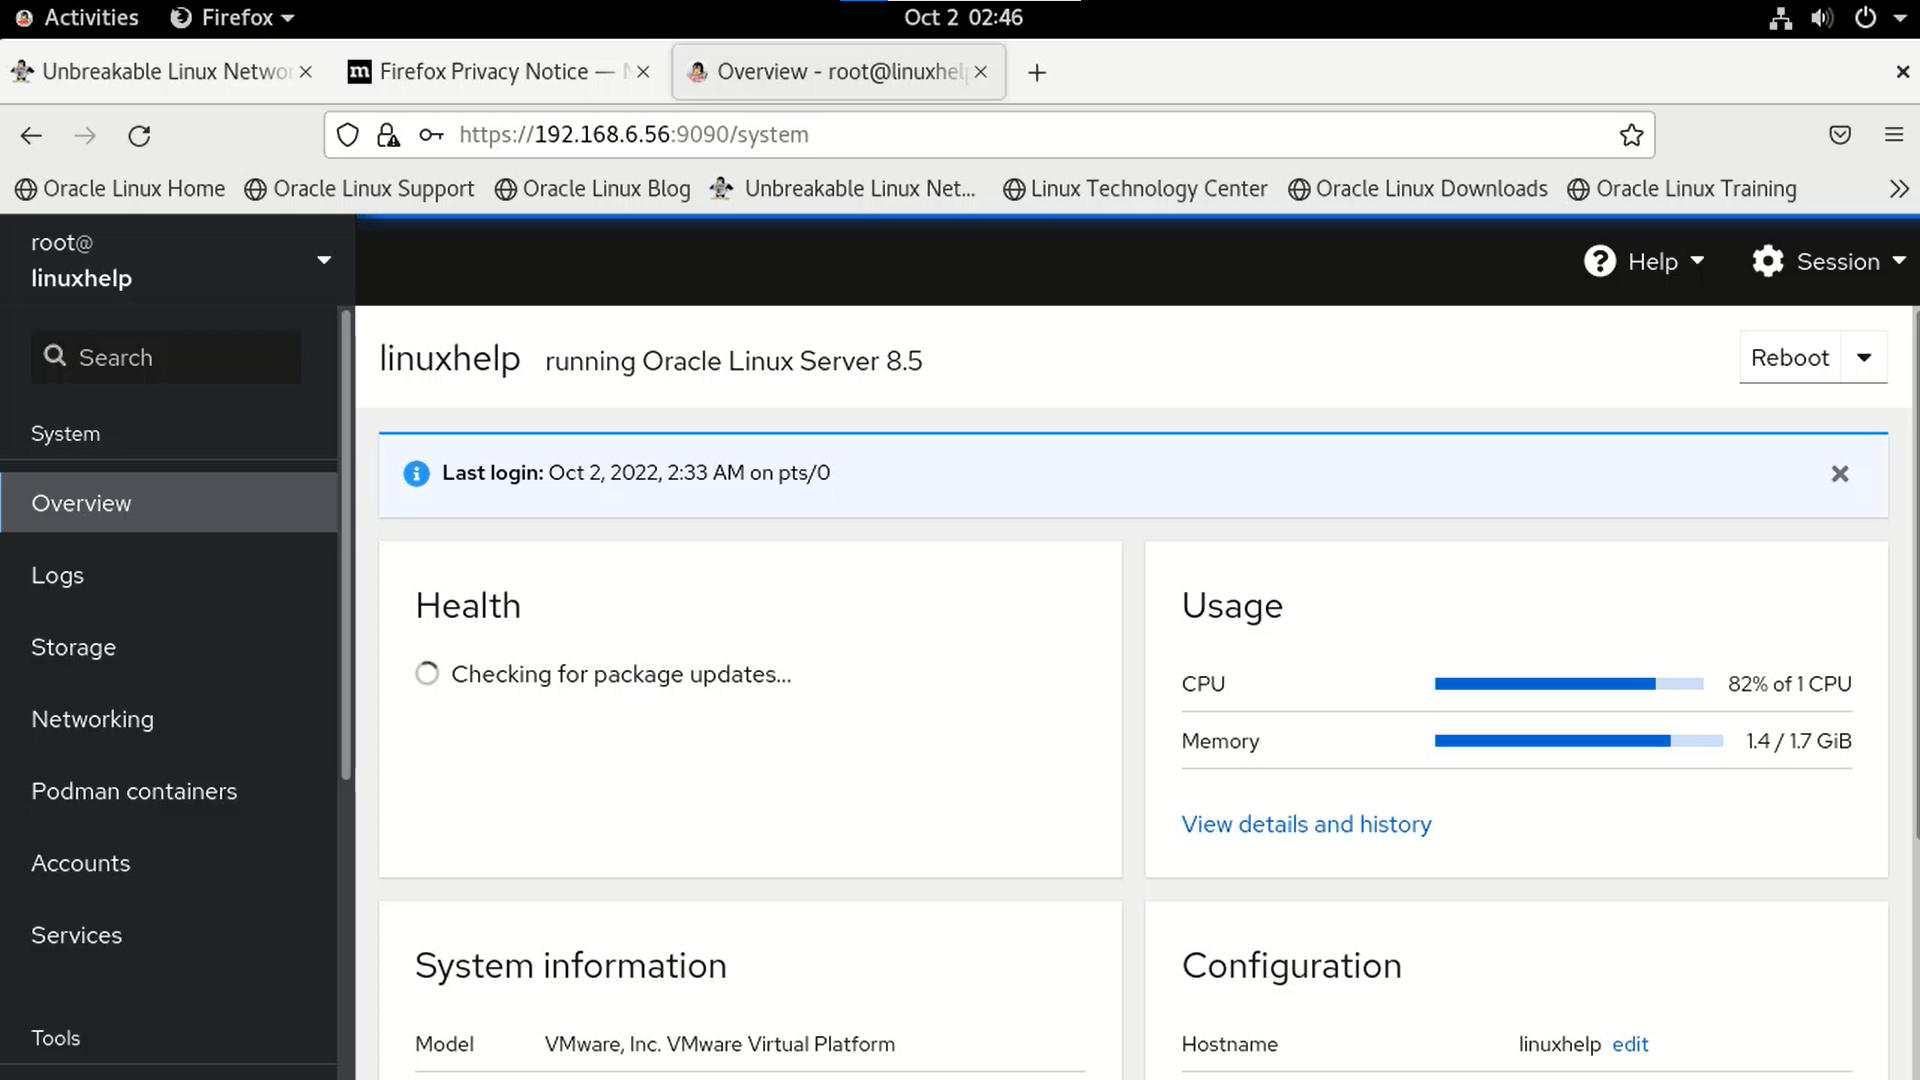
Step 9: After successful authentication, the Cockpit web console interface opens as shown in the below image.
Conclusion:
We have reached the end of this article. In this guide, we have walked you through the steps required to Install Cockpit webconsole on Oracle linux 8.5. Your feedback is much welcome


Comments ( 0 )
No comments available