How to Install and Configure Nagios 4.4.5 On CentOS 8.3
- 00:43 cat /etc/centos-release
- 00:58 yum install gcc glibc glibc-common wget gd gd-devel perl postfix
- 01:20 useradd nagios
- 01:39 groupadd nagcmd
- 01:56 usermod -G nagcmd Nagios
- 02:24 usermod -G nagcmd apache
- 02:33 mkdir /root/nagios
- 02:37 cd /root/Nagios
- 02:52 wget https://assets.nagios.com/downloads/nagioscore/releases/nagios-4.4.5.tar.gz
- 03:03 wget https://nagios-plugins.org/download/nagios-plugins-2.2.1.tar.gz
- 03:26 tar -xvf nagios-plugins-2.2.1.tar.gz
- 03:26 tar -xvf nagios-4.4.5.tar.gz
- 04:06 ./configure --with-command-group=nagcmd
- 04:55 make install
- 05:11 make install-init
- 05:28 make install-commandmode
- 06:08 make install-webconf
- 06:29 htpasswd -s -c /usr/local/nagios/etc/htpasswd.users nagiosadmin
- 07:00 cd nagios-plugins-2.2.1
- 07:02 ./configure --with-nagios-user=nagios --with-nagios-group=nagios
- 07:50 systemctl enable nagios
- 08:25 systemctl start nagios.service
To install and Configure Nagios On CentOS 8.3
Introduction:
Nagios (also known as Nagios Core) is a free and open-source application that can be used for monitoring Linux or Windows servers, network infrastructures, and applications. When properly configured it will alert you when something on your server goes wrong and then notify you again once the problem has been resolved. In this video, we will show you how to install and configure the latest Nagios Core version on CentOS 8.3.
Installation Procedure:
First check the installed verison of OS:
[root@linuxhelp ~]# cat /etc/centos-release
CentOS Linux release 8.3.2011
Then, install some libraries like gcc,glibc,glicommonand GD libraires and its development libraries.
[root@linuxhelp ~]# yum install gcc glibc glibc-common wget gd gd-devel perl postfix
CentOS Linux 8 - AppStream                                          648 kB/s | 6.3 MB     00:09
CentOS Linux 8 - BaseOS                                             736 kB/s | 2.3 MB     00:03
CentOS Linux 8 - Extras                                             2.1 kB/s | 1.5 kB     00:00
CentOS Linux 8 - Extras                                              15 kB/s | 8.6 kB     00:00
Safe Remi's RPM repository for Enterprise Linux 8 - x86_64          3.7 kB/s | 3.0 kB     00:00
Safe Remi's RPM repository for Enterprise Linux 8 - x86_64          345 kB/s | 1.6 MB     00:04
Last metadata expiration check: 0:00:01 ago on Saturday 19 December 2020 11:19:04 AM IST.
Package glibc-2.28-127.el8.x86_64 is already installed.
Package glibc-common-2.28-127.el8.x86_64 is already installed.
Package wget-1.19.5-10.el8.x86_64 is already installed.
gcc                            x86_64   8.3.1-5.1.el8                            appstream    23 M
Installing dependencies:
annobin                        x86_64   9.23-1.el8                               appstream   104 k
bzip2-devel                    x86_64   1.0.6-26.el8                             baseos      224 k
cpp                            x86_64   8.3.1-5.1.el8                            appstream    10 M
xorg-x11-proto-devel-2020.1-3.el8.noarch
zlib-devel-1.2.11-16.el8_2.x86_64
Complete!
Now, create a new Nagios user using useradd command and nagcmd group account and set a password.
[root@linuxhelp ~]# useradd nagios
[root@linuxhelp ~]# groupadd nagcmd
Next, add both the nagios user and the apache user to the nagcmd group using usermod command.
[root@linuxhelp ~]# usermod -G nagcmd Nagios
[root@linuxhelp ~]# usermod -G nagcmd apache
Create a directory for your Nagios installation and all its future downloads.
[root@linuxhelp ~]# mkdir /root/nagios
[root@linuxhelp ~]# cd /root/Nagios
Download Nagios Core 4.4.5
[root@linuxhelp nagios]#  wget https://assets.nagios.com/downloads/nagioscore/releases/nagios-4.4.5.tar.gz
--2020-12-19 11:24:07--  https://assets.nagios.com/downloads/nagioscore/releases/nagios-4.4.5.tar.gz
Resolving assets.nagios.com (assets.nagios.com)... 72.14.181.71, 2600:3c00::f03c:91ff:fedf:b821
Connecting to assets.nagios.com (assets.nagios.com)|72.14.181.71|:443... connected.
Saving to: ‘nagios-4.4.5.tar.gz’
nagios-4.4.5.tar.gz      100%[==================================>]  10.78M  1.08MB/s    in 16s
2020-12-19 11:24:24 (701 KB/s) - ‘nagios-4.4.5.tar.gz’ saved [11304463/11304463]
Now download Nagios Plugin 2.2.1
[root@linuxhelp nagios]# wget https://nagios-plugins.org/download/nagios-plugins-2.2.1.tar.gz
--2020-12-19 11:24:29--  https://nagios-plugins.org/download/nagios-plugins-2.2.1.tar.gz
Resolving nagios-plugins.org (nagios-plugins.org)... 72.14.186.43
Connecting to nagios-plugins.org (nagios-plugins.org)|72.14.186.43|:443... connected.
HTTP request sent, awaiting response... 200 OK
Length: 2728818 (2.6M) [application/x-gzip]
Saving to: ‘nagios-plugins-2.2.1.tar.gz’
nagios-plugins-2.2.1.tar 100%[==================================>]   2.60M   242KB/s    in 16s
2020-12-19 11:24:46 (163 KB/s) - ‘nagios-plugins-2.2.1.tar.gz’ saved [2728818/2728818]
We need to extract downloaded packages with tar command as follows.
[root@linuxhelp nagios]# tar -xvf nagios-4.4.5.tar.gz
nagios-4.4.5/
nagios-4.4.5/.gitignore
nagios-4.4.5/.travis.yml
nagios-4.4.5/CONTRIBUTING.md
nagios-4.4.5/xdata/xpddefault.c
nagios-4.4.5/xdata/xpddefault.h
nagios-4.4.5/xdata/xrddefault.c
nagios-4.4.5/xdata/xrddefault.h
nagios-4.4.5/xdata/xsddefault.c
nagios-4.4.5/xdata/xsddefault.h
Extract plugins
[root@linuxhelp nagios]# tar -xvf nagios-plugins-2.2.1.tar.gz
nagios-plugins-2.2.1/
nagios-plugins-2.2.1/perlmods/
nagios-plugins-2.2.1/perlmods/Config-Tiny-2.14.tar.gz
nagios-plugins-2.2.1/perlmods/parent-0.226.tar.gz
nagios-plugins-2.2.1/perlmods/Test-Simple-0.98.tar.gz
nagios-plugins-2.2.1/perlmods/Makefile.in
nagios-plugins-2.2.1/perlmods/version-0.9903.tar.gz
nagios-plugins-2.2.1/perlmods/Makefile.am
nagios-plugins-2.2.1/pkg/solaris/pkginfo
nagios-plugins-2.2.1/pkg/redhat/
nagios-plugins-2.2.1/pkg/redhat/requires
When extracting these tarballs with tar command, two new folders will appear in that directory.
[root@linuxhelp nagios]# ls -la
total 13724
drwxr-xr-x.  4 root root     4096 Dec 19 11:25 .
dr-xr-x---.  6 root root     4096 Dec 19 11:23 ..
drwxrwxr-x. 20 root root     4096 Aug 20  2019 nagios-4.4.5
-rw-r--r--.  1 root root 11304463 Aug 20  2019 nagios-4.4.5.tar.gz
drwxr-xr-x. 15 root root     4096 Apr 19  2017 nagios-plugins-2.2.1
-rw-r--r--.  1 root root  2728818 Apr 19  2017 nagios-plugins-2.2.1.tar.gz
Now, configure Nagios Core, and to do so we need to go to the Nagios directory
[root@linuxhelp nagios]# cd nagios-4.4.5
Run the configure file and if everything goes fine, it will show the output
[root@linuxhelp nagios-4.4.5]#  ./configure --with-command-group=nagcmd
checking for a BSD-compatible install... /usr/bin/install -c
checking build system type... x86_64-pc-linux-gnu
checking host system type... x86_64-pc-linux-gnu
checking for gcc... gcc
checking for gdImagePng in -lgd (order 1)... no
checking for gdImagePng in -lgd (order 2)... yes
For more information on obtaining support for Nagios, visit:
https://support.nagios.com
Enjoy.
After configuring, we need to compile by triggering the below command
[root@linuxhelp nagios-4.4.5]# make install
cd ./base && make install
make[1]: Entering directory '/root/nagios/nagios-4.4.5/base'
/usr/bin/install -c -m 775 -o nagios -g nagios -d /usr/local/nagios/bin
/usr/bin/install -c -s -m 774 -o nagios -g nagios nagios /usr/local/nagios/bin
/usr/bin/install -c -s -m 774 -o nagios -g nagios nagiostats /usr/local/nagios/bin
The following command will install the init scripts for Nagios.
[root@linuxhelp nagios-4.4.5]# make install-init
/usr/bin/install -c -m 755 -d -o root -g root /lib/systemd/system
/usr/bin/install -c -m 755 -o root -g root startup/default-service /lib/systemd/system/nagios.service
To make Nagios work from the command line, we need to install the command-mode.
[root@linuxhelp nagios-4.4.5]# make install-commandmode
/usr/bin/install -c -m 775 -o nagios -g nagcmd -d /usr/local/nagios/var/rw
chmod g+s /usr/local/nagios/var/rw
*** External command directory configured ***
[root@linuxhelp nagios-4.4.5]# make install-config
/usr/bin/install -c -m 775 -o nagios -g nagios -d /usr/local/nagios/etc
/usr/bin/install -c -m 775 -o nagios -g nagios -d /usr/local/nagios/etc/objects
/usr/bin/install -c -b -m 664 -o nagios -g nagios sample-config/nagios.cfg /usr/local/nagios/etc/nagios.cfg
*** Config files installed ***
Next, install sample Nagios files, also run the following command.
[root@linuxhelp nagios-4.4.5]# vim /usr/local/nagios/etc/objects/contact.cfg
Now configure Web Interface for Nagios with the following command. The below command will configure Web Interface for Nagios and a web admin user will be created “nagiosadmin”
[root@linuxhelp nagios-4.4.5]# make install-webconf
/usr/bin/install -c -m 644 sample-config/httpd.conf /etc/httpd/conf.d/nagios.conf
*** Nagios/Apache conf file installed ***
Now we will be creating a password for “nagiosadmin”. After executing this command, provide a password twice and remember it because this password will be used when you login into the Nagios Web interface.
[root@linuxhelp nagios-4.4.5]# htpasswd -s -c /usr/local/nagios/etc/htpasswd.users nagiosadmin
New password:
Re-type new password:
Adding password for user nagiosadmin
[root@linuxhelp nagios-4.4.5]# cd /root/nagios
[root@linuxhelp nagios]# ll
total 13716
drwxrwxr-x. 20 root root     4096 Dec 19 11:26 nagios-4.4.5
-rw-r--r--.  1 root root 11304463 Aug 20  2019 nagios-4.4.5.tar.gz
drwxr-xr-x. 15 root root     4096 Apr 19  2017 nagios-plugins-2.2.1
-rw-r--r--.  1 root root  2728818 Apr 19  2017 nagios-plugins-2.2.1.tar.gz
We have downloaded Nagios plugins in /root/nagios, go there
[root@linuxhelp nagios]# cd nagios-plugins-2.2.1
Configure and install it as directed below.
[root@linuxhelp nagios-plugins-2.2.1]# ./configure --with-nagios-user=nagios --with-nagios-group=nagios
checking for a BSD-compatible install... /usr/bin/install -c
checking whether build environment is sane... yes
checking for a thread-safe mkdir -p... /usr/bin/mkdir -p
checking for gawk... gawk
checking whether make sets $(MAKE)... yes
checking whether to disable maintainer-specific portions of Makefiles... yes
Now the Nagios configuration is done and moving to verify it.
[root@linuxhelp nagios-plugins-2.2.1]# /usr/local/nagios/bin/nagios -v /usr/local/nagios/etc/nagios.cfg
Nagios Core 4.4.5
Copyright (c) 2009-present Nagios Core Development Team and Community Contributors
Copyright (c) 1999-2009 Ethan Galstad
Last Modified: 2019-08-20
License: GPL
Checking global event handlers...
Checking obsessive compulsive processor commands...
Checking misc settings...
Total Warnings: 0
Total Errors:   0
Things look okay - No serious problems were detected during the pre-flight check
To make Nagios work across reboots, we need to add nagios and httpd with chkconfig and systemctl command.
[root@linuxhelp nagios-plugins-2.2.1]# systemctl enable nagios
Created symlink /etc/systemd/system/multi-user.target.wants/nagios.service → /usr/lib/systemd/system/nagios.service.’
[root@linuxhelp nagios-plugins-2.2.1]# systemctl enable httpd
Restart Nagios to make the new settings take effect.
[root@linuxhelp nagios-plugins-2.2.1]# systemctl start nagios.service
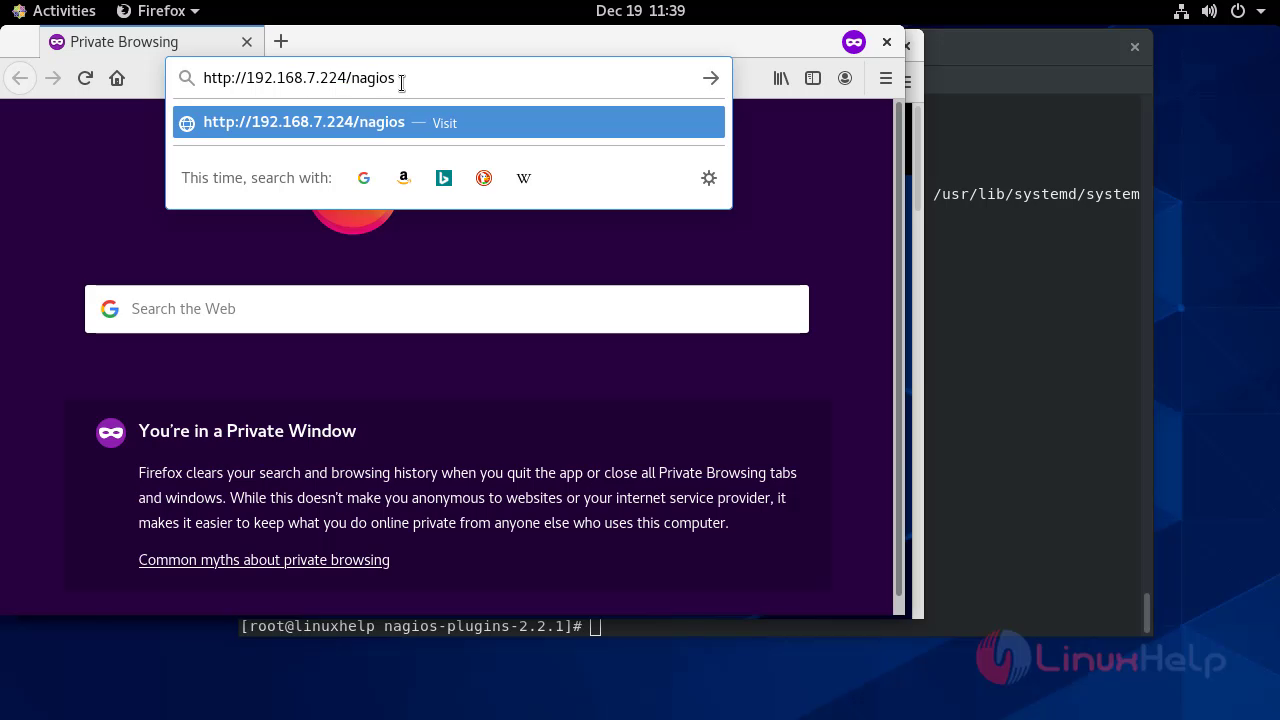
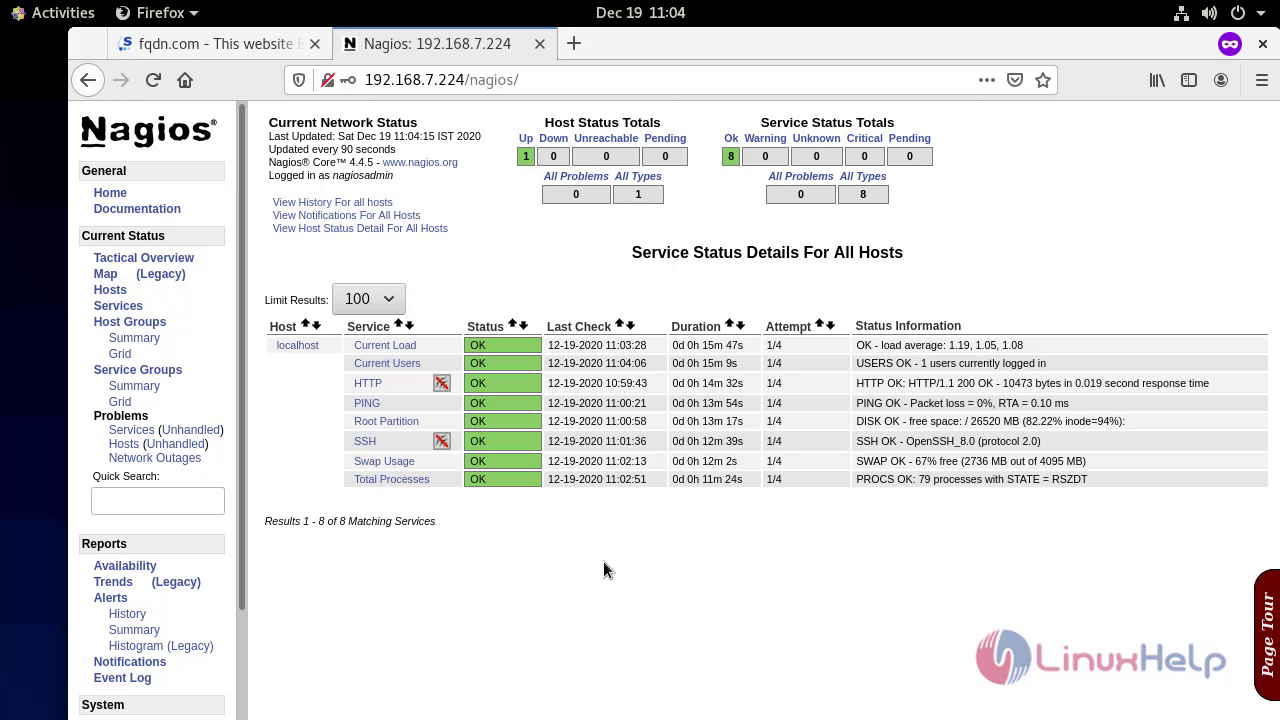
Login to the Nagios Web Interface
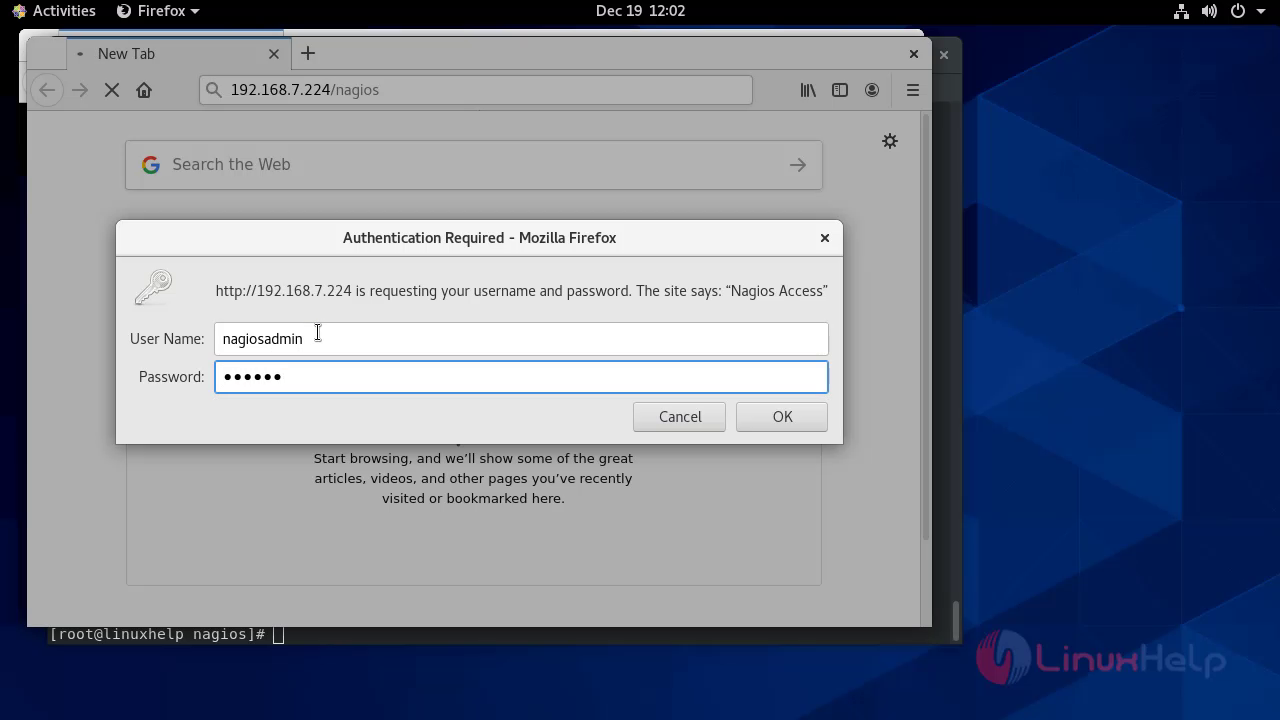
Your Nagios is ready to work, open it in your browser with “http://Your-server-IP-address/nagios” and provide the username “nagiosadmin” and password.
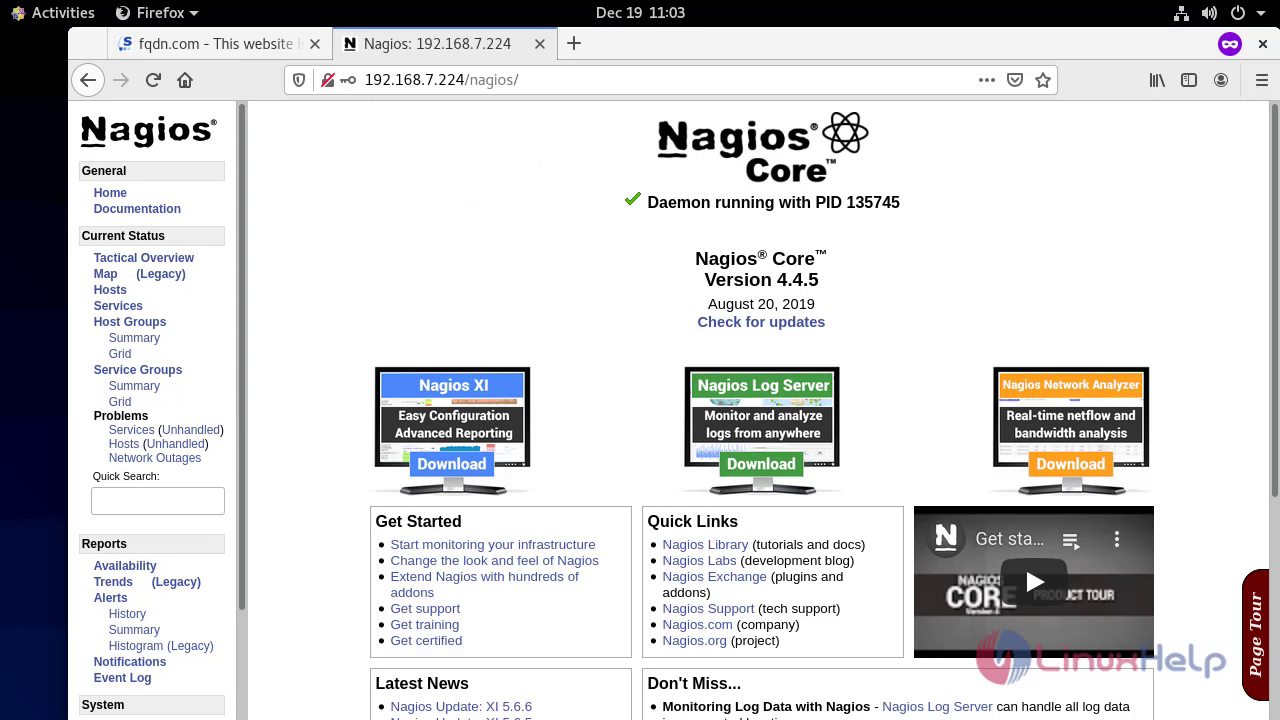
 Nagios Web Dashboard
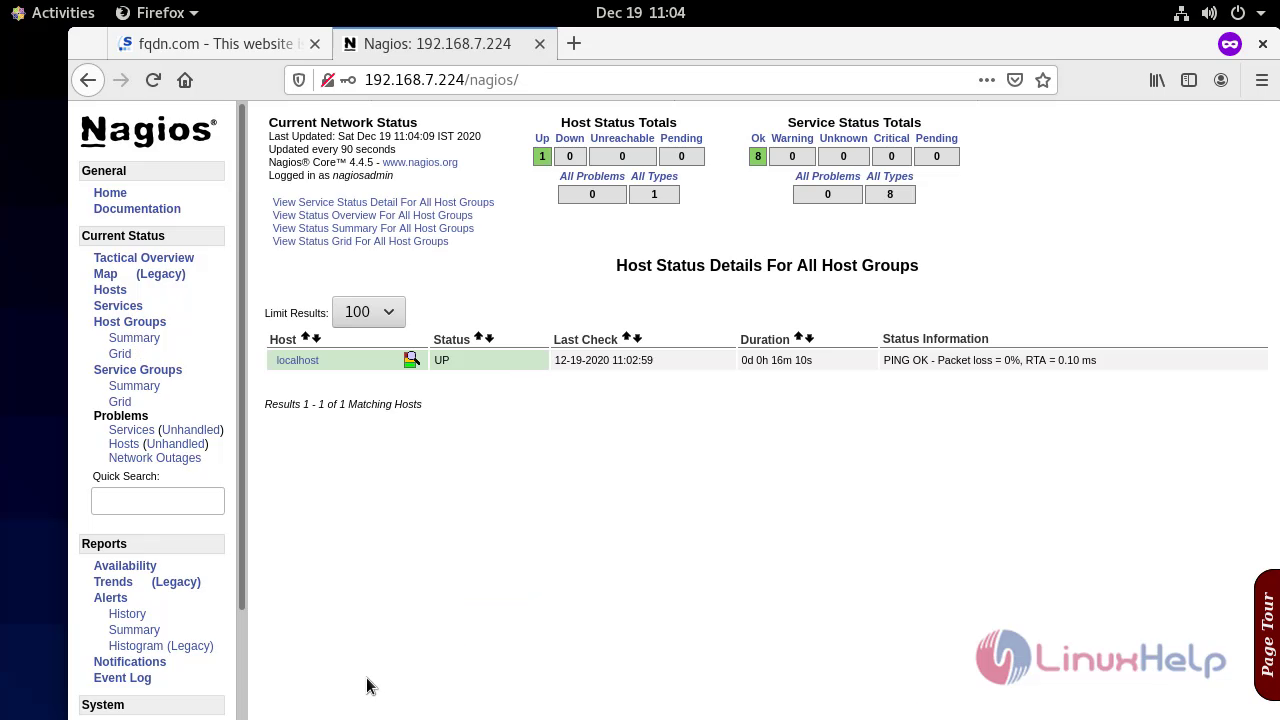
 Host View
 Nagios Overview
 Services View
 With this method the installation and configuration of Nagios 4.4.5 on CentOS 8.1 comes to end.
Comments ( 0 )
No comments available