How to install zurmo crm using lamp in centos 7.5
- 3.13 yum install php php-soap php-mbstring php-mcrypt php-pecl-memcacahe php-imap php-pecl-apc php-ldap php-mysql
- 0:52 yum install httpd
- 1:47 yum install mariadb-server mariadb
- 2:47 mysql_secure_installation
- 5:24 yum insatll memcacahed
- 6:15 mysql -u root -p
- 7:46 wget http://build.zurmo.com/downloads/zurmo-stable-3.2.5.d5d5f53cc259.zip
- 7:59 unzip zurmo-stable-3.2.5.d5d5f53cc259.zip
- 8:18 mv zurmo /var/www/
- 8:48 chown -R apache:apache /var/www/zurmo
- 9:15 vim /etc/httpd/conf.d/zurmo.conf
- 10:22 vim /etc/hosts
- 10:43 systemctl restart httpd
To install Zurmo CRM using lamp configuration in CentOS 7.5
Zurmo is a free, open-source web-based customer relationship management application which is both easy to use and manage. It is written in PHP.It makes use of MySQL to store its database. It includes features like Contact Management, Activity Management, Deal Tracking, Reporting,etc. It is simple to install Zurmo CRM and in this article, you will learn about the method to install Zurmo on CentOS 7.5 .
Configuring LAMP Setup
Installing apache
[root@linuxhelp ~]#yum install httpd
Loaded plugins: fastestmirror, langpacks
Loading mirror speeds from cached hostfile
* base: centos.mirrors.estointernet.in
* extras: centos.mirrors.estointernet.in
* updates: mirrors.123host.vn
base                                                                                                                 | 3.6 kB  00:00:00
extras                                                                                                               | 3.4 kB  00:00:00
updates                                                                                                              | 3.4 kB  00:00:00
Resolving Dependencies
--> Running transaction check
---> Package httpd.x86_64 0:2.4.6-88.el7.centos will be installed
.
.
.
Installed:
  httpd.x86_64 0:2.4.6-88.el7.centos
Dependency Installed:
  apr.x86_64 0:1.4.8-3.el7_4.1                 apr-util.x86_64 0:1.5.2-6.el7
  httpd-tools.x86_64 0:2.4.6-88.el7.centos     mailcap.noarch 0:2.1.41-2.el7
Complete!
Once the above process Is completed we need to start the service
[root@linuxhelp ~]#systemctl start httpd
[root@linuxhelp ~]#systemctl status httpd
● httpd.service - The Apache HTTP Server
   Loaded: loaded (/usr/lib/systemd/system/httpd.service; disabled; vendor preset: disabled)
   Active: active (running) since Thu 2019-03-21 05:36:22 IST; 18s ago
     Docs: man:httpd(8)
           man:apachectl(8)
 Main PID: 52253 (httpd)
   Status: "Total request: 0; Current request/sec: 0; Current Traffic: 0/Bsec"
    Tasks: 6
   CGroup: /system.slice/httpd.service
           ├─52253 /usr/sbin/httpd -DFOREGROUND
           ├─52253 /usr/sbin/httpd -DFOREGROUND
           ├─52253 /usr/sbin/httpd -DFOREGROUND
           ├─52253 /usr/sbin/httpd -DFOREGROUND
           ├─52253 /usr/sbin/httpd -DFOREGROUND
           └─52253 /usr/sbin/httpd -DFOREGROUND
Enabling the apache service by using this command
[root@linuxhelp ~]# systemctl enable httpd
Created symlink from /etc/systemd/system/multi-user.target.wants/httpd.service to /usr/lib/systemd/system/httpd.service.
Installing mariadb and mariadb-server
[root@linuxhelp ~]# yum install mariadb-server mariadb
Loaded plugins: fastestmirror, langpacks
Loading mirror speeds from cached hostfile
 * base: centos.mirrors.estointernet.in
 * extras: centos.mirrors.estointernet.in
 * updates: mirrors.123host.vn
Resolving Dependencies
--> Running transaction check
---> Package mariadb.x86_64 1:5.5.60-1.el7_5 will be installed
---> Package mariadb-server.x86_64 1:5.5.60-1.el7_5 will be installed
--> Finished Dependency Resolution
.
.
.
Verifying  : 1:mariadb-server-5.5.60-1.el7_5.x86_64                                                                                   1/2
  Verifying  : 1:mariadb-5.5.60-1.el7_5.x86_64                                                                                          2/2

Installed:
  mariadb.x86_64 1:5.5.60-1.el7_5                                   mariadb-server.x86_64 1:5.5.60-1.el7_5
Once the above process Is completed start the service
[root@linuxhelp ~]# systemctl start mariadb
Enabling the mariadb service
[root@linuxhelp ~]# systemctl enable mariadb
Created symlink from /etc/systemd/system/multi-user.target.wants/mariadb.service to /usr/lib/systemd/system/mariadb.service.
After enabling the service we need to secure root password for mysql database
[root@linuxhelp ~]#mysql_secure_installation
NOTE: RUNNING ALL PARTS OF THIS SCRIPT IS RECOMMENDED FOR ALL MariaDB
      SERVERS IN PRODUCTION USE!  PLEASE READ EACH STEP CAREFULLY!
In order to log into MariaDB to secure it, we'll need the current
password for the root user.  If you've just installed MariaDB, and
you haven't set the root password yet, the password will be blank,
so you should just press enter here.
Enter current password for root (enter for none):
OK, successfully used password, moving on...
Setting the root password ensures that nobody can log into the MariaDB
root user without the proper authorization.
Set root password? [Y/n] y
New password:
Re-enter new password:
Password updated successfully!
Reloading privilege tables..
 ... Success!
By default, a MariaDB installation has an anonymous user, allowing anyone
to log into MariaDB without having to have a user account created for
them.  This is intended only for testing, and to make the installation
go a bit smoother.  You should remove them before moving into a
production environment.
Remove anonymous users? [Y/n] y
 ... Success!
Normally, root should only be allowed to connect from 'localhost'.  This
ensures that someone cannot guess at the root password from the network.
Disallow root login remotely? [Y/n] y
 ... Success!
By default, MariaDB comes with a database named 'test' that anyone can
access.  This is also intended only for testing, and should be removed
before moving into a production environment.
Remove test database and access to it? [Y/n] y
 - Dropping test database...
 ... Success!
 - Removing privileges on test database...
 ... Success!
Reloading the privilege tables will ensure that all changes made so far
will take effect immediately.
Reload privilege tables now? [Y/n] y
 ... Success!
Cleaning up...
All done!  If you've completed all of the above steps, your MariaDB
Once the above configuration is completed installing php and modules
[root@linuxhelp ~]#yum install php php-soap php-mbstring php-mcrypt  php-imap php-pecl-apc php-ldap php-mysql php-pecl-memcache
Transaction test succeeded
Running transaction
  Installing : php-mbstring-5.6.40-6.el7.remi.x86_64                                                                                                                                                       1/7
  Installing : php-soap-5.6.40-6.el7.remi.x86_64                                                                                                                                                           2/7
  Installing : php-mcrypt-5.6.40-6.el7.remi.x86_64                                                                                                                                                         3/7
  Installing : php-pecl-apcu-4.0.11-2.el7.remi.5.6.x86_64                                                                                                                                                  4/7
  Installing : php-imap-5.6.40-6.el7.remi.x86_64                                                                                                                                                           5/7
  Installing : php-ldap-5.6.40-6.el7.remi.x86_64                                                                                                                                                           6/7
  Installing : php-5.6.40-6.el7.remi.x86_64                                                                                                                                                                7/7
  Verifying  : php-5.6.40-6.el7.remi.x86_64                                                                                                                                                                1/7
  Verifying  : php-ldap-5.6.40-6.el7.remi.x86_64                                                                                                                                                           2/7
  Verifying  : php-imap-5.6.40-6.el7.remi.x86_64                                                                                                                                                           3/7
  Verifying  : php-pecl-apcu-4.0.11-2.el7.remi.5.6.x86_64                                                                                                                                                  4/7
  Verifying  : php-mcrypt-5.6.40-6.el7.remi.x86_64                                                                                                                                                         5/7
  Verifying  : php-soap-5.6.40-6.el7.remi.x86_64                                                                                                                                                           6/7
  Verifying  : php-mbstring-5.6.40-6.el7.remi.x86_64                                                                                                                                                       7/7
	.
	.
	.
Installed:
  php.x86_64 0:5.6.40-6.el7.remi                 php-imap.x86_64 0:5.6.40-6.el7.remi   php-ldap.x86_64 0:5.6.40-6.el7.remi   php-mbstring.x86_64 0:5.6.40-6.el7.remi   php-mcrypt.x86_64 0:5.6.40-6.el7.remi
  php-pecl-apcu.x86_64 0:4.0.11-2.el7.remi.5.6   php-soap.x86_64 0:5.6.40-6.el7.remi
Now to restart the apache service
[root@linuxhelp ~]#systemctl restart httpd
Intalling Zurmo CRM
You need to edit the /etc/php.ini file. In that file, enable the date.timezone option and add your time zone. Here the following timezone is selected.
[root@linuxhelp ~]#vim /etc/php.ini
date.timezone = Asia/Kolkata
Next change the following option values as mentioned below
upload_max_filesize = 20M
post_max_size = 20M
max_execution_time = 300
If you don’ t have the memcached package installed, use the following command to install it. It is very essential for the installation process.
[root@linuxhelp ~]# yum install memcached
Then start the service and enable it.
[root@linuxhelp ~]#systemctl start memcached
[root@linuxhelp ~]#systemctl enable memcached
Create the MySQL database. Log into MySQL as a root user and make the necessary settings.
[root@linuxhelp ~]# mysql -u root –p
 Output:
MariaDB [(none)]> create database zurmo1;
Query OK, 0 rows affected (0.02 sec)
MariaDB [(none)]> create user 'zurmouser'@localhost identified by '123456';
Query OK, 0 rows affected (0.02 sec)
MariaDB [(none)]> grant all privileges on zurmo1.* to 'zurmouser'@localhost;
Query OK, 0 rows affected (0.02 sec)
MariaDB [(none)]> flush privileges;
Query OK, 0 rows affected (0.02 sec)
Once the database configuration is done, you shall download the Zurmo CRM with the help of the following command.
[root@linuxhelp ~]#wget  http://build.zurmo.com/downloads/zurmo-stable-3.2.5.d5d5f53cc259.zip
--2019-03-21 05:52:34--  http://build.zurmo.com/downloads/zurmo-stable-3.2.5.d5d5f53cc259.zip
Resolving build.zurmo.com (build.zurmo.com)... 209.59.166.126
Connecting to build.zurmo.com (build.zurmo.com)|209.59.166.126|:80... connected.
HTTP request sent, awaiting response... 200 OK
Length: 36309070 (35M) [application/zip]
Saving to: ‘zurmo-stable-3.2.5.d5d5f53cc259.zip’
100%[=====================================================================================================================================================================>] 36,309,070  1.10MB/s   in 35s
2019-03-21 05:52:16 (852 KB/s) - ‘zurmo-stable-3.2.5.d5d5f53cc259.zip’ saved [36309070/36309070]
Once the installation package is downloaded, you shall extract it as follows.
[root@linuxhelp ~]#unzip zurmo-stable-3.2.5.d5d5f53cc259.zip
inflating: zurmo/app/themes/default/images/jqueryui/ui-icons_222222_256x240.png
   creating: zurmo/app/themes/default/ico/
  inflating: zurmo/app/themes/default/ico/favicon.ico
  inflating: zurmo/app/version.php
  inflating: zurmo/app/test.php
  inflating: zurmo/app/index.php
  inflating: zurmo/app/roots.php
   creating: zurmo/app/assets/
 extracting: zurmo/app/assets/index.html
Now move the zurmo directory to location.
[root@linuxhelp ~]# mv zurmo /var/www/
And then, change the ownership for the zurmo directory with the help of the following command.
[root@linuxhelp ~]# chown -R apache:apache /var/www/zurmo
Next step is very crucial. You need to configure the Apache VirtualHost for Zurmo.
[root@linuxhelp ~]# vim /etc/httpd/conf.d/zurmo.conf
<Virtualhost *:80>
        servername www.linuxhelp1.com
        Documentroot /var/www/zurmo
</Virtualhost>
Now we need to configure the host entry
[root@linuxhelp ~]#vim /etc/hosts
<Ip adreess> <Domain name>
Now we need to restart the apache server
[root@linuxhelp ~]#systemctl restart httpd
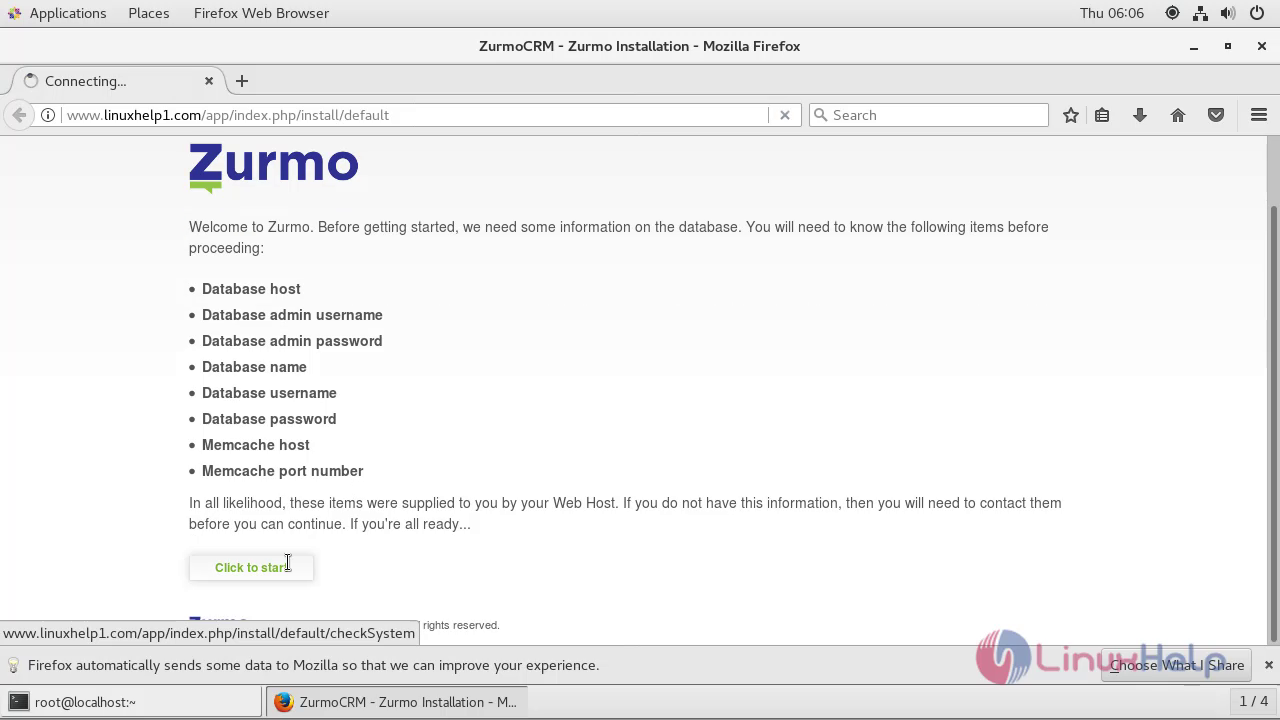
Next, open the web browser and navigate to your domain name or localhost When the installation page appears, click on the Start the installation.
Installation setup
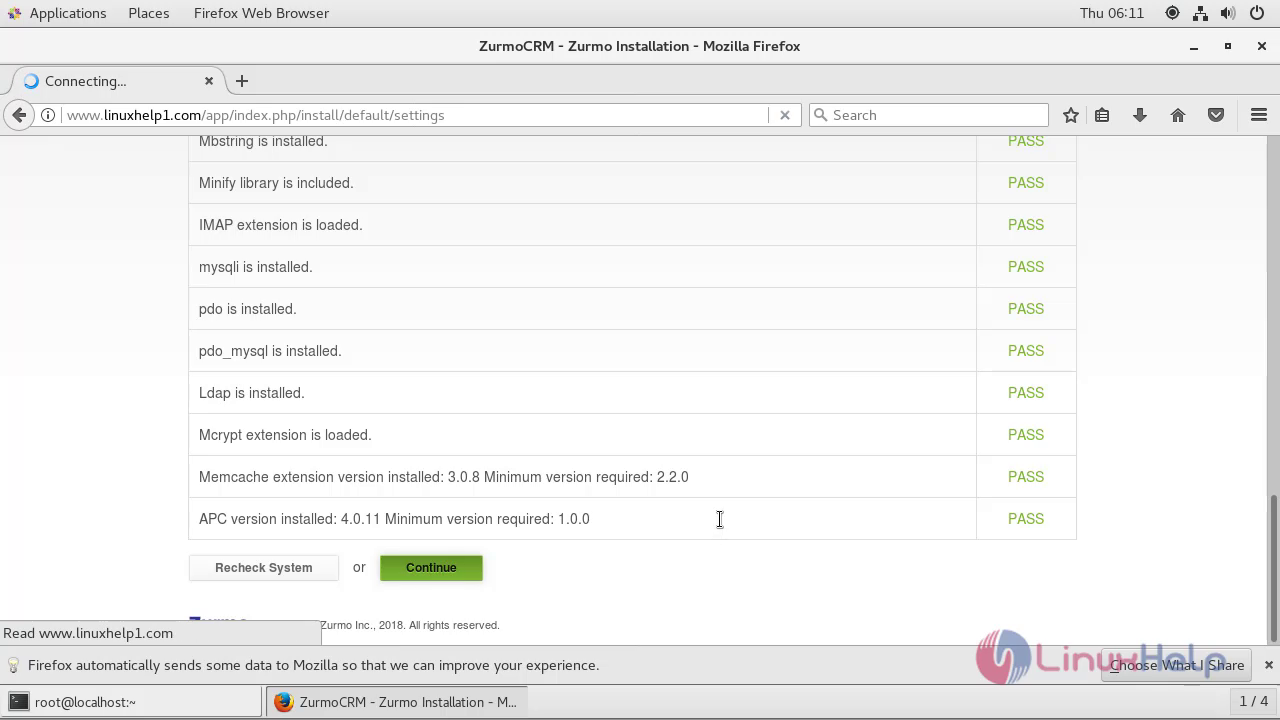
Check the modules and package are installed properly
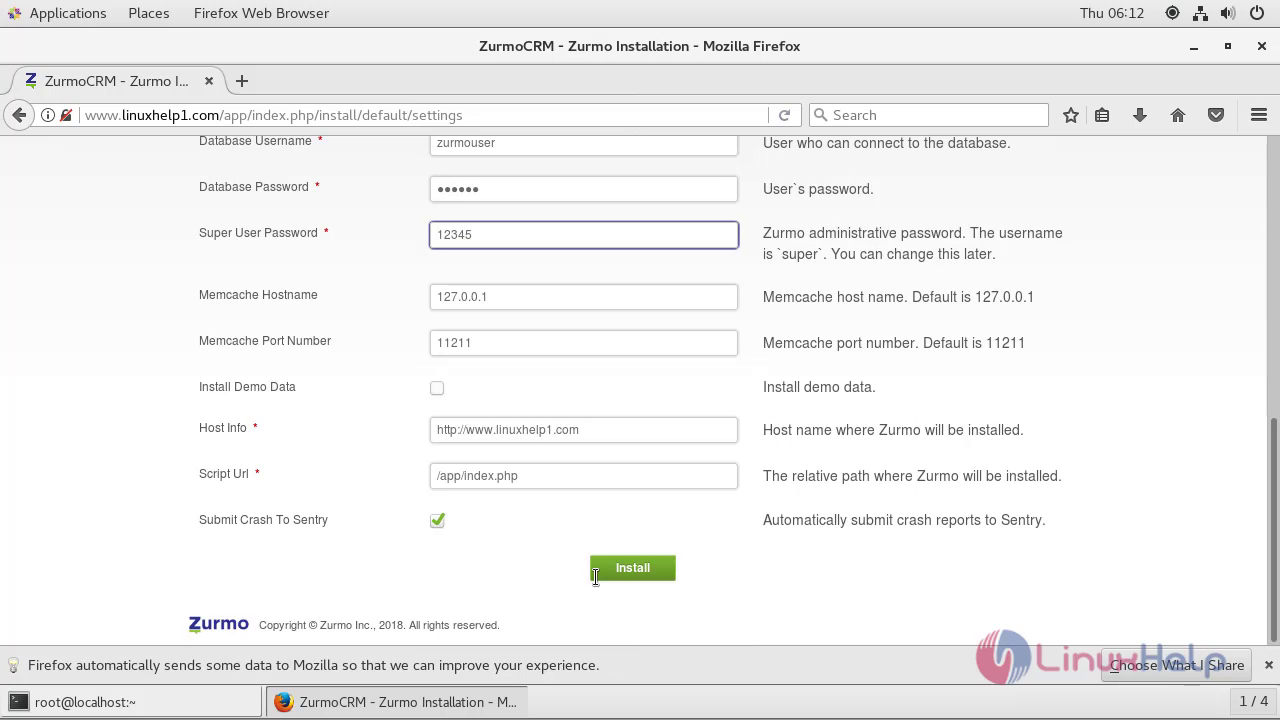
Enter the necessary database information and Zurmo admin details in the respective fields.
Installation has been completed. You can now click the Sign in option.

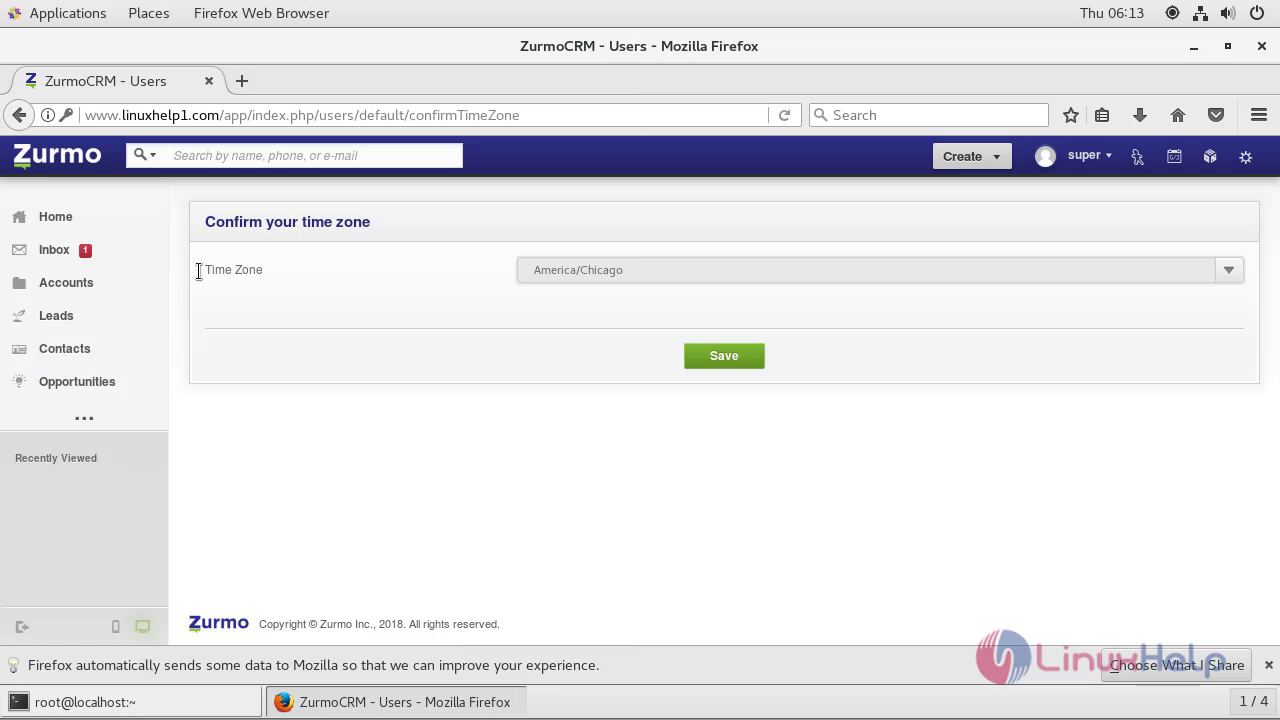
Know in the admin login page use your super user to login
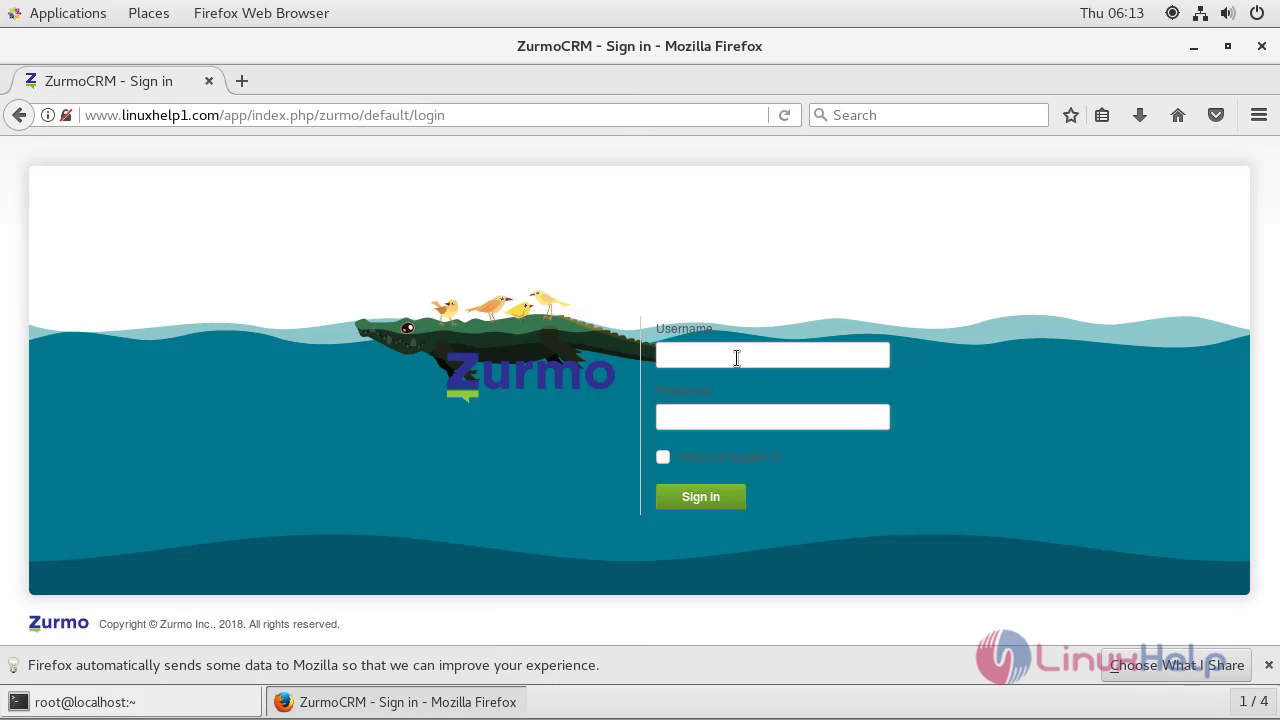
This the zurmo crm admin page
With this the installation of Zurmo CRM using In centos 7.5 comes to an end.


Comments ( 0 )
No comments available