How to install TicketsCAD on CentOS 6
How to install TicketsCAD on CentOS 6
Tickets CAD is a free open-source CAD software and it is a part of the open ISES Project.Tickets CAD is primarily designed to support community emergency services.It contains Chat, maps, directions, GPS tracking, extensive email/SMS/messaging capabilities,etc. This tutorial covers the installation procedure of TicketsCAD on CentOS 6.
Installation procedure
Pre-Requisite
For installing TicketsCAD, you need to have LAMP stack installed in your system. Next download the installation package from TicketsCAD from its official site following link http://www.ticketscad.org/downloads/.
After downloading the package, list the packages using the ll command.
[root@linuxhelp1 Downloads]# ll
total 4780
-rw-r--r--. 1 root root 4891563 Aug  4 01:41 tickets_3.12A_082516.zip
Move to downloaded package to /opt/ directory.
[root@linuxhelp1 Downloads]# mv tickets_3.12A_082516.zip /opt/
Now create the TicketsCAD directory in /var/www/html/ directory.
[root@linuxhelp1 Downloads]# mkdir -p /var/www/html/ticketscad
Extract the package to TicketsCAD directory using the unzip command.
[root@linuxhelp1 opt]# unzip tickets_3.12A_082516.zip -d /var/www/html/ticketscad/
Archive:  tickets_3.12A_082516.zip
  inflating: /var/www/html/ticketscad/about.php
  inflating: /var/www/html/ticketscad/about_2_12_beta.txt
  inflating: /var/www/html/ticketscad/about_2_13_beta.txt
...
...
...
  inflating: /var/www/html/ticketscad/y.php
  inflating: /var/www/html/ticketscad/_changed files.txt
   creating: /var/www/html/ticketscad/_osm/
   creating: /var/www/html/ticketscad/_osm/tiles/
Change the ownership for the TicketsCAD directory by running the following command.
[root@linuxhelp1 opt]# chown apache:apache -R /var/www/html/ticketscad/
Create a seperate database for the TicketsCAD by entering into MariaDB and follow the set of below commands to create a database and grant the privileges to the created user.
[root@linuxhelp1 opt]# mysql -u root -p
Enter password:
Welcome to the MySQL monitor.  Commands end with   or g.
Your MySQL connection id is 10
Server version: 5.1.73 Source distribution
Copyright (c) 2000, 2013, Oracle and/or its affiliates. All rights reserved.
Oracle is a registered trademark of Oracle Corporation and/or its
affiliates. Other names may be trademarks of their respective
owners.

Type ' help '  or ' h'  for help. Type ' c'  to clear the current input statement.

mysql>  CREATE DATABASE ticketsdb
Query OK, 1 row affected (0.00 sec)

mysql>  GRANT ALL PRIVILEGES ON ticketsdb.* TO ' ticketsuser' @' localhost'  IDENTIFIED BY ' password'  WITH GRANT OPTION
Query OK, 0 rows affected (0.02 sec)

mysql>  FLUSH PRIVILEGES
Query OK, 0 rows affected (0.00 sec)

mysql>  exit
Bye
Edit the php.ini file using the vim editor and modify the following lines in the file. Save and exit from the file.
[root@linuxhelp1 opt]# vim /etc/php.ini

memory_limit = 256M
safe_mode = Off
magic_quotes_runtime = Off
session.auto_start = 0
Next configure the apache virtual host using vim editor and uncomment the following line.
[root@linuxhelp1 opt]# vim /etc/httpd/conf/httpd.conf
#NameVirtualHost *:80
Add the following virtual host configuration lines to the file. Save and exit from the file.
< VirtualHost *:80>
ServerAdmin admin@yourdomain.com
DocumentRoot /var/www/html/ticketscad/
ServerName linuxhelp1

< Directory /var/www/html/ticketscad/>
    Options FollowSymLinks
    AllowOverride All
< /Directory>
    ErrorLog logs/yourdomain.com-error_log
    CustomLog logs/yourdomain.com-access_log common
< /VirtualHost>
Next restart the Apache web server by executing the following command.
[root@linuxhelp1 opt]# service httpd restart
Stopping httpd:                                            [  OK  ]
Starting httpd: httpd: apr_sockaddr_info_get() failed for linuxhelp1
httpd: Could not reliably determine the server' s fully qualified domain name, using 127.0.0.1 for ServerName
                                                           [  OK  ]
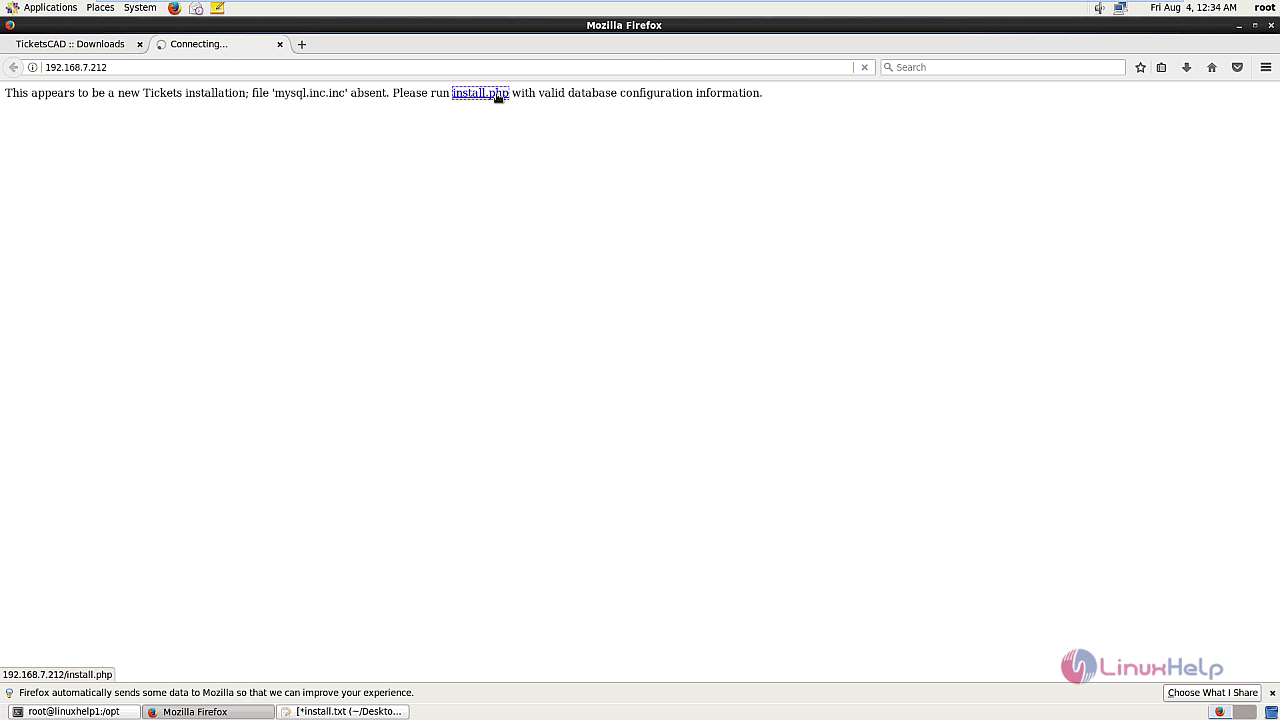
Now open the web browser and enter the machine' s IP address and give enter. Select install.php link in the screen.
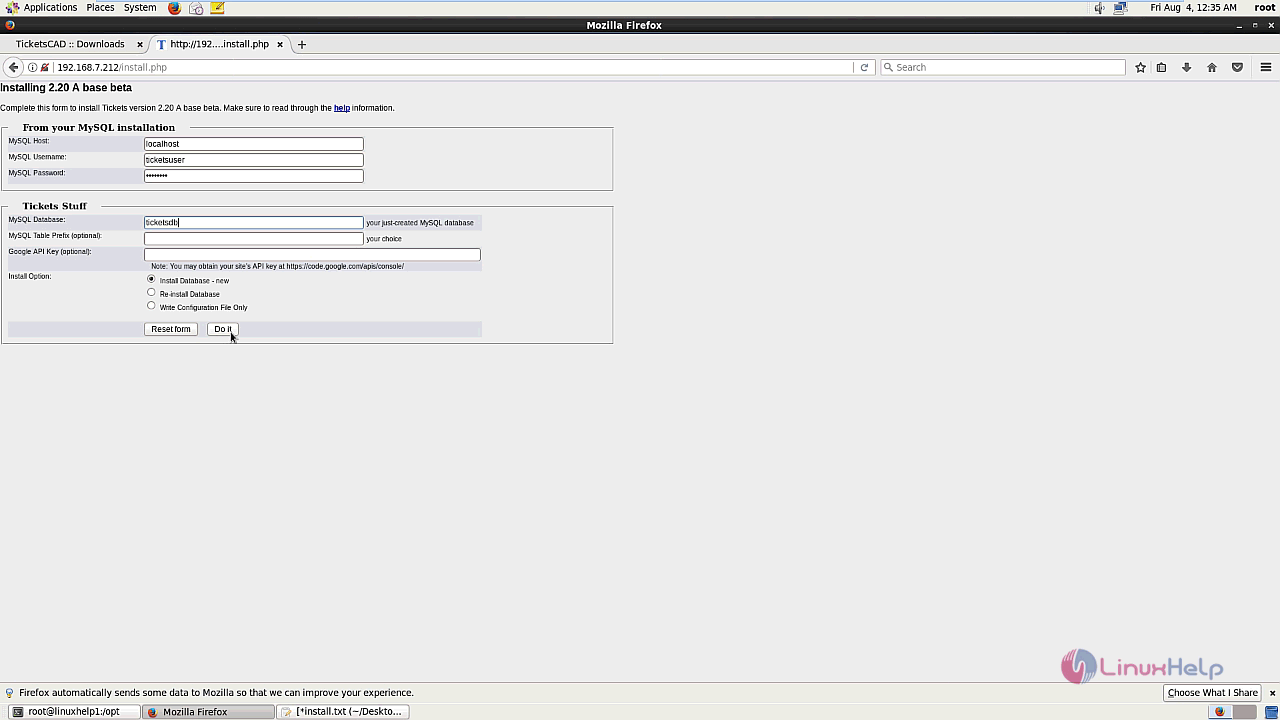
The TicketsCAD installation page appears on the screen. Now enter your database information with the required information.
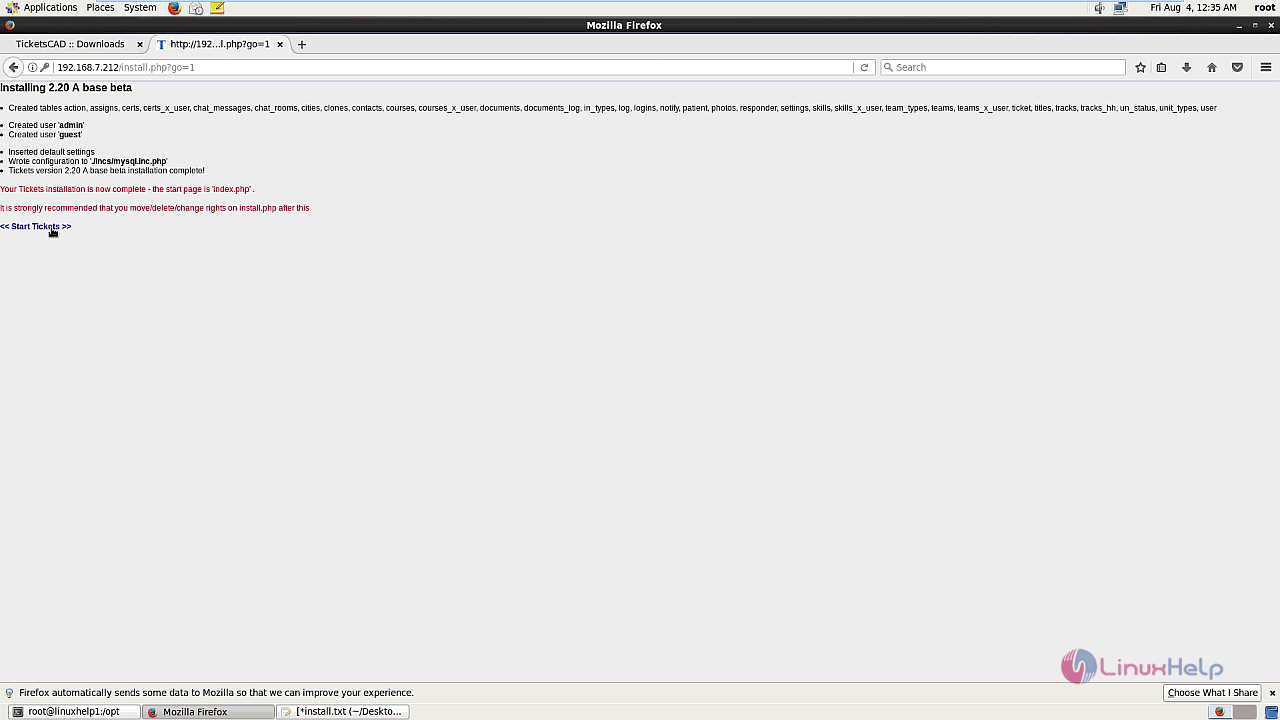
The installation is completed. Click on the start tickets option on the screen.
The wizard asks the user to use the Tickets quick start routine, click " yes please" option.

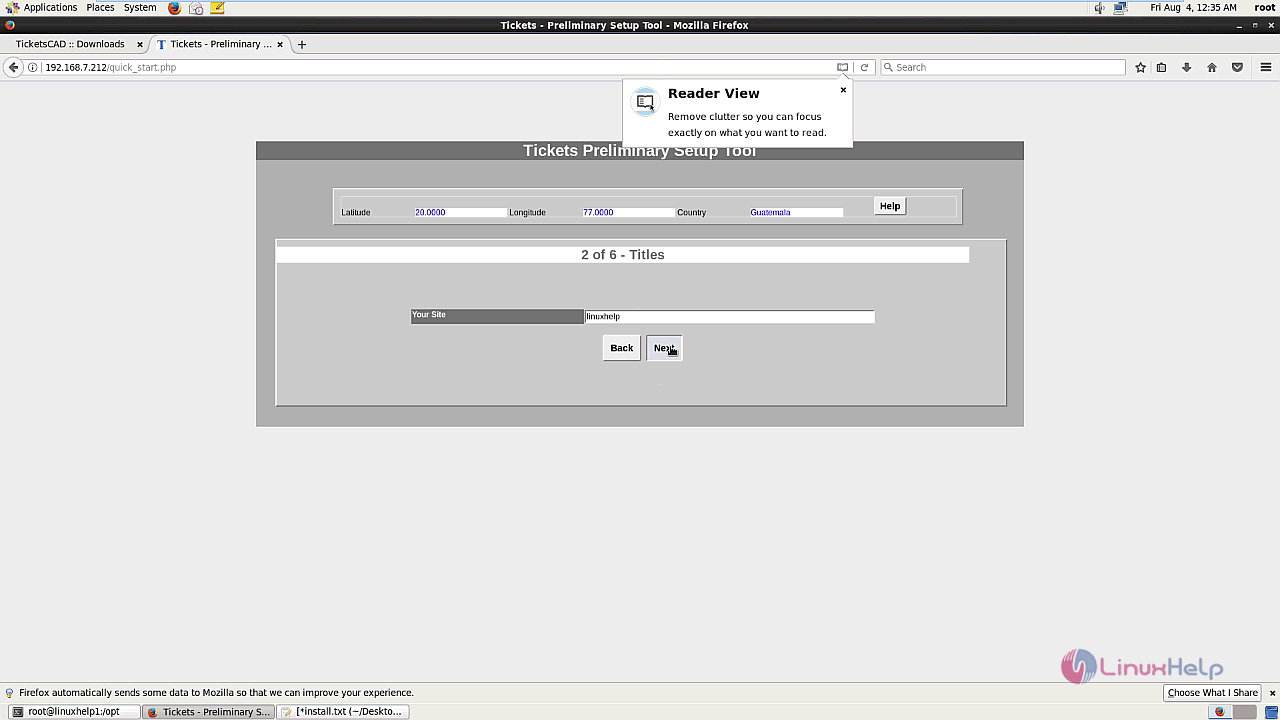
Select your required country.

Enter the site name and click next.
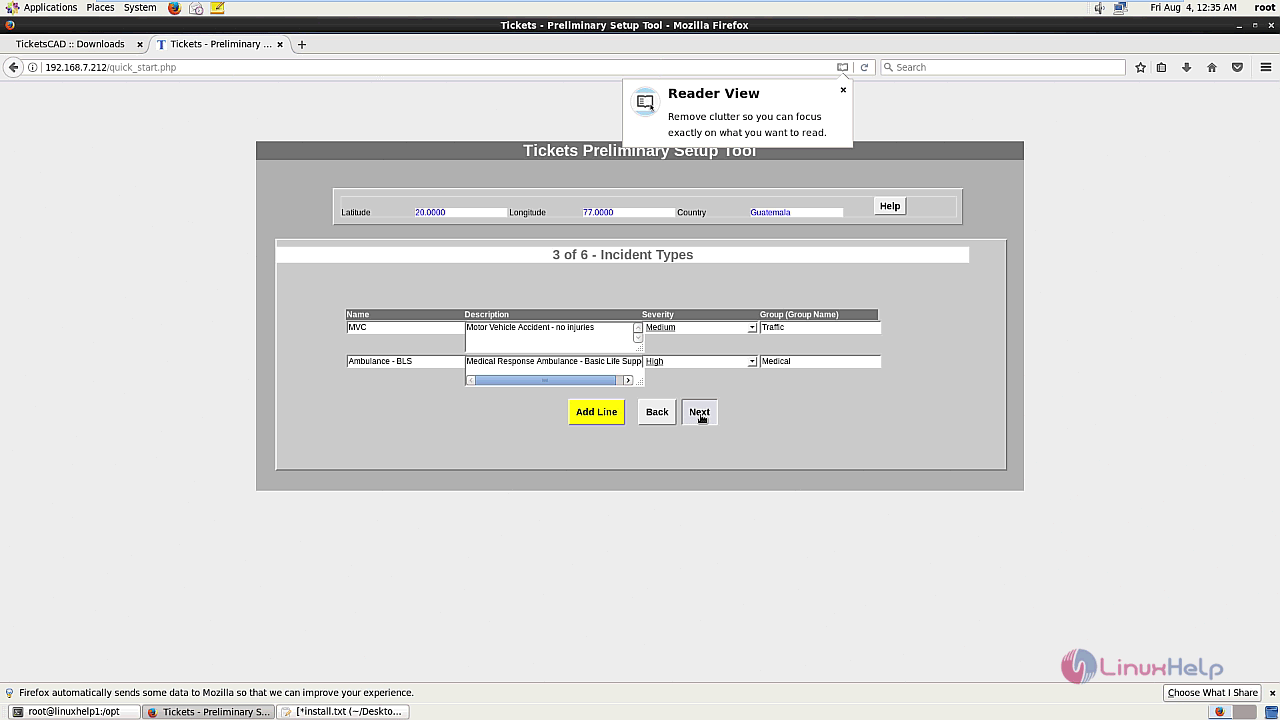
Next add the incident types with required information and click next.
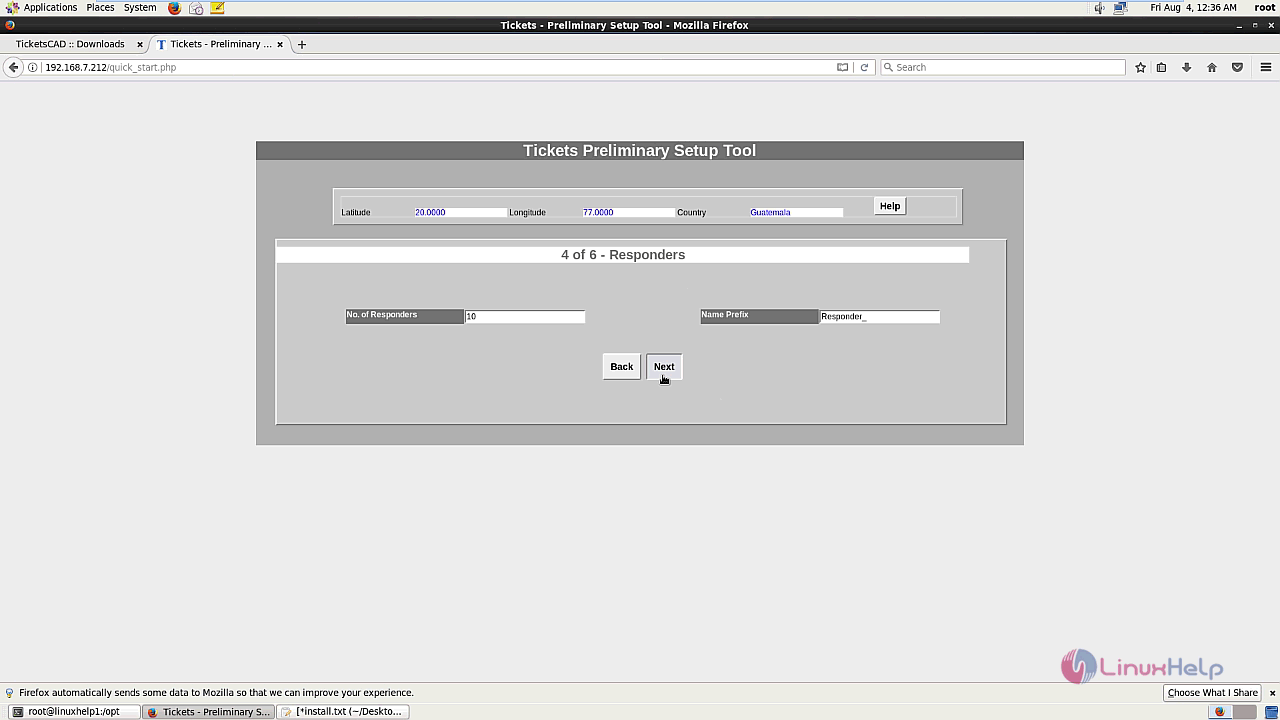
Enter the number of responders and click next.
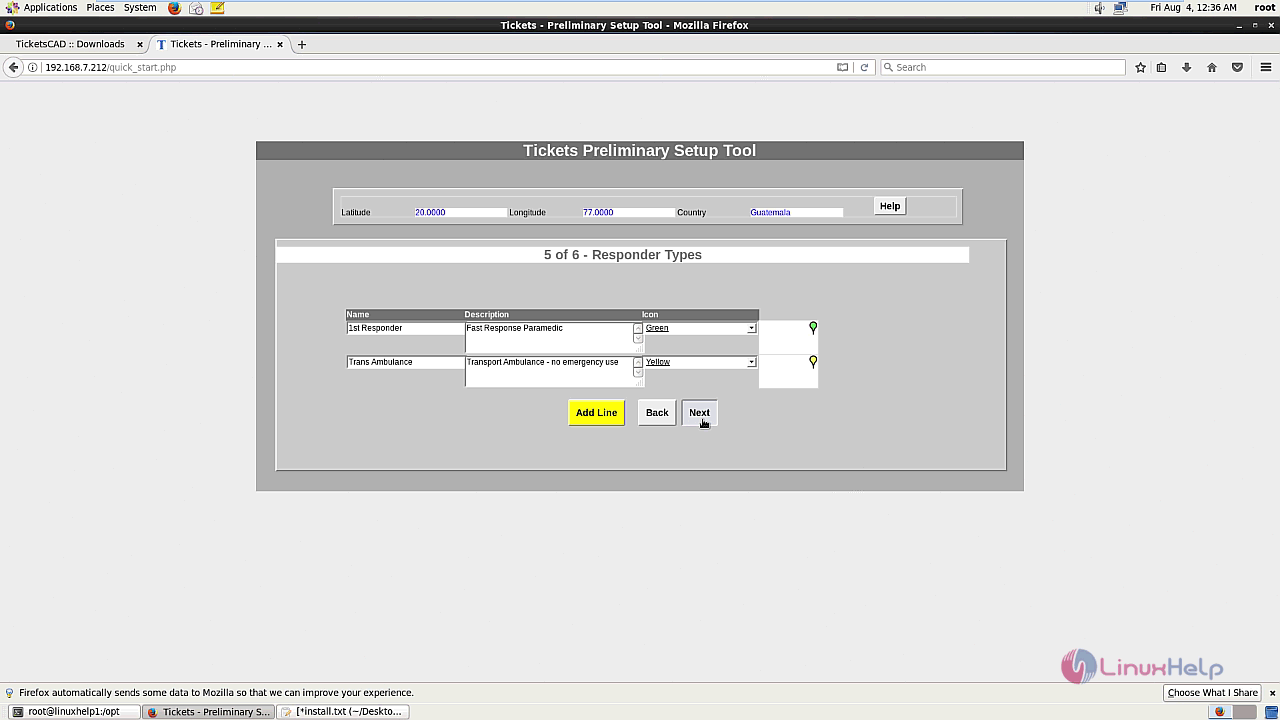
Enter the Responder types with the required details.
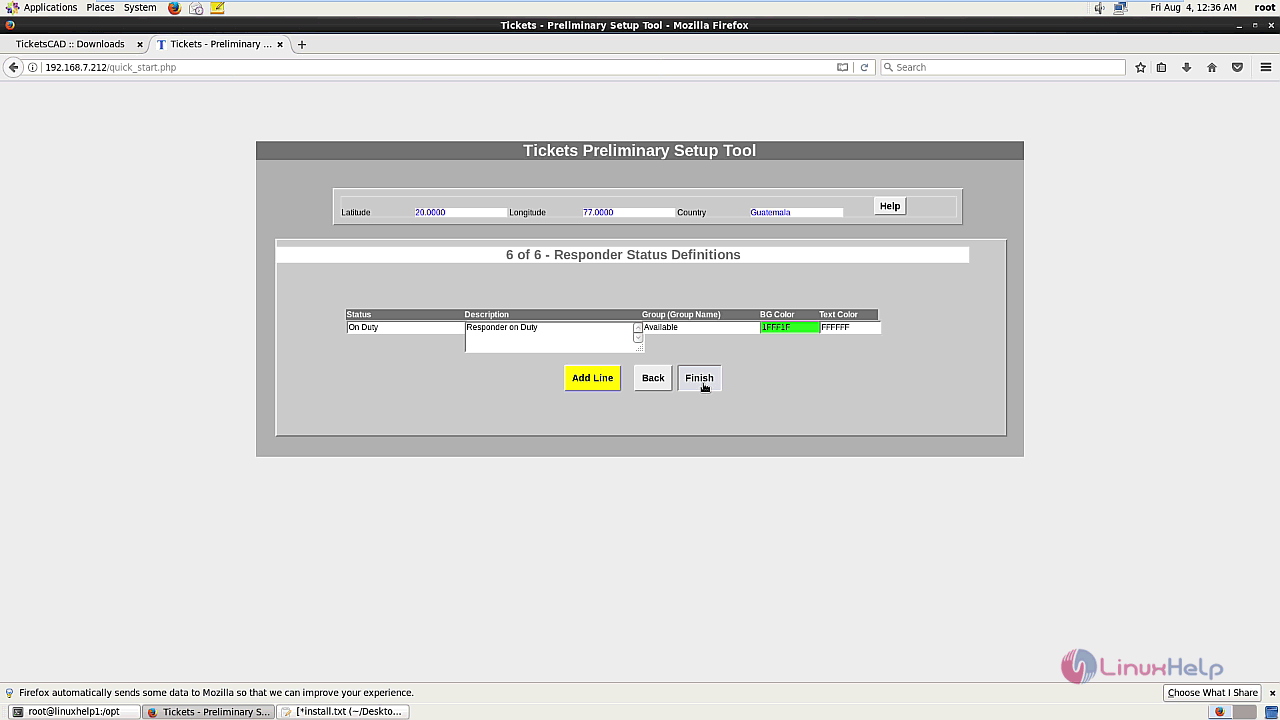
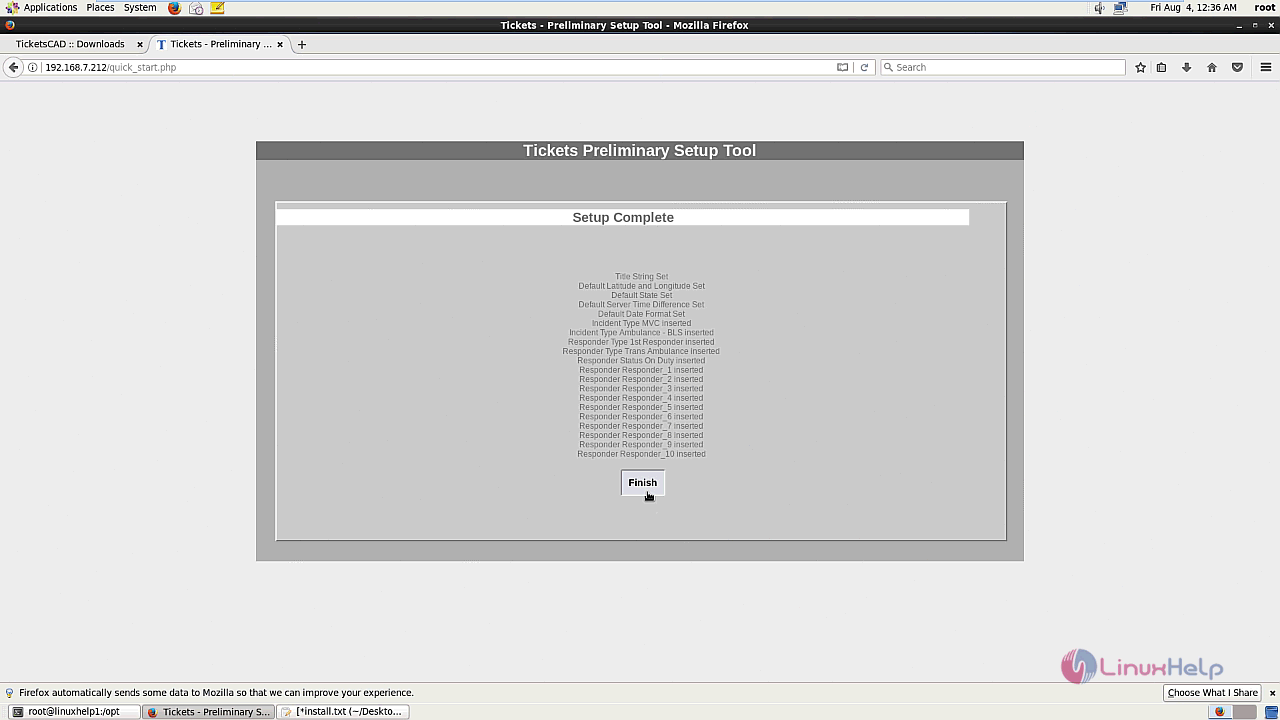
The wizard shows the Responder status definitions and click finish to complete the installation process.
The setup is complete and click finish.
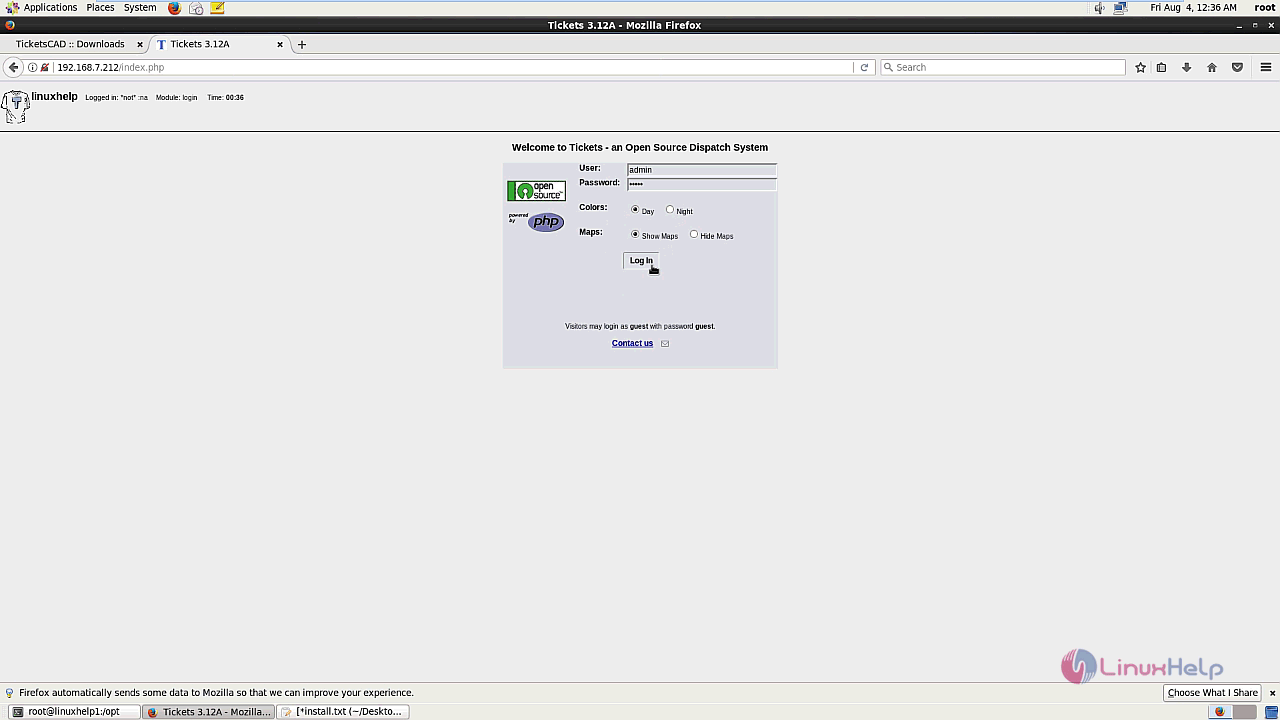
The TicketsCAD login page is shown in the screen and enter the required credentials and log in.
The TicketsCAD' s homescreen is shown.
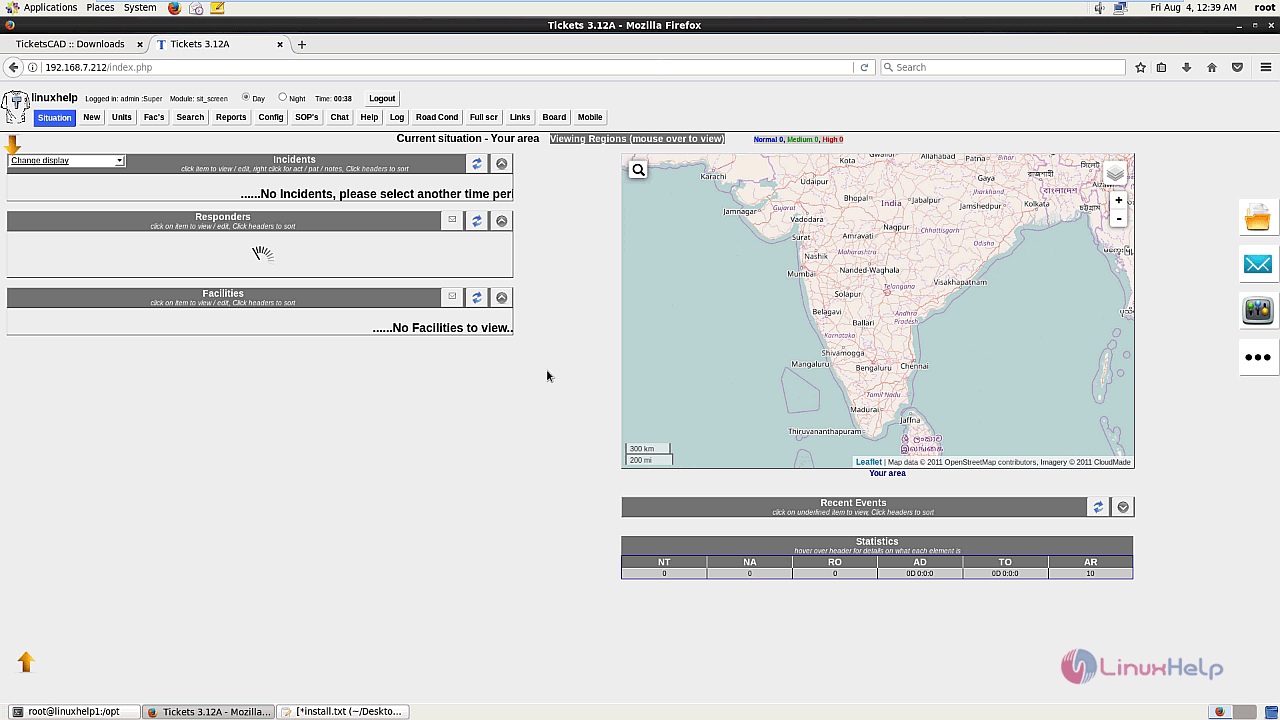
The installation procedure of TicketsCAD on CentOS 6.


Comments ( 0 )
No comments available