How to install Moodle CMS on Centos 7
To install Moodle CMS on CentOS 7
Moodle is an open-source Learning Management System (LMS) and it has become one of the most popular LMSs among educators around the world as a tool for creating single robust, secure and integrated system that can help you create personalized learning environments and online courses as a dynamic website. In this tutorial, we will cover the installation of Moodle CMS on CentOS 7
Installing
We are going to install PHP 7 which is not provided by the official RHEL repository so we need to add “ Webtatic” repository in order to get access to PHP 7. In order to do that first, we need to install EPEL repo.
[root@linuxhelp ~]# yum install epel-release
Loaded plugins: fastestmirror, langpacks
base                                                                                                                 | 3.6 kB  00:00:00
extras                                                                                                               | 3.4 kB  00:00:00
updates                                                                                                              | 3.4 kB  00:00:00
(1/2): extras/7/x86_64/primary_db                                                                                    | 185 kB  00:00:00
(2/2): updates/7/x86_64/primary_db                                                                                   | 6.9 MB  00:00:10
Determining fastest mirrors
 * base: mirror.vbctv.in
.
.
Running transaction
  Installing : epel-release-7-9.noarch                                                                                                  1/1
  Verifying  : epel-release-7-9.noarch                                                                                                  1/1

Installed:
  epel-release.noarch 0:7-9

Complete!
Now you can add Webtatic with the following command.
[root@linuxhelp ~]# rpm -Uvh https://mirror.webtatic.com/yum/el7/webtatic-release.rpm
Retrieving https://mirror.webtatic.com/yum/el7/webtatic-release.rpm
warning: /var/tmp/rpm-tmp.d50rvI: Header V4 RSA/SHA1 Signature, key ID 62e74ca5: NOKEY
Preparing...                          ################################# [100%]
Updating / installing...
   1:webtatic-release-7-3             ################################# [100%]
Next, you can easily install PHP 7 and the needed dependencies with the command below.
[root@linuxhelp ~]# yum install php70w php70w-curl php70w-gd php70w-intl php70w-ldap php70w-mysql php70w-pspell php70w-xml php70w-xmlrpc php70w-zip php70w-common php70w-opcache
php70w-mbstring php70w-soap
Loaded plugins: fastestmirror, langpacks
epel/x86_64/metalink                                                                                                 | 6.6 kB  00:00:00
epel                                                                                                                 | 4.7 kB  00:00:00
webtatic                                                                                                             | 3.6 kB  00:00:00
(1/5): webtatic/x86_64/group_gz                                                                                      |  448 B  00:00:00
(2/5): webtatic/x86_64/primary_db                                                                                    | 134 kB  00:00:02
(3/5): epel/x86_64/group_gz                                                                                          | 266 kB  00:00:03
Installed:
  php70w.x86_64 0:7.0.27-1.w7                 php70w-common.x86_64 0:7.0.27-1.w7            php70w-gd.x86_64 0:7.0.27-1.w7
  php70w-intl.x86_64 0:7.0.27-1.w7            php70w-ldap.x86_64 0:7.0.27-1.w7              php70w-mbstring.x86_64 0:7.0.27-1.w7
  php70w-mysql.x86_64 0:7.0.27-1.w7           php70w-opcache.x86_64 0:7.0.27-1.w7           php70w-pspell.x86_64 0:7.0.27-1.w7
  php70w-soap.x86_64 0:7.0.27-1.w7            php70w-xml.x86_64 0:7.0.27-1.w7               php70w-xmlrpc.x86_64 0:7.0.27-1.w7

Dependency Installed:
  apr.x86_64 0:1.4.8-3.el7_4.1                  apr-util.x86_64 0:1.5.2-6.el7                       aspell.x86_64 12:0.60.6.1-9.el7
  httpd.x86_64 0:2.4.6-67.el7.centos.6          httpd-tools.x86_64 0:2.4.6-67.el7.centos.6          mailcap.noarch 0:2.1.41-2.el7
  php70w-cli.x86_64 0:7.0.27-1.w7               php70w-pdo.x86_64 0:7.0.27-1.w7

Complete!
Next, Install Apache. In order to serve our Moodle, we need a web server. we are going to install Apache as our web server.
[root@linuxhelp ~]# yum install httpd
Loaded plugins: fastestmirror, langpacks
Loading mirror speeds from cached hostfile
 * base: mirror.vbctv.in
 * epel: ftp.jaist.ac.jp
.
.
* updates: mirror.digistar.vn
 * webtatic: sp.repo.webtatic.com
Installed
After the installation process is finished, you have to start and enable the Apache service with following commands.
[root@linuxhelp ~]# systemctl enable httpd
Created symlink from /etc/systemd/system/multi-user.target.wants/httpd.service to /usr/lib/systemd/system/httpd.service.
[root@linuxhelp ~]# systemctl start httpd
And then, for setting the correct DocumentRoot, open your Apache configuration file with the command below.
[root@linuxhelp ~]# nano /etc/httpd/conf/httpd.conf
Find the line that refers to “ DocumentRoot” and change it like below.
DocumentRoot " /var/www/html/moodle/"
Now, Install and configure MariaDB. you can execute the following command to install MariaDB and its service.
[root@linuxhelp ~]# yum install mariadb-server
Loaded plugins: fastestmirror, langpacks
Loading mirror speeds from cached hostfile
 * base: mirror.vbctv.in
 * epel: mirror.nes.co.id
 * extras: mirrors.viethosting.com
 * updates: mirror.digistar.vn
 * webtatic: sp.repo.webtatic.com
.
.
Installed:
  mariadb-server.x86_64 1:5.5.56-2.el7

Dependency Installed:
  mariadb.x86_64 1:5.5.56-2.el7             perl-Compress-Raw-Bzip2.x86_64 0:2.061-3.el7     perl-Compress-Raw-Zlib.x86_64 1:2.061-4.el7
  perl-DBD-MySQL.x86_64 0:4.023-5.el7       perl-DBI.x86_64 0:1.627-4.el7                    perl-Data-Dumper.x86_64 0:2.145-3.el7
  perl-IO-Compress.noarch 0:2.061-2.el7     perl-Net-Daemon.noarch 0:0.48-5.el7              perl-PlRPC.noarch 0:0.2020-14.el7
After installing the MariaDB Start and enable the service.
[root@linuxhelp ~]# systemctl start mariadb
[root@linuxhelp ~]# systemctl enable mariadb
Created symlink from /etc/systemd/system/multi-user.target.wants/mariadb.service to /usr/lib/systemd/system/mariadb.service.
Now we have to Configure MariaDB. In order to get your MariaDB to be compatible with Moodle, you need to enable “ InnoDB” engine so Open MariaDB configuration file with your text editor.
[root@linuxhelp ~]# nano /etc/my.cnf.d/server.cnf

[client]
default-character-set = utf8mb4

[mysqld]
innodb_file_format = Barracuda
innodb_file_per_table = 1
innodb_large_prefix

character-set-server = utf8mb4
collation-server = utf8mb4_unicode_ci
skip-character-set-client-handshake

[mysql]
default-character-set = utf8mb4
Then save and exit. Restart MariaDB service to make the changes take effect.
[root@linuxhelp ~]# systemctl restart mariadb
we are going to create a Database for Moodle.
[root@linuxhelp ~]# mysql -u root -p
Enter password:
Welcome to the MariaDB monitor.  Commands end with   or g.
Your MariaDB connection id is 2
Server version: 5.5.56-MariaDB MariaDB Server

Copyright (c) 2000, 2017, Oracle, MariaDB Corporation Ab and others.

Type ' help '  or ' h'  for help. Type ' c'  to clear the current input statement.

MariaDB [(none)]>  create database moodle
Query OK, 1 row affected (0.00 sec)
MariaDB [(none)]>  grant all privileges on moodle.* to ' admin' @' localhost'  identified by ' password'
Query OK, 0 rows affected (0.00 sec)

MariaDB [(none)]>  exit
Bye
Next download and install Moodle You can download the latest stable version of Moodle with the following command.
[root@linuxhelp ~]# wget https://download.moodle.org/stable34/moodle-latest-34.tgz
--2018-04-11 06:46:56--  https://download.moodle.org/stable34/moodle-latest-34.tgz
Resolving download.moodle.org (download.moodle.org)... 104.20.218.25, 104.20.219.25, 2400:cb00:2048:1::6814:da19, ...
Connecting to download.moodle.org (download.moodle.org)|104.20.218.25|:443... connected.
HTTP request sent, awaiting response... 200 OK
Length: 45034444 (43M) [application/x-gzip]
Saving to: ‘ moodle-latest-34.tgz’

100%[==================================================================================================> ] 4,50,34,444 1.12MB/s   in 39s

2018-04-11 06:47:36 (1.10 MB/s) - ‘ moodle-latest-34.tgz’  saved [45034444/45034444]
Execute the following command to extract the files to the correct path.
[root@linuxhelp ~]# tar xzf moodle-latest-34.tgz -C /var/www/html/
Set Apache as the owner of the whole DocumentRoot.
[root@linuxhelp ~]# chown -R apache:apache /var/www/
[root@linuxhelp ~]# systemctl restart httpd.service
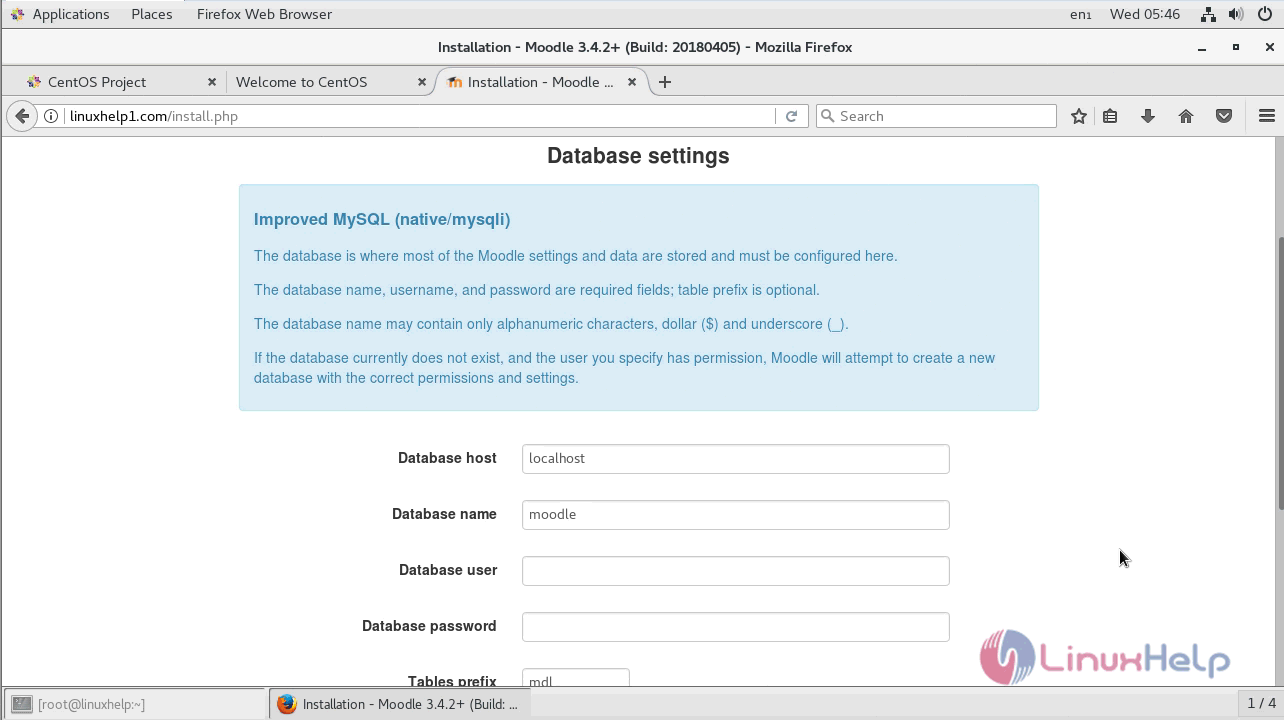
Now you have to open your browser and enter your Domain or your IP Address, you should see a page like below.
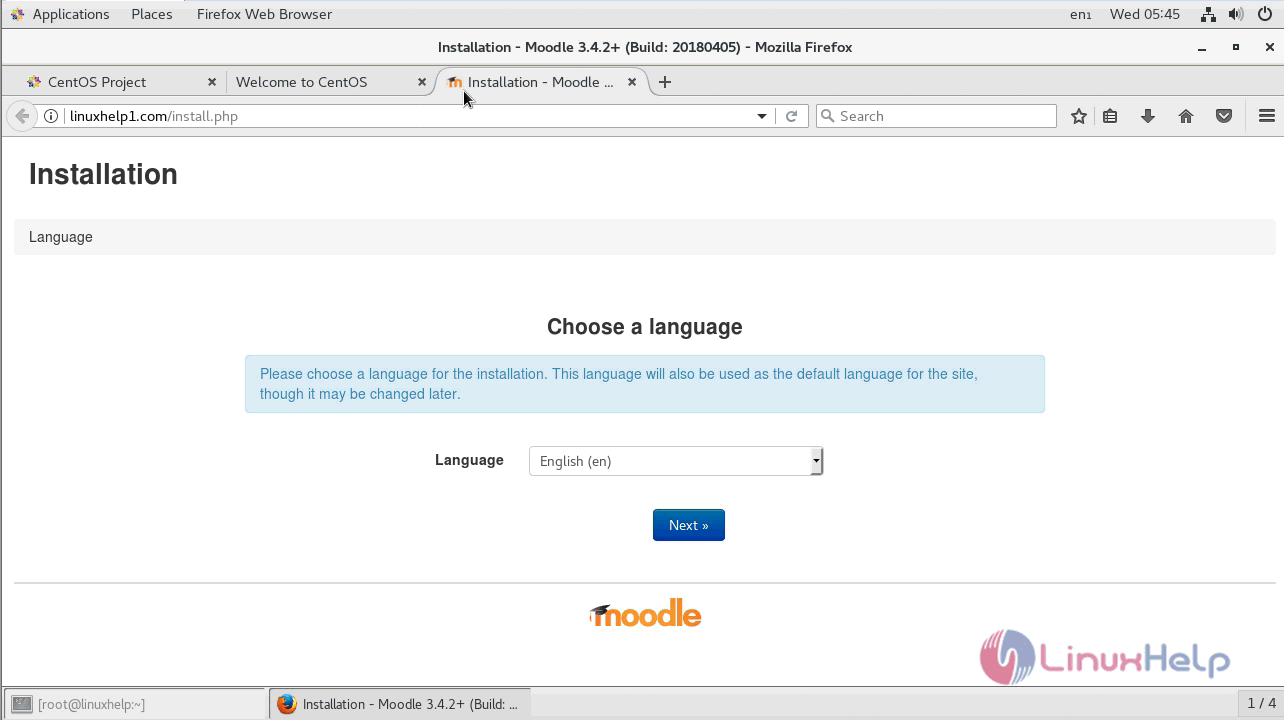
Choose the Language and press next.

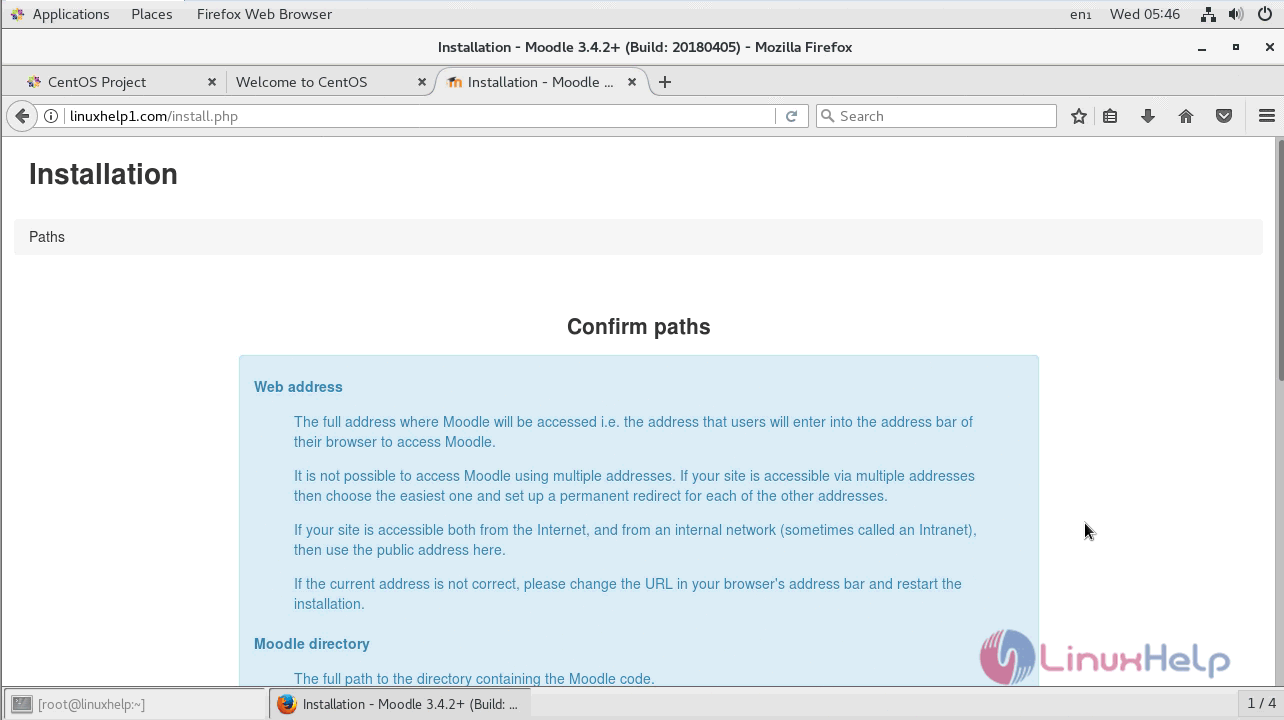
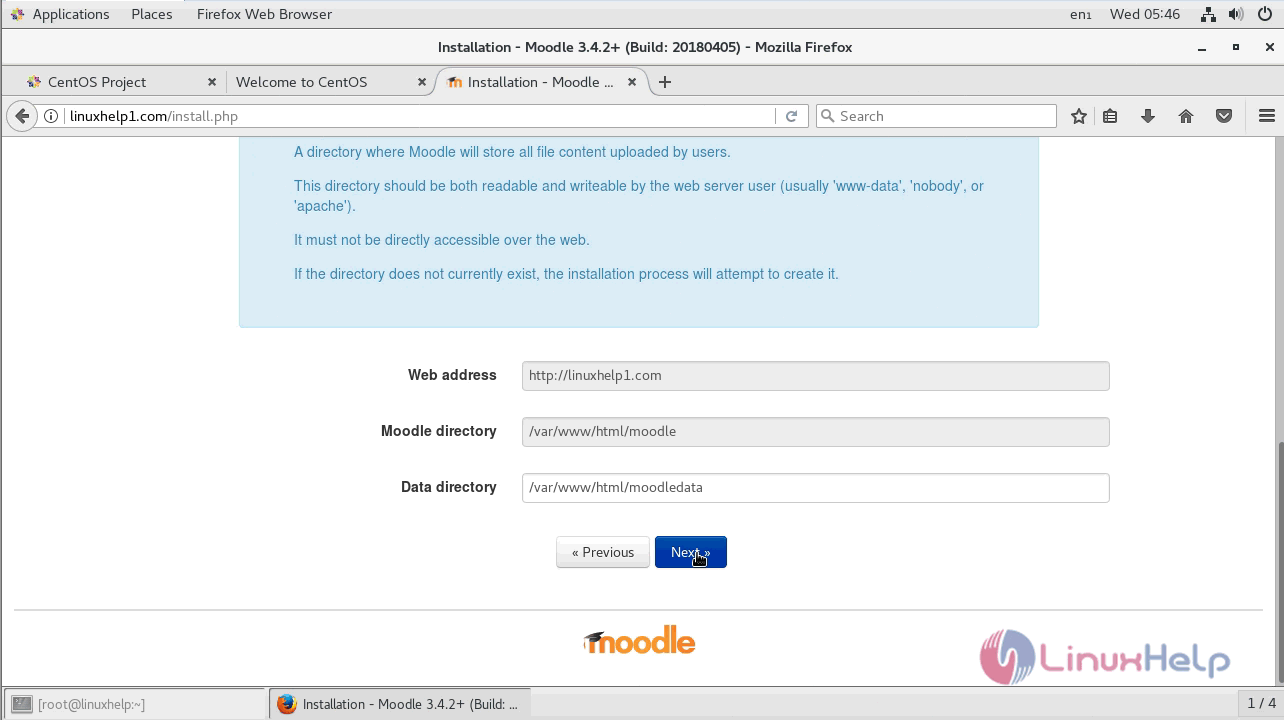
Confirm path and click next.
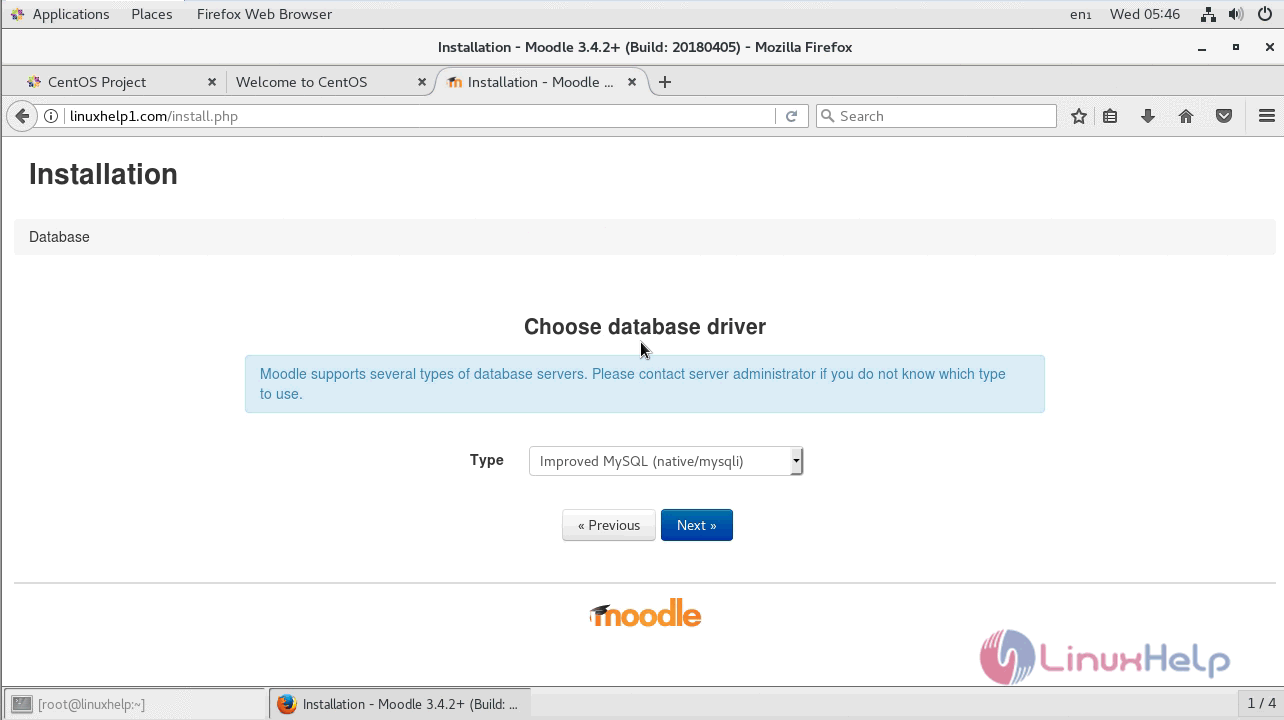
Choose the database driver and click next.
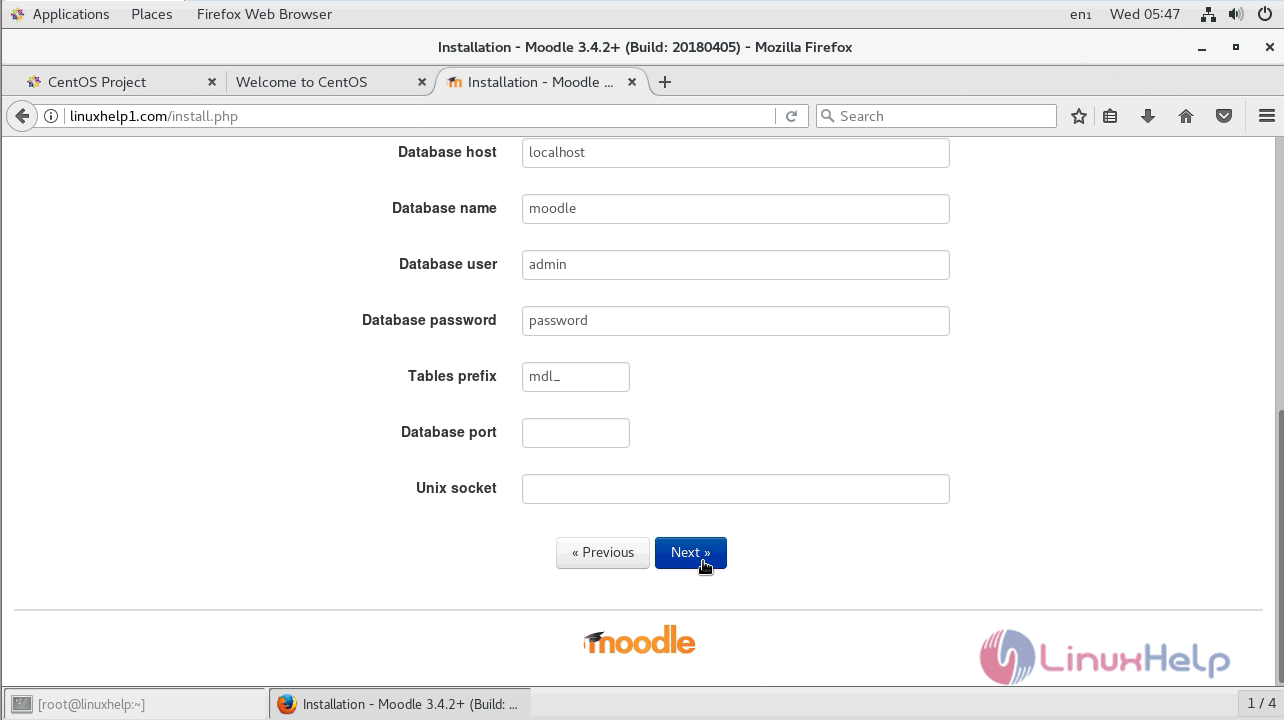
Enter the database details and click next
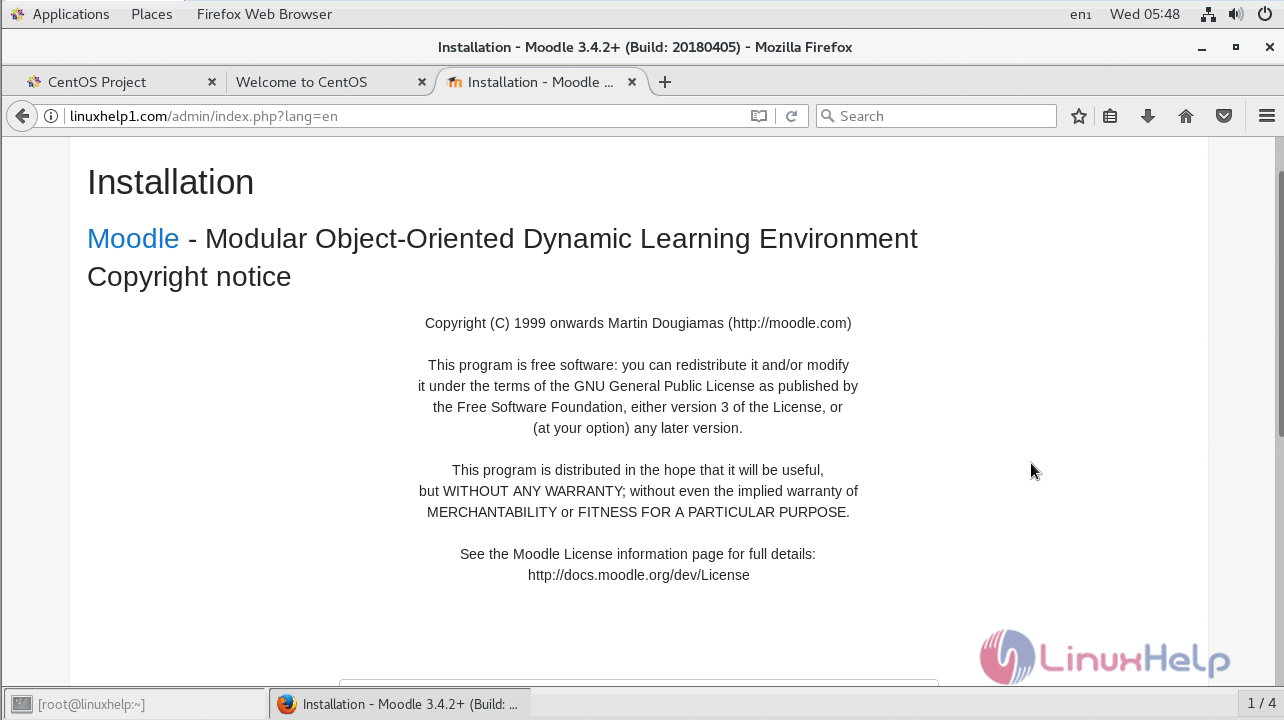
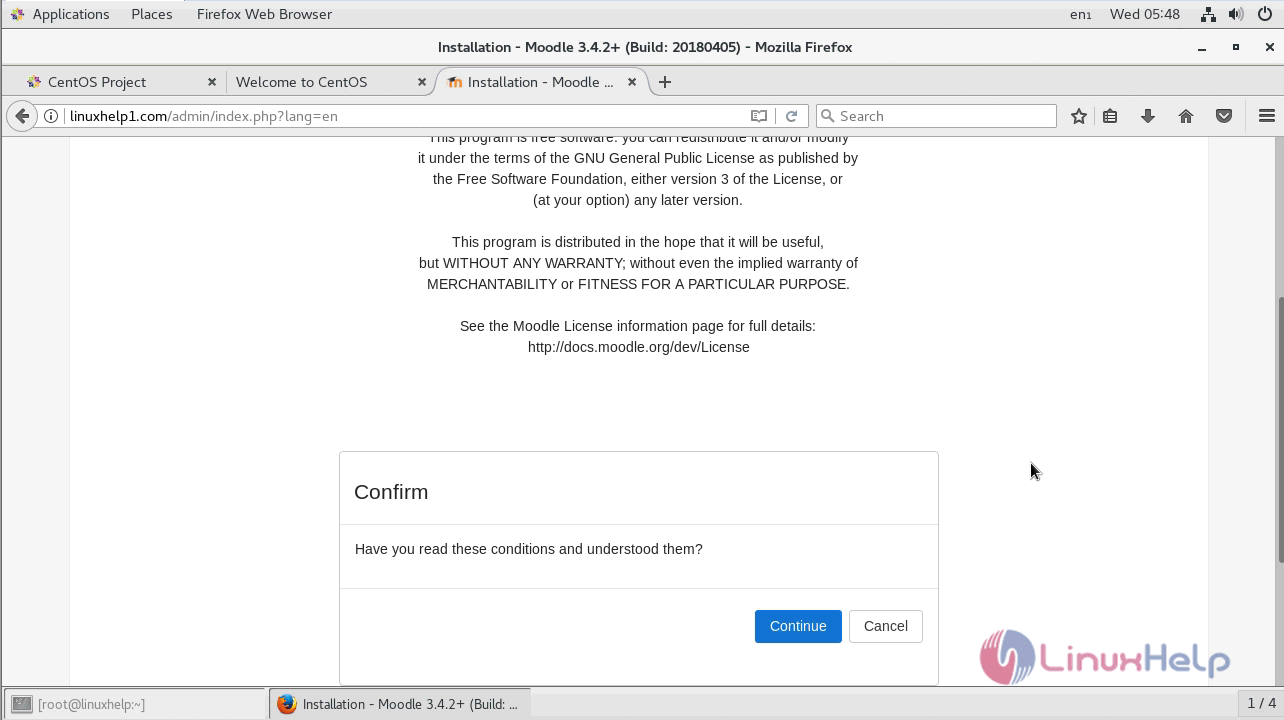
Accept the license terms and click continue.
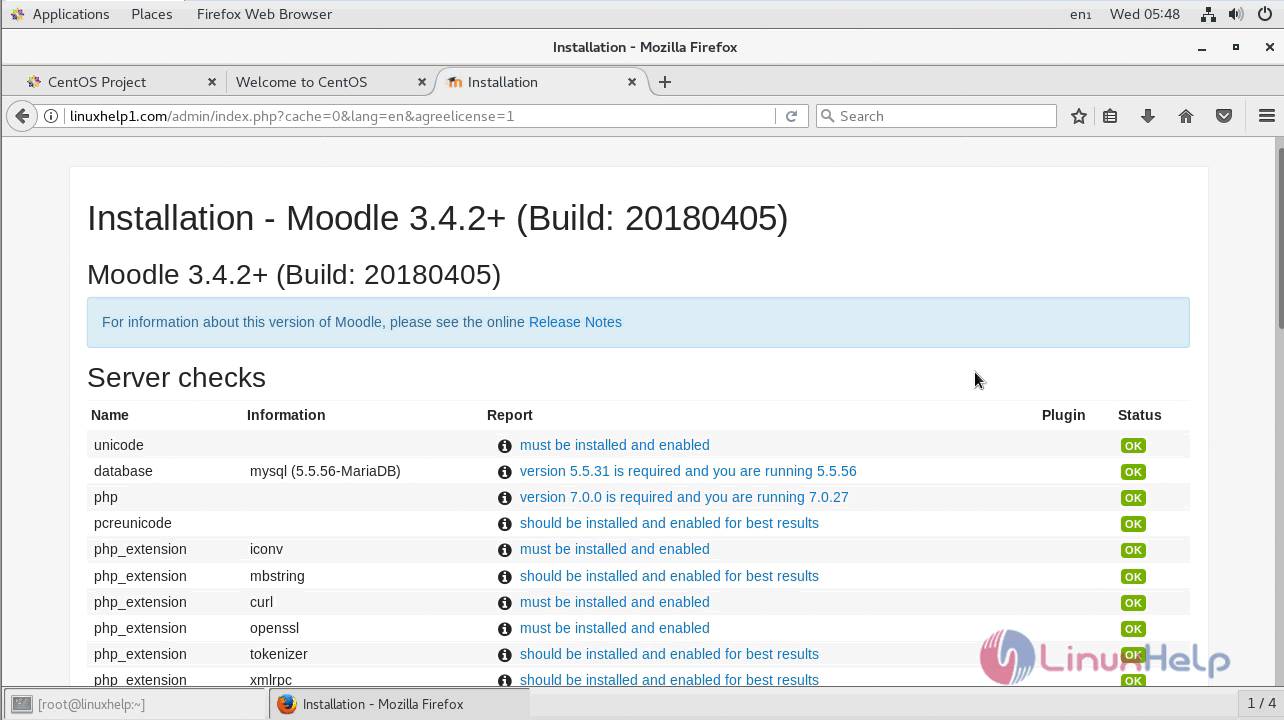
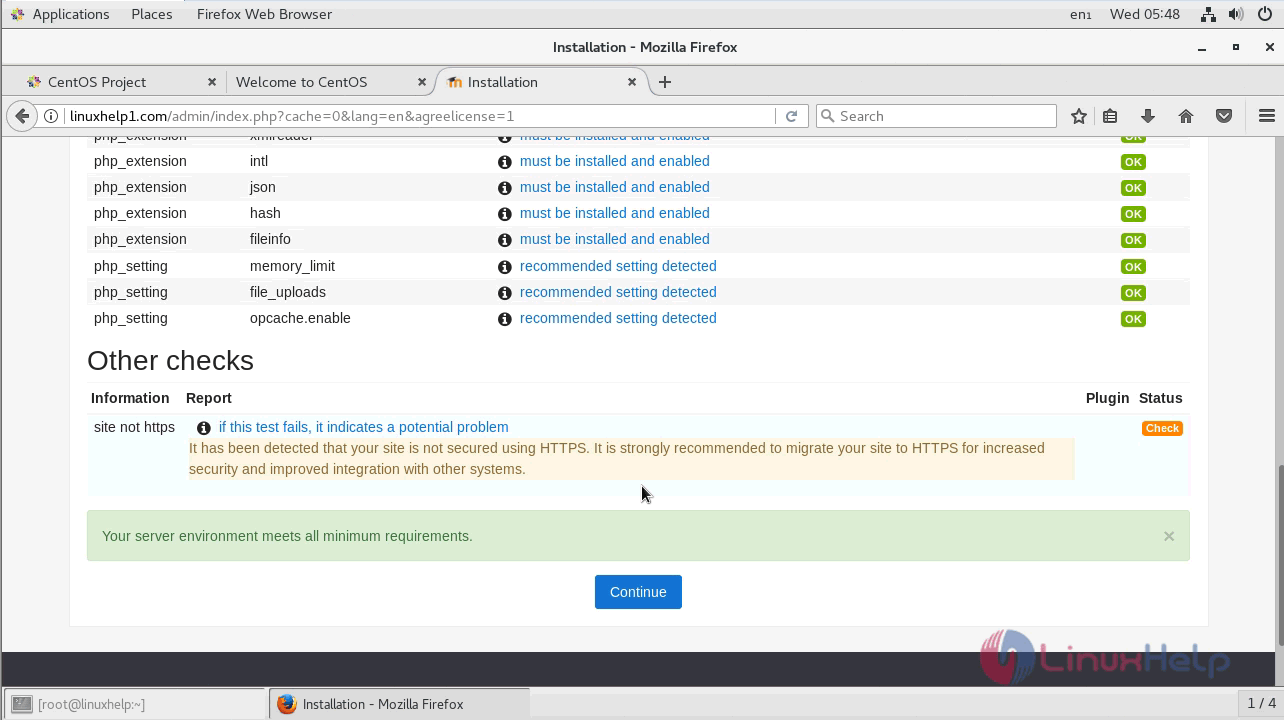
Check the requirements and click next.
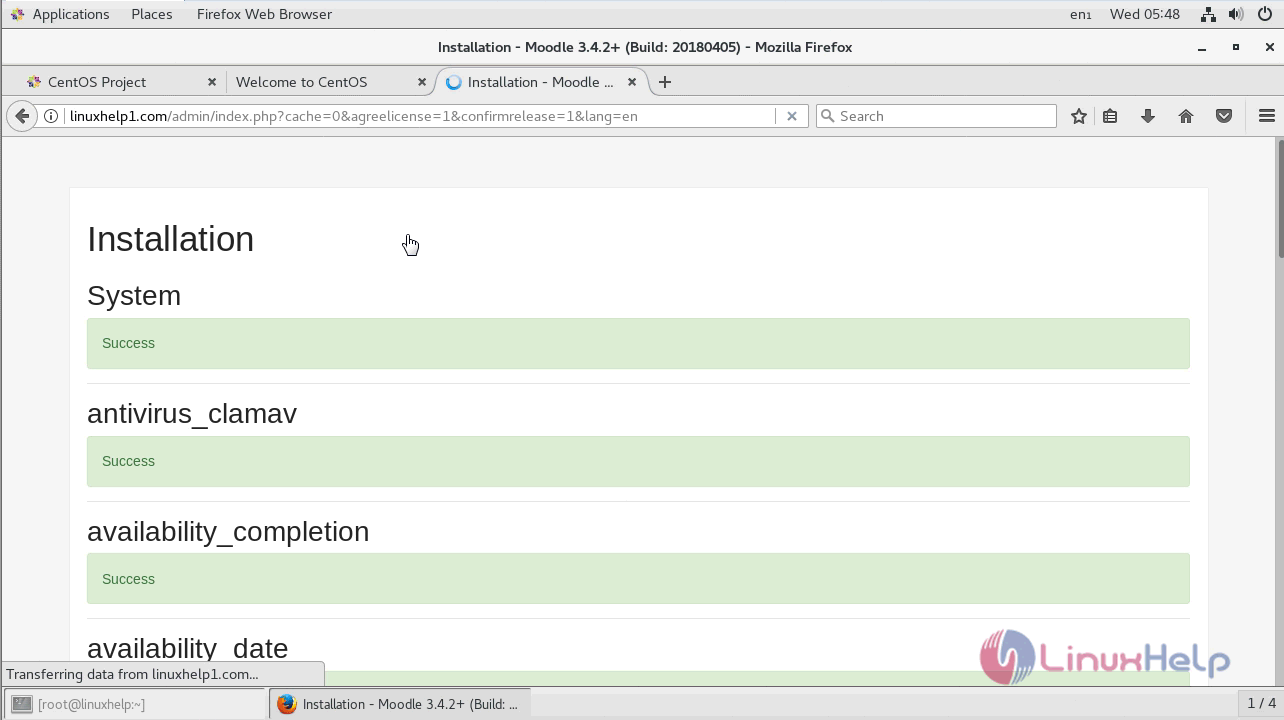
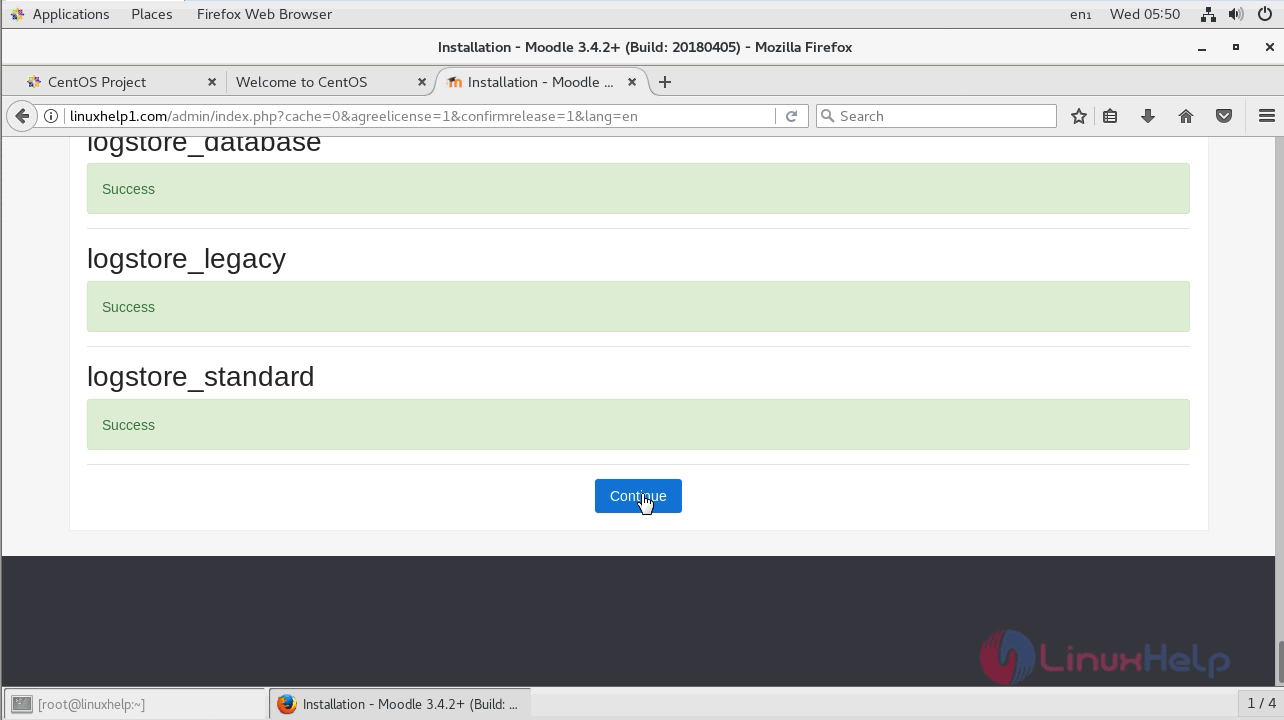
Wait until the installation completes and choose to continue.
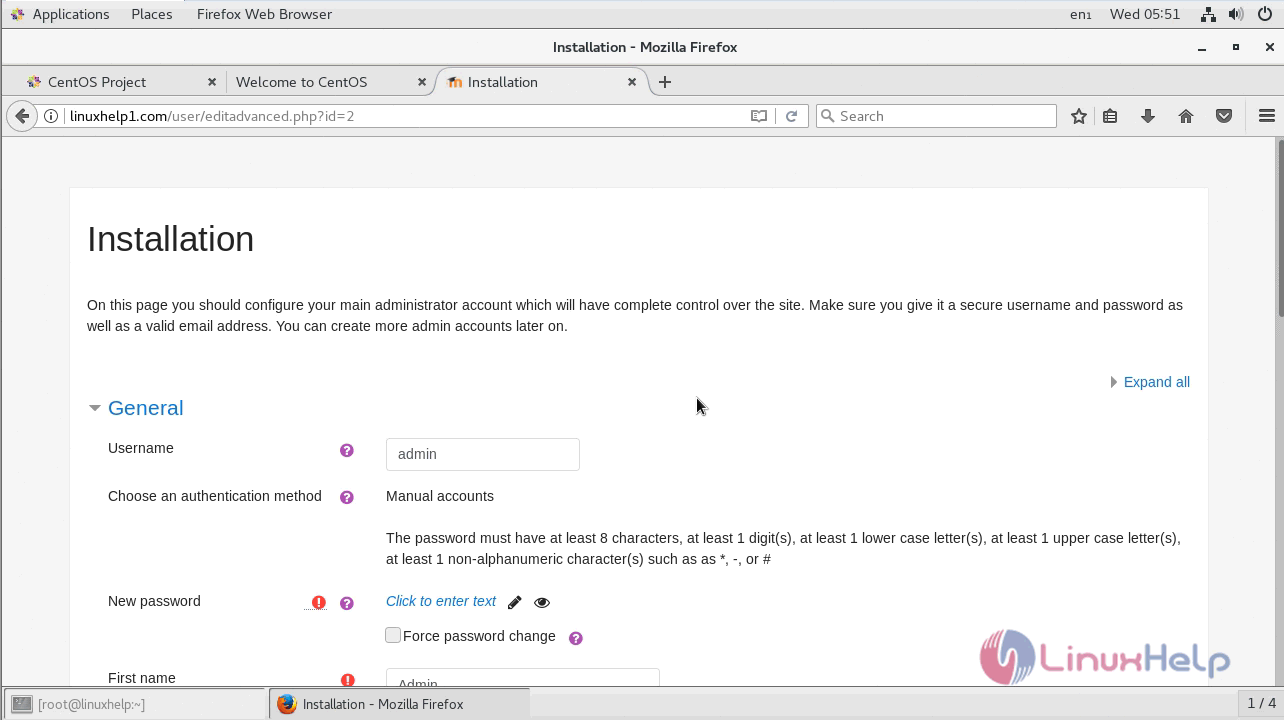
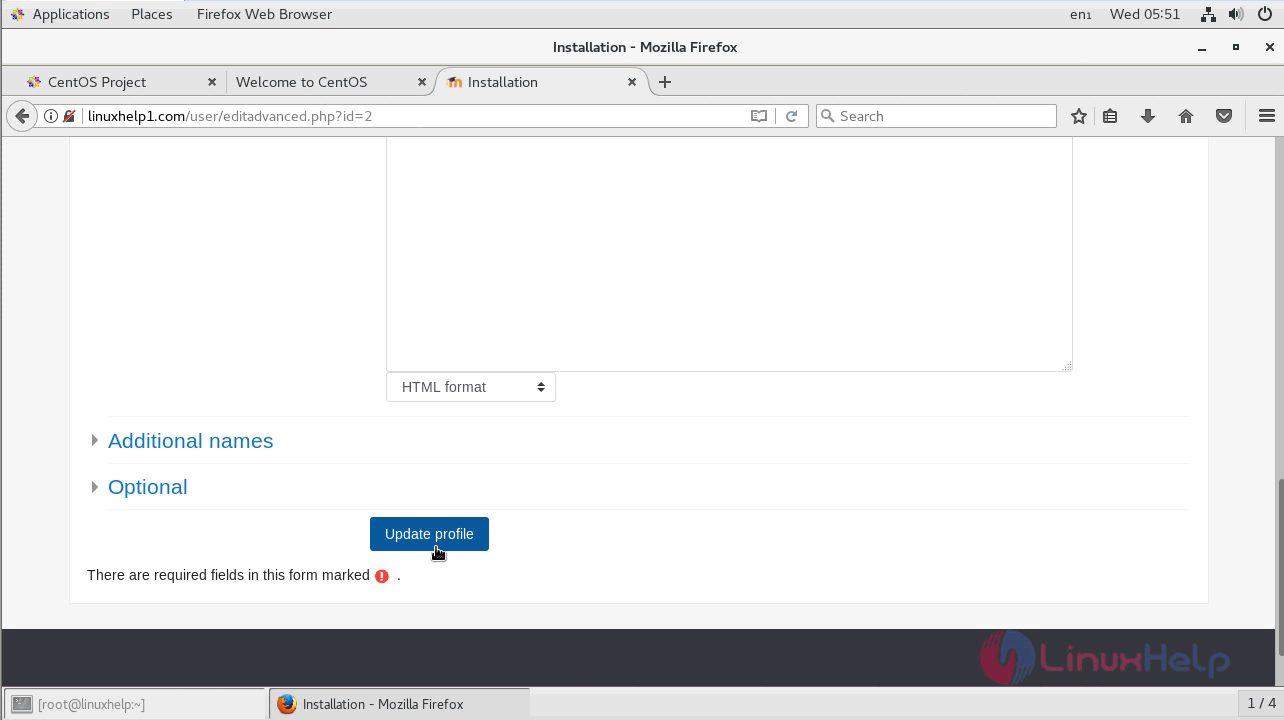
Configure the main admin setup and click on update profile.
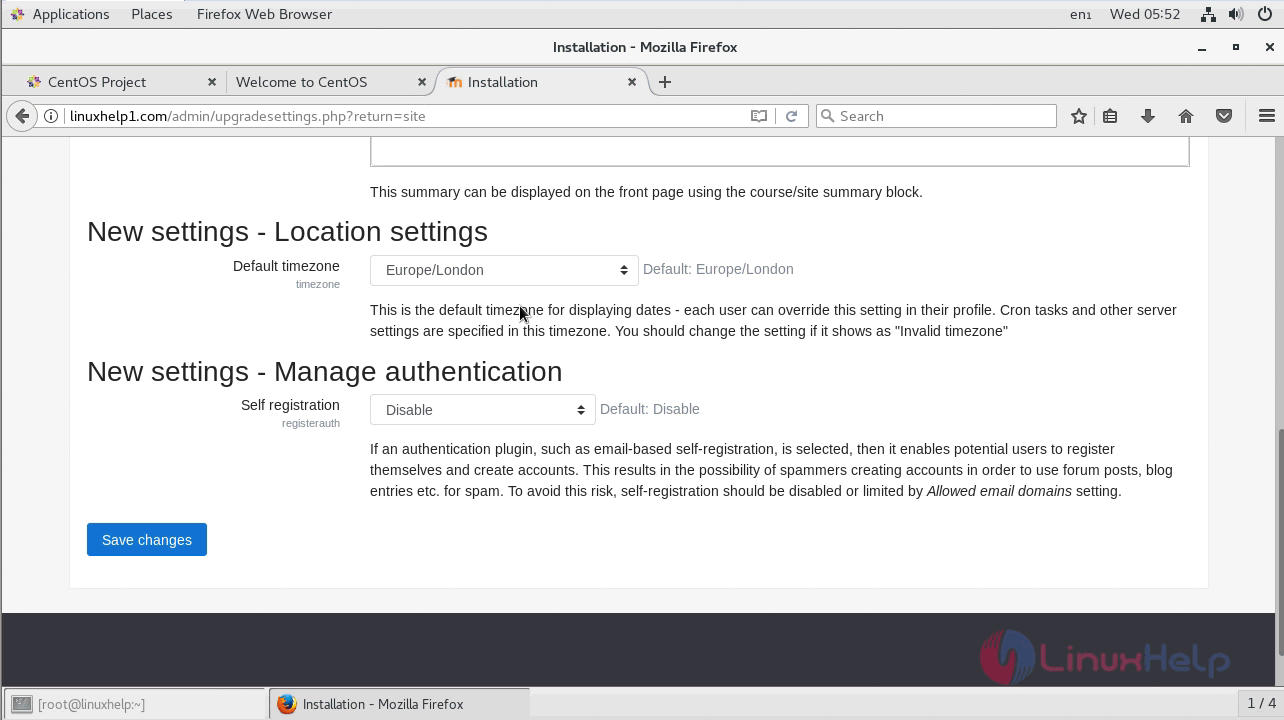
Now you have to Configure front page settings and save the changes.

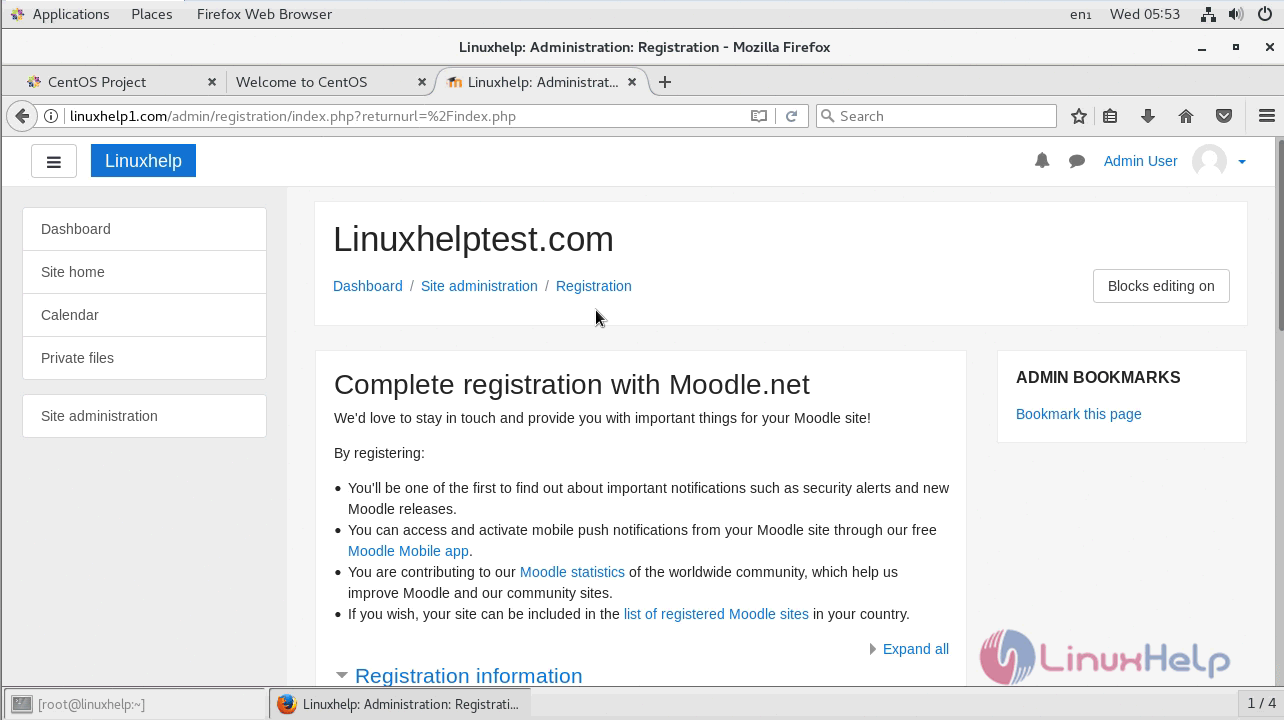
You will see the main dashboard of moodle now.
With this, the method to install Moodle CMS on Centos 7 comes to an end.


Comments ( 0 )
No comments available