How to install CentOS 7 Remotely Using VNC Direct Mode
To install CentOS 7 Remotely Using VNC Direct Mode
This tutorial explains the Simple steps to access the graphical installation of CentOS 7 using VNC Direct Mode. It is essential to have a VNC client on a remote system.
To start VNC server your hard disk must be smaller than 2TB partitioned with GPT
Step 1:
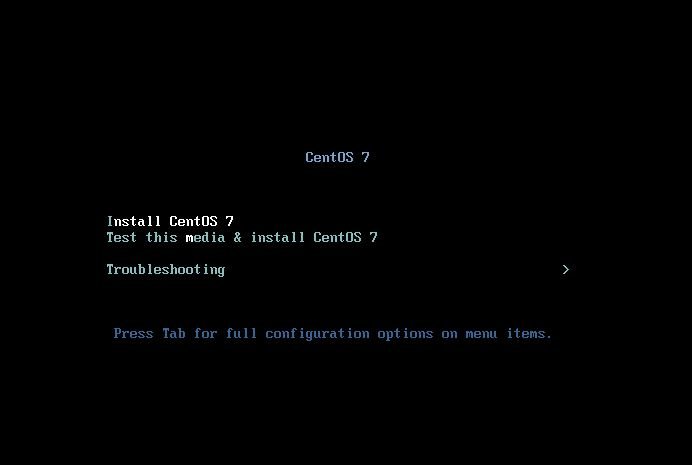
To boot CentOS 7 Media Installer in VNC Direct Mode
First make bootable installer media and connect it to the system, now start the system. Move to the CentOS 7 option and press TAB key. Now boot option will appear.
Add the below line at the end of the boot menu terminal line.
inst.gpt inst.vnc inst.vncpassword=password resolution=800*480
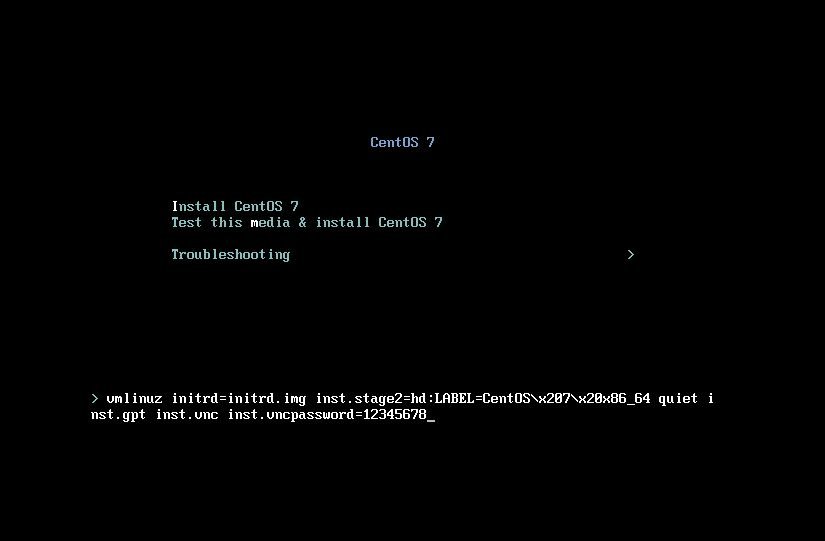
Resolution is optional. The above command can be also executed without resolution option.
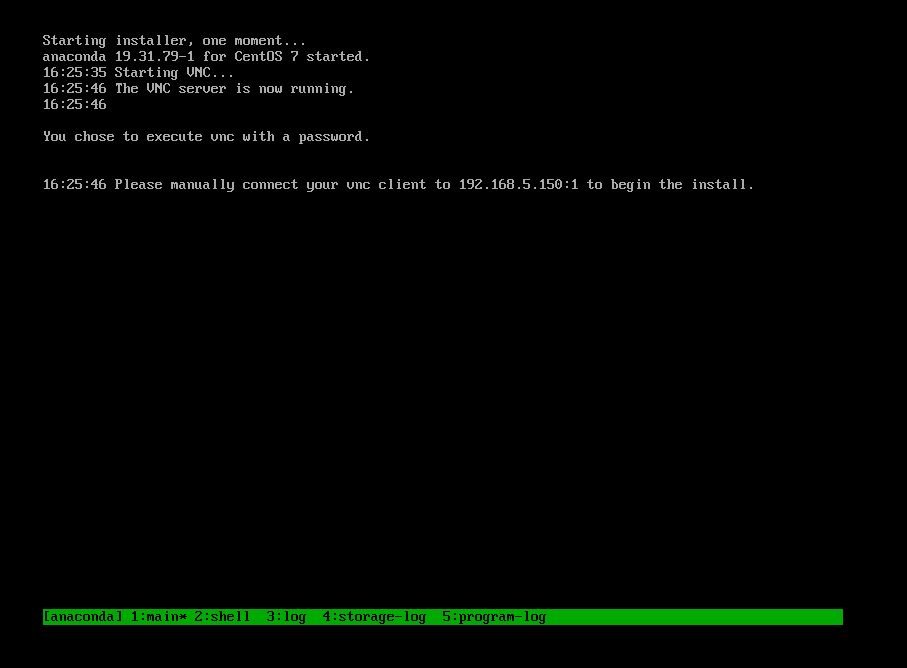
To Start Installer
To start installer, press “ Enter” key and finally you will get the a screen with IP address and port number as below
Step 2:
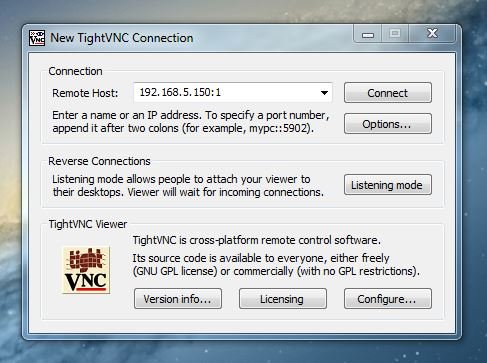
To configure VNC Clients on Remote Systems
VNC Configuration Screen
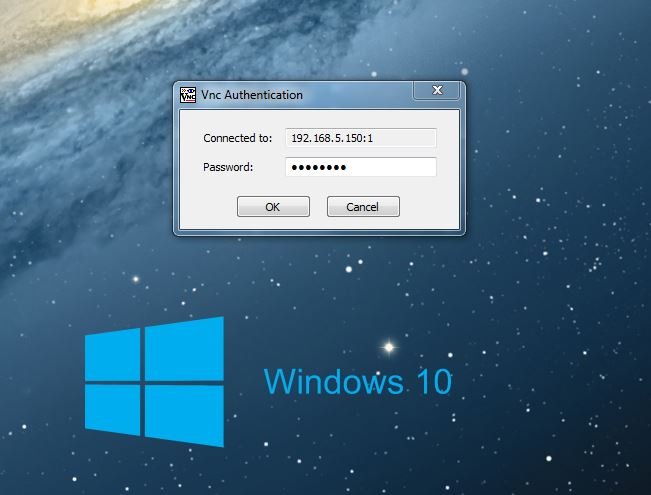
Open the VNC viewer, enter IP Address and Port given on the computer where you perform the installation process and click connect.
VNC Authentication
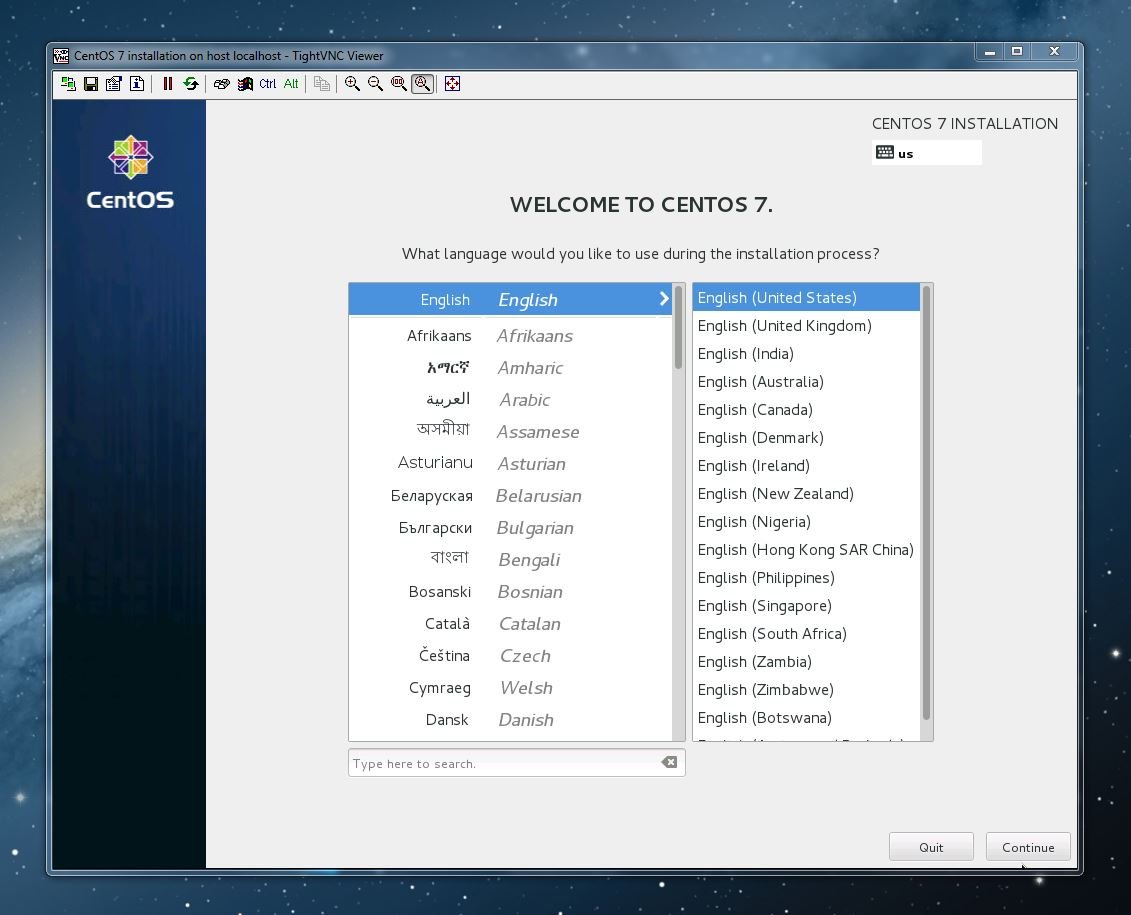
Now you will be asked to enter password. Enter the password and hit OK button to authenticate. Now the CentOS 7 graphical installation window will appear.
CentOS 7 Installation Screen
For the installation of CentOS 7
https://www.linuxhelp.com/install-centos-7-screenshots/
For the installation of TigerVNC Viewer
https://www.linuxhelp.com/how-to-install-tigervnc-server-to-access-remote-desktops/
Comments ( 3 )