How to Create EC2 Instance on AWS
To create EC2 Instance on AWS
Introduction:
Amazon Web Services is a subsidiary of Amazon rendering on-demand cloud computing platforms and APIs to individuals, companies, and governments, on a metered pay-as-you-go basis. Amazon Elastic Compute Cloud (Amazon EC2) is a web service that provides reliable, resizable measuring capacity in the cloud that is designed to create web-scale cloud computing more comfortable for the developers. It provides complete control of computing resources and you can run on Amazon's proven computing environment. This tutorial will cover, to create an EC2 instance on AWS.
Procedure:
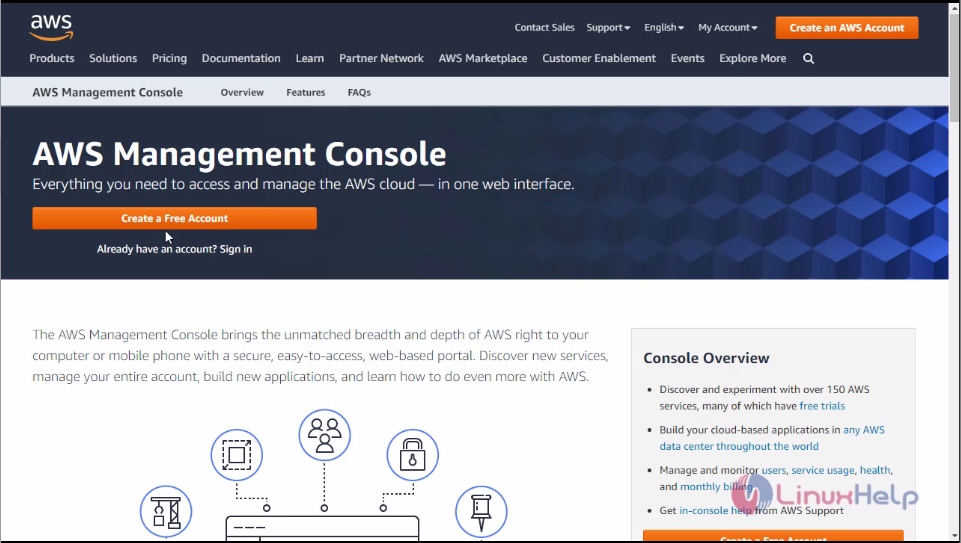
Open AWS console on your web browser
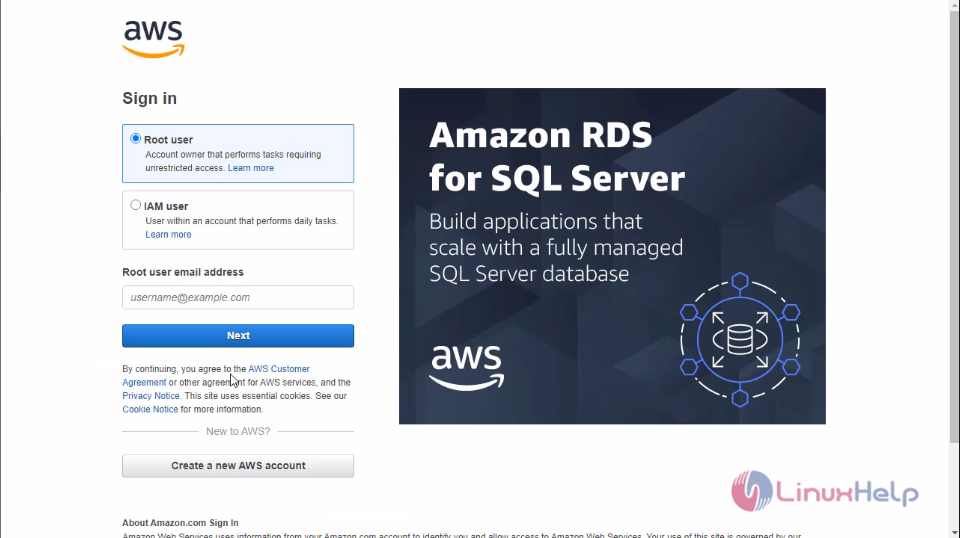
 Login to your AWS account.
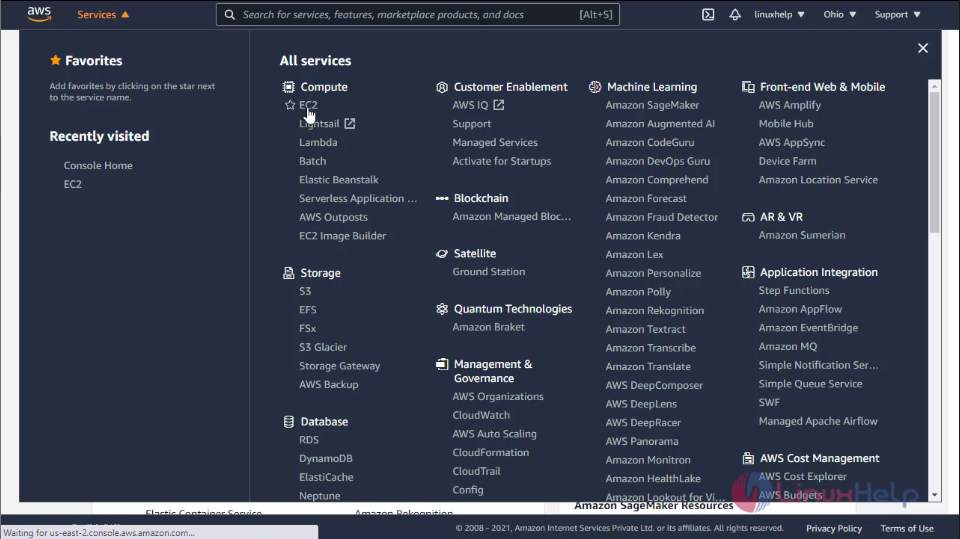
 After that click services tab and then click EC2 tab
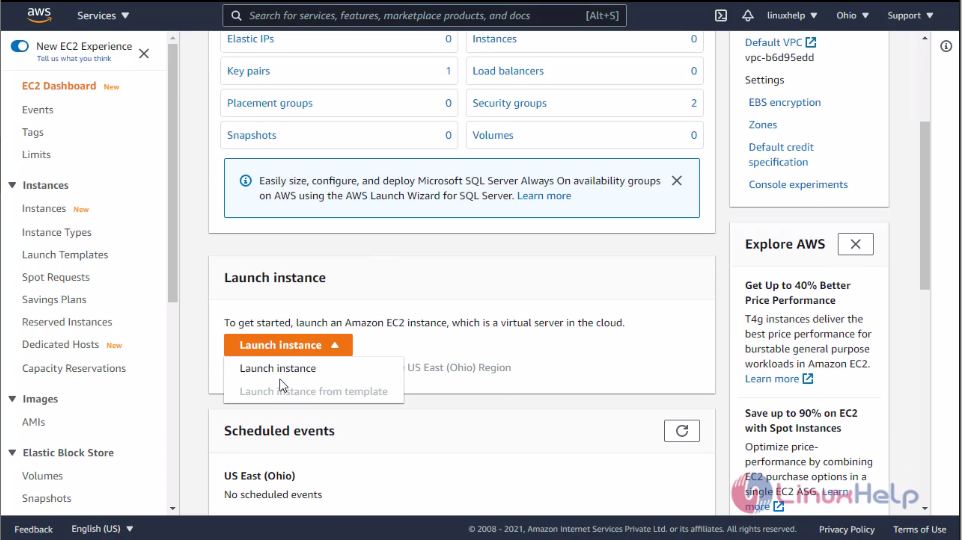
Then you will see the EC2 dashboard
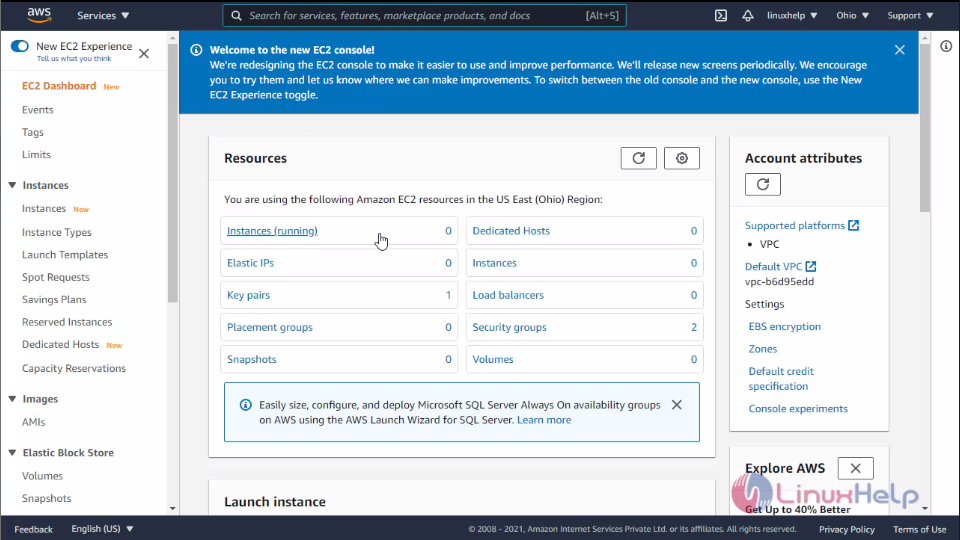 then click launch Instance tab.
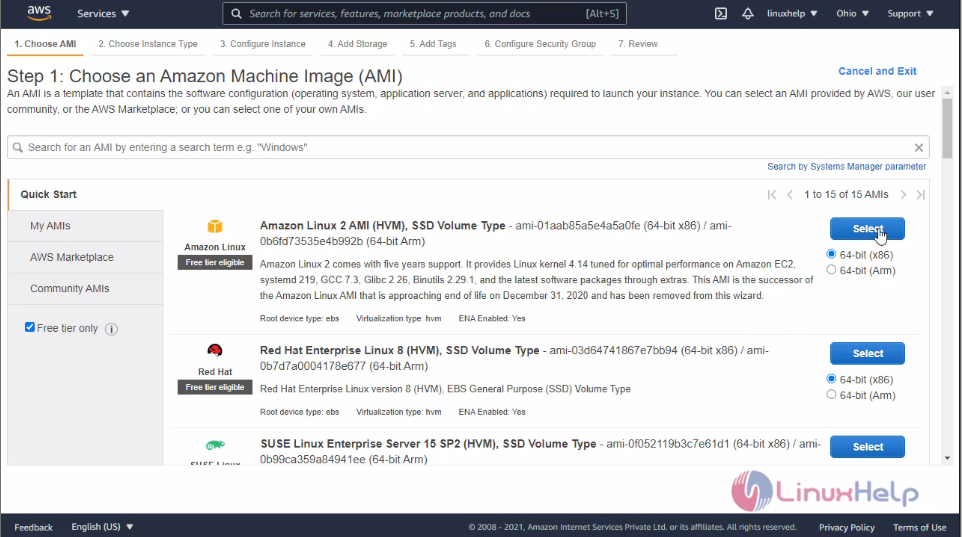
 Choose AMI, here I am Amazon Linux AMI
 Then choose the Instance type, by default AWS refers 2t.micro I am leave is as default
 After that you will enter into configure instance details tab, here you can configure the Instance requirements as your wish I leaving it by default
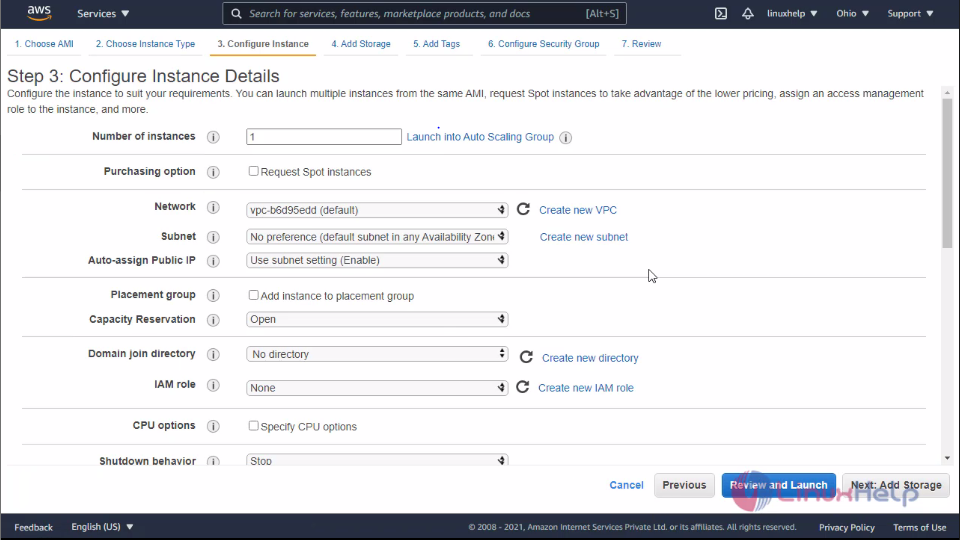
Purchasing Option:
The purchasing options is having three types.
Spot instance - A Spot Instance is an unused EC2 instance that is available for less than the On-Demand price. Because Spot Instances enable you to request unused EC2 instances at steep discounts, you can lower your Amazon EC2 costs significantly. The hourly price for a Spot Instance is called a Spot price.On-demand - With On-Demand Instances, you pay for compute capacity by the second with no long-term commitments. You have full control over its lifecycle—you decide when to launch, stop, hibernate, start, reboot, or terminate it. There is no long-term commitment required when you purchase On-Demand Instances.Reserved Instance- An Amazon Reserved Instance (RI) is a billing discount that allows you to save on your Amazon EC2 usage costs. ... Zonal Reserved Instances allow you to create a capacity reservation for an instance type within a specific Availability Zone. Zonal RIs also provide substantial discounts over On-Demand Pricing.
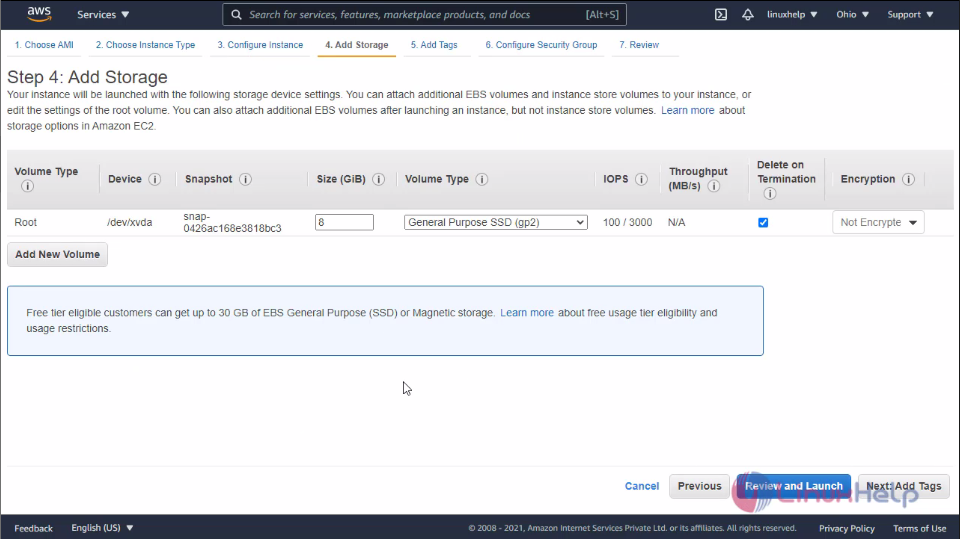
After you configure the instance details then you have to add the storage for the instance, By default AWS provide 30GB for the Trail package and also it create by default on root volume
 After that click the Add Tag option,This is used to identify the instance and billing details of the EC2 instance.
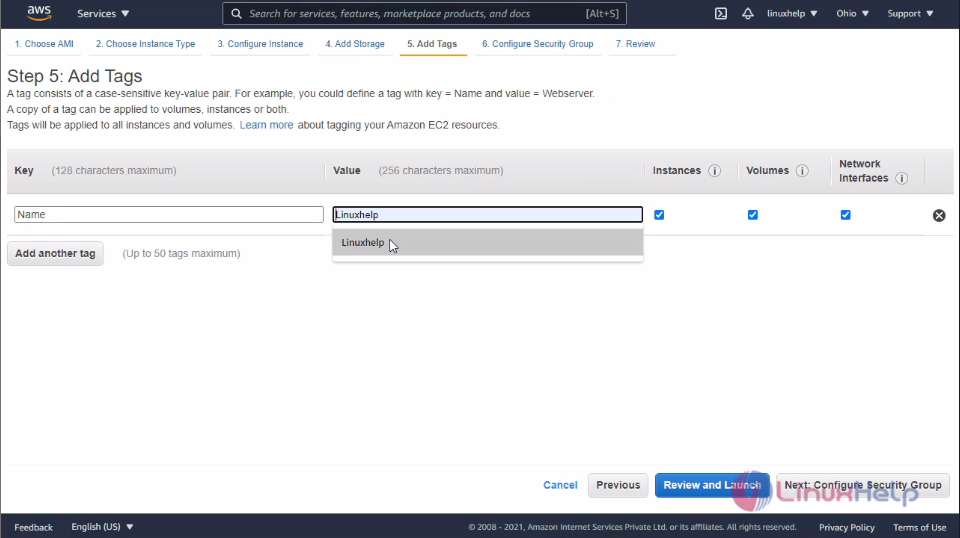 Then click the Config Security Groups, here you have put Group name and Description name
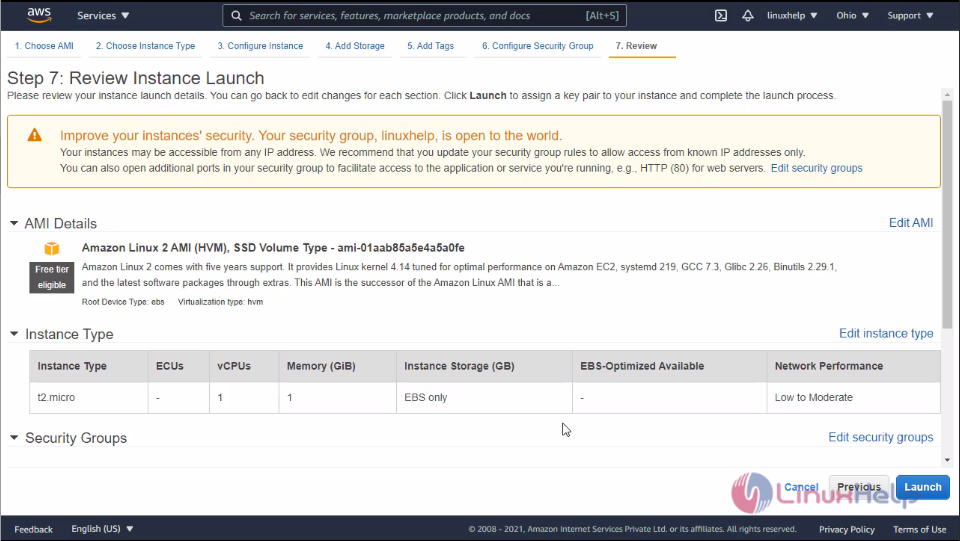
 Finally click the review Tab it will show what you are configured on your instance
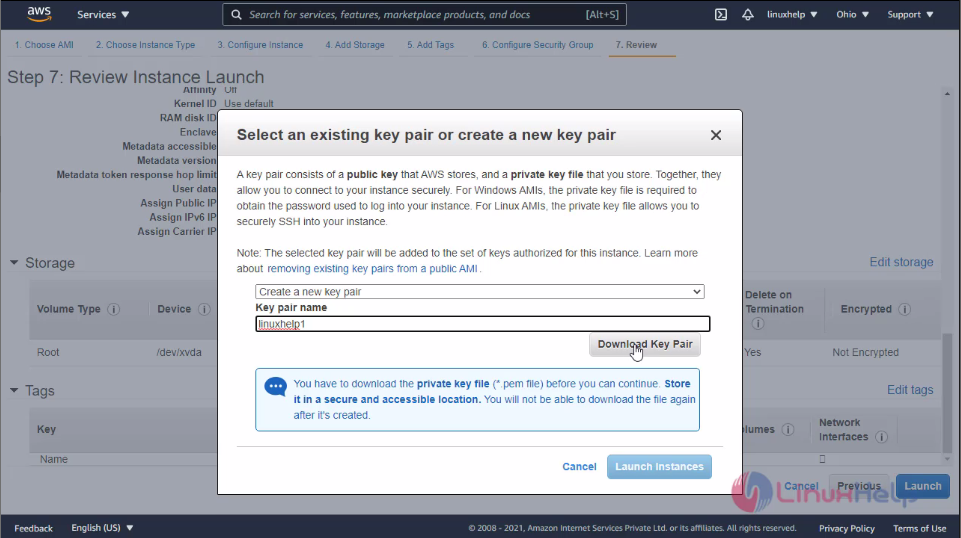
 Then click launch, after that you have to create s key on linux basis , there will be Public Key and private key.
Public Key will store server
Private Key will store client
Click create new pair, Before launch the key we have to download the key to our machine then press launch instance.
Then click launch, after that you have to create s key on linux basis , there will be Public Key and private key.
Public Key will store server
Private Key will store client
Click create new pair, Before launch the key we have to download the key to our machine then press launch instance.
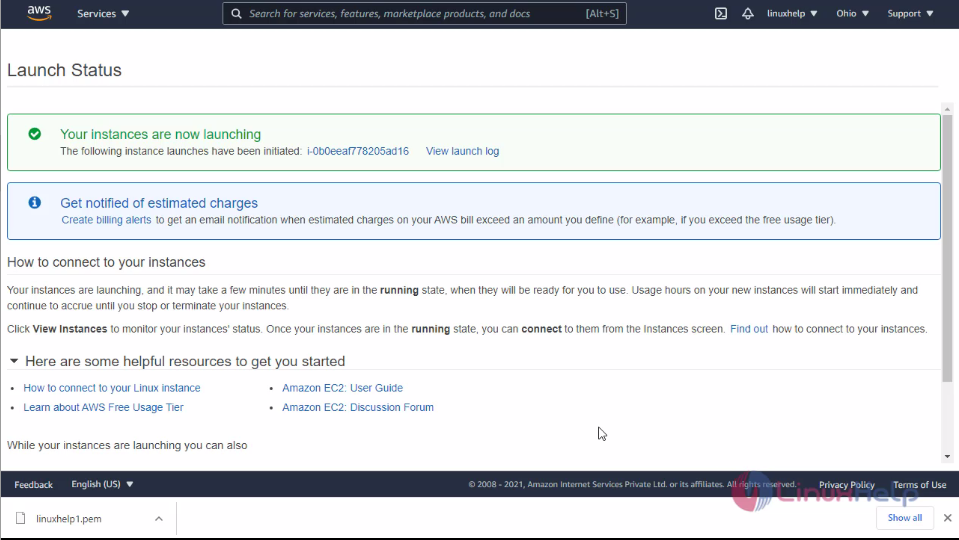
 Now the instance is launched, Then click view instances
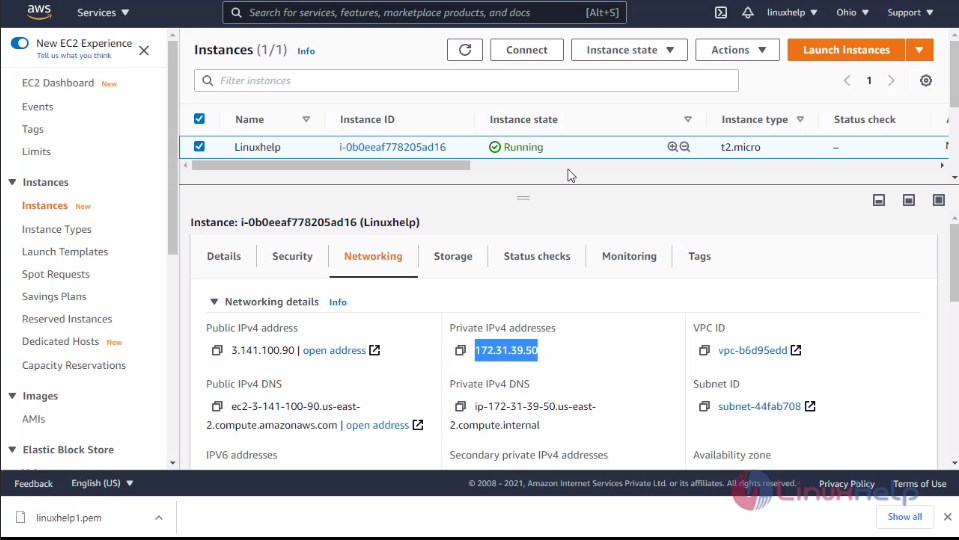
 **Here you can see the newly created instance is running status **
 click the instance then you can see the network IP addressed of the Instance
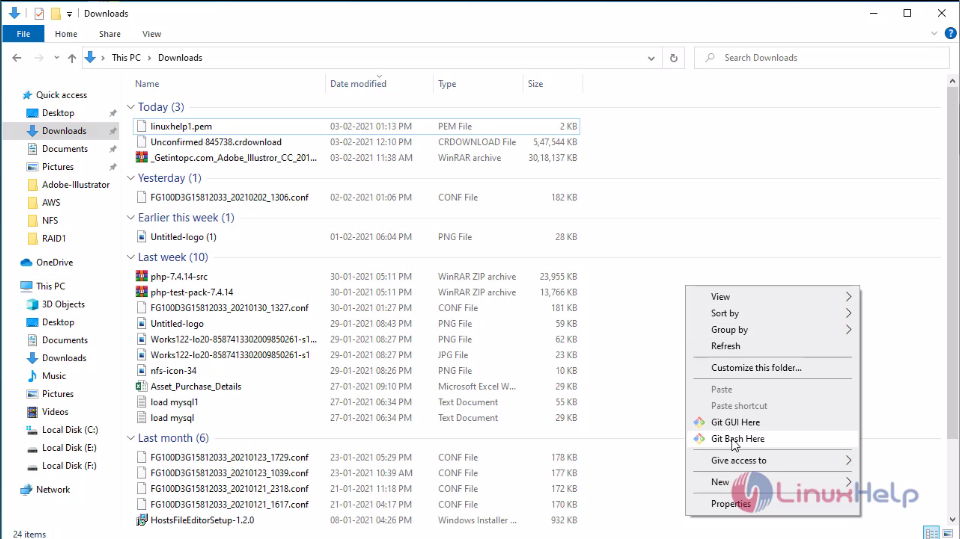
 **Now I will take control of the instance on my local machine using ssh, for that open download location of your windows machine and right click on the window then click Git Bash Here **
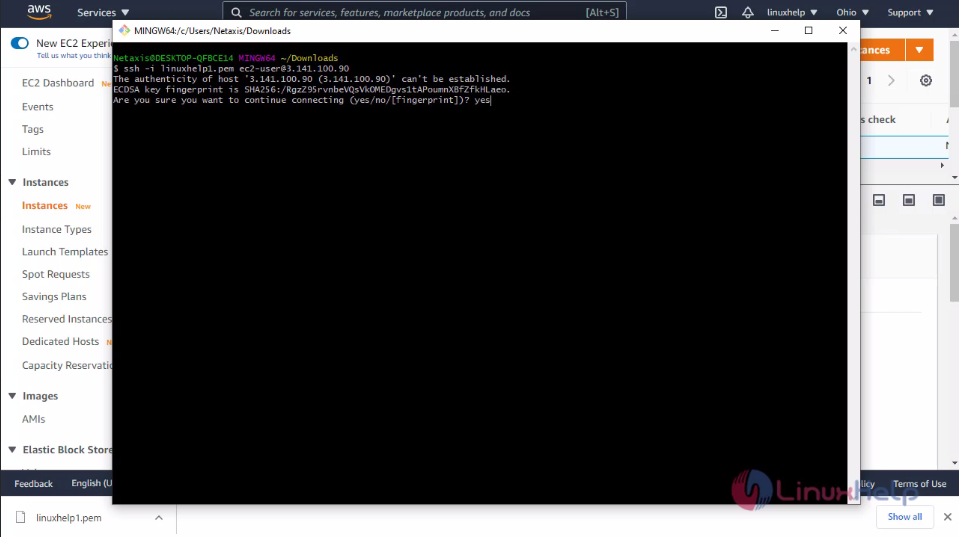
Here I will take control of the EC2 instance using the downloaded key by executing following command
 Enter YES to connect the Instance on you terminal
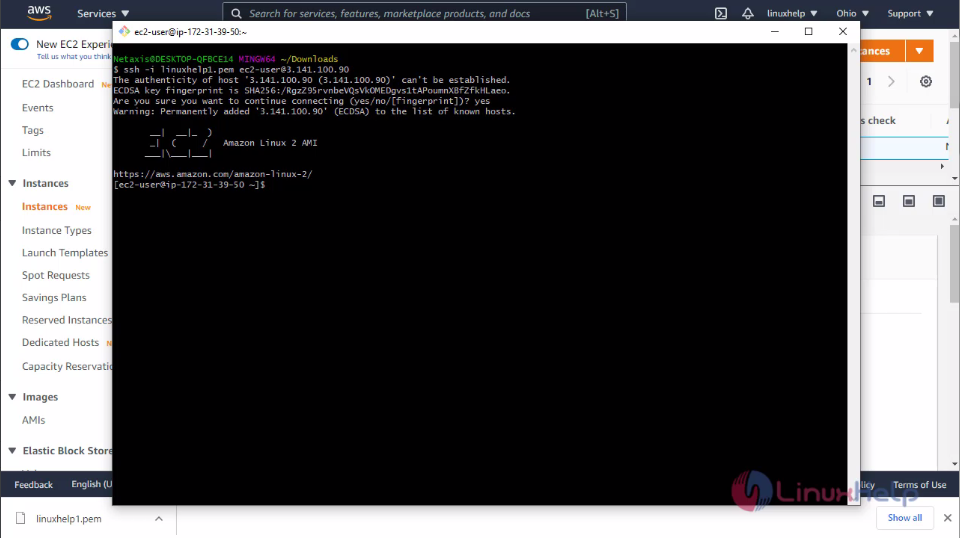
 **Finally you successfully login to your EC2 instance **
 With this method, to create EC2 Instance on AWS is comes to an end.
Comments ( 0 )
No comments available