How to Configure kickstart to automate RHEL/CentOS 7 installation
To Configure kickstart to automate RHEL/CentOS 7 installation
In this article we will explain about the automated installation of RedHat based distributions by configuring the kickstart.
To install kickstart
The default configuration file for kickstart “ anaconda-ks.cfg” is available in the home directory of the root user. Supply the file via ftp or http for accessing the file while installing the operating system.
Install the following package for creating a new kickstart configuration file.
[root@linuxhelp ~]# yum install system-config-kickstart -y
Loaded plugins: fastestmirror, langpacks
Loading mirror speeds from cached hostfile
 * base: centos.mirror.net.in
 * extras: centos.mirror.net.in
 * updates: centos.mirror.net.in
Resolving Dependencies
-->  Running transaction check
--->  Package system-config-kickstart.noarch 0:2.9.2-4.el7 will be installed
-->  Finished Dependency Resolution
.
.
.
Running transaction
  Installing : system-config-kickstart-2.9.2-4.el7.noarch                                                                               1/1
  Verifying  : system-config-kickstart-2.9.2-4.el7.noarch                                                                               1/1

Installed:
  system-config-kickstart.noarch 0:2.9.2-4.el7

Complete!
Go to Applications &rarr System Tools &rarr Kickstart for graphical mode or else run the following command to open.
[root@linuxhelp ~]# system-config-kickstart
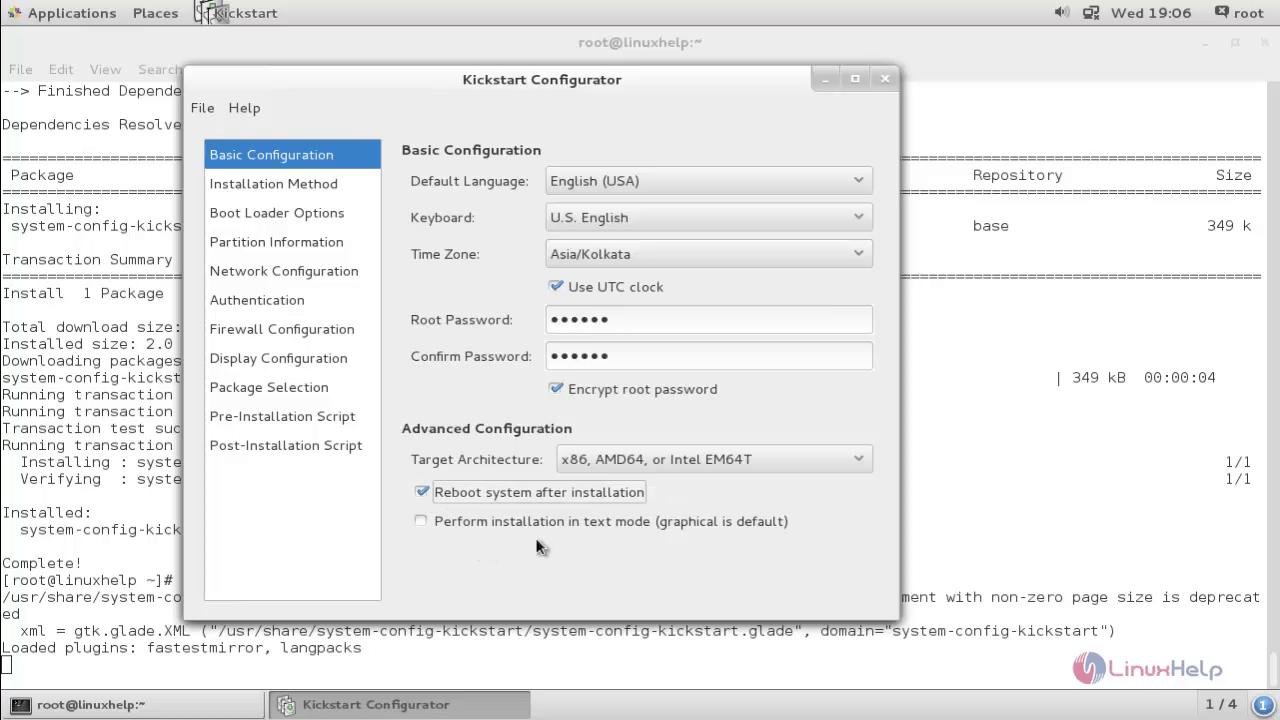
Choose “ Basic Configuration” and choose your language, keyboard layout, timezone, root password. Select reboot system after installation.
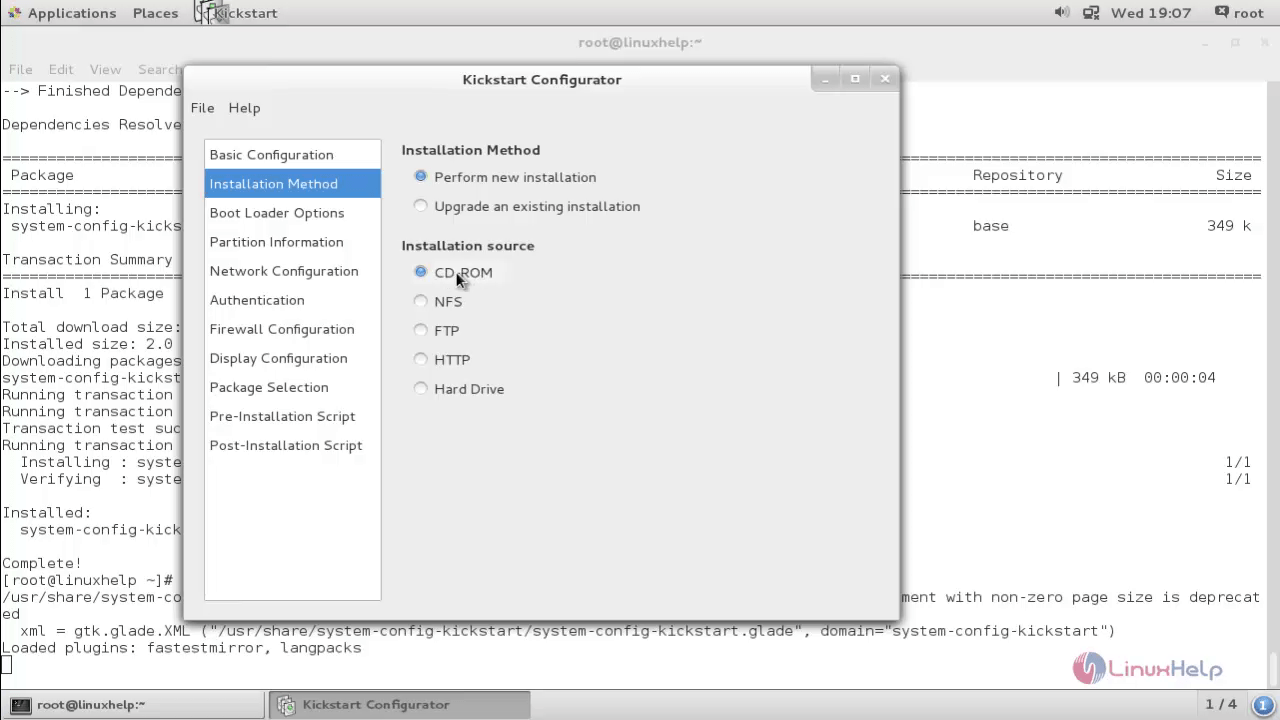
Select the Installation Method and Installation source.
Select “ Boot Loader Options” and choose the required Installation Type, grub password and Install option.

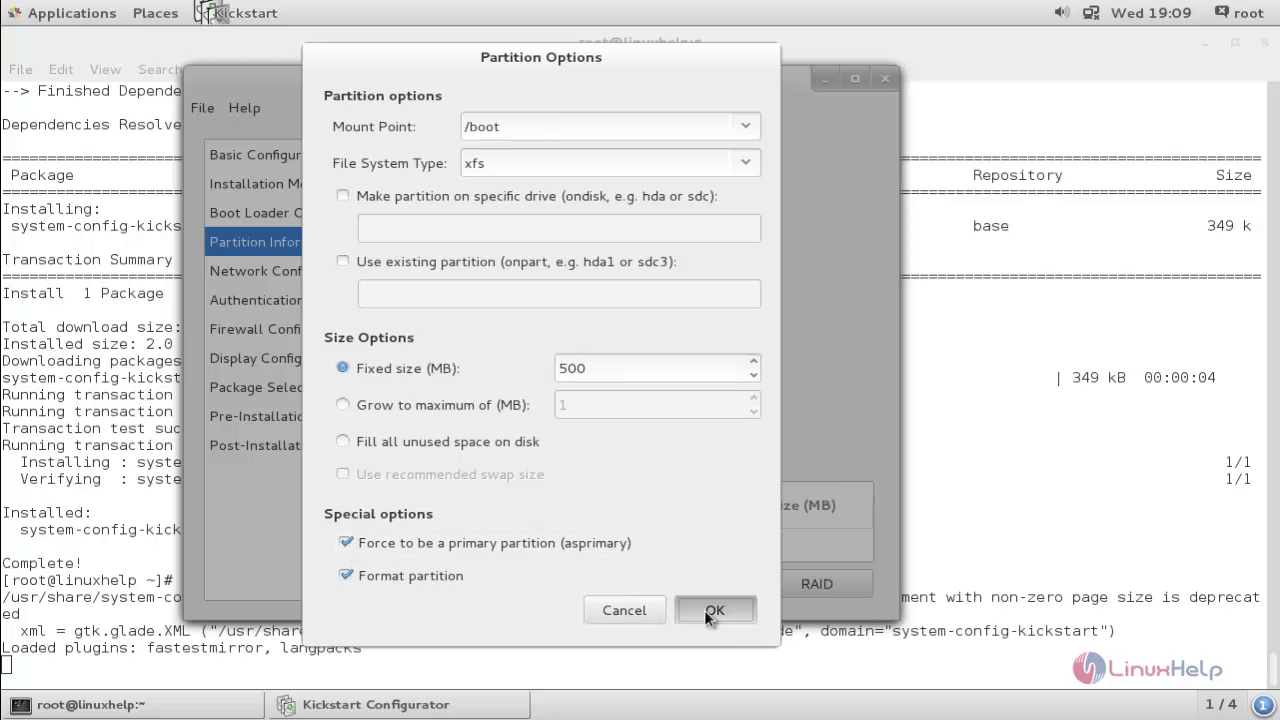
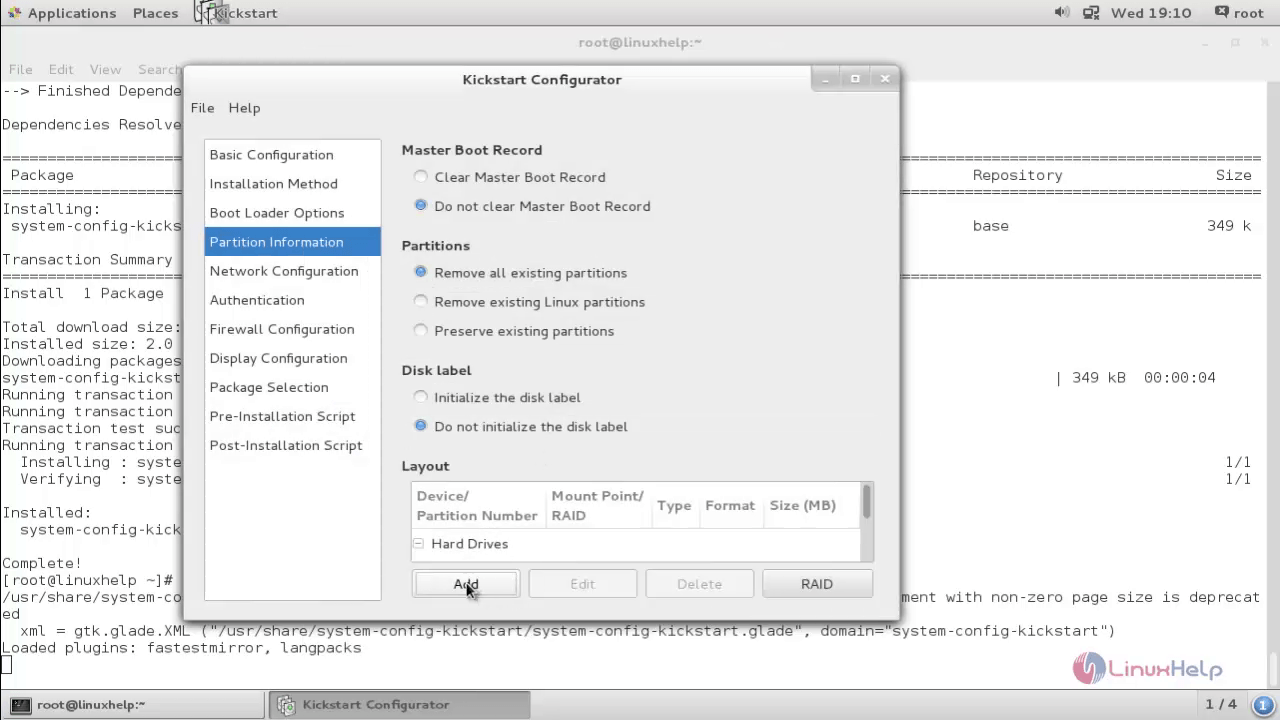
Now choose “ Partition Information” and create the partitions as follows.
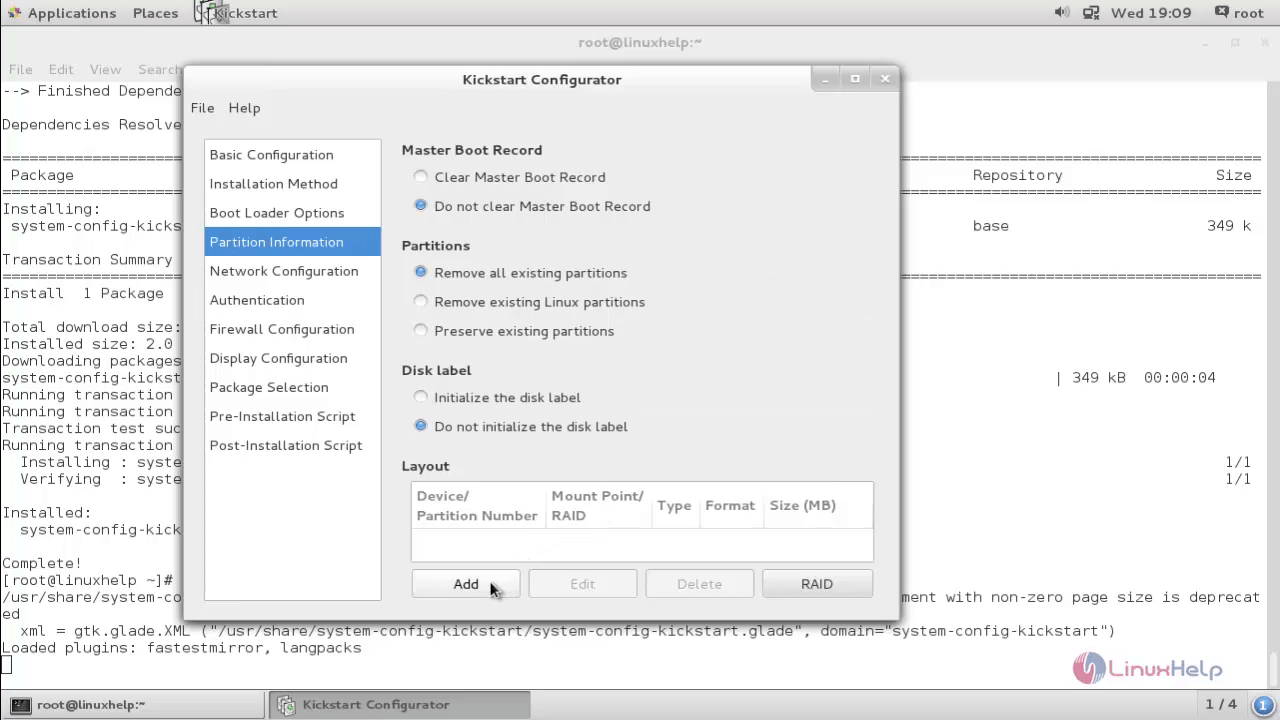
Enter the following details for /boot partitioning.
| Mount Point | /boot |
| File System Type | xfs |
| Size | 500 MB |

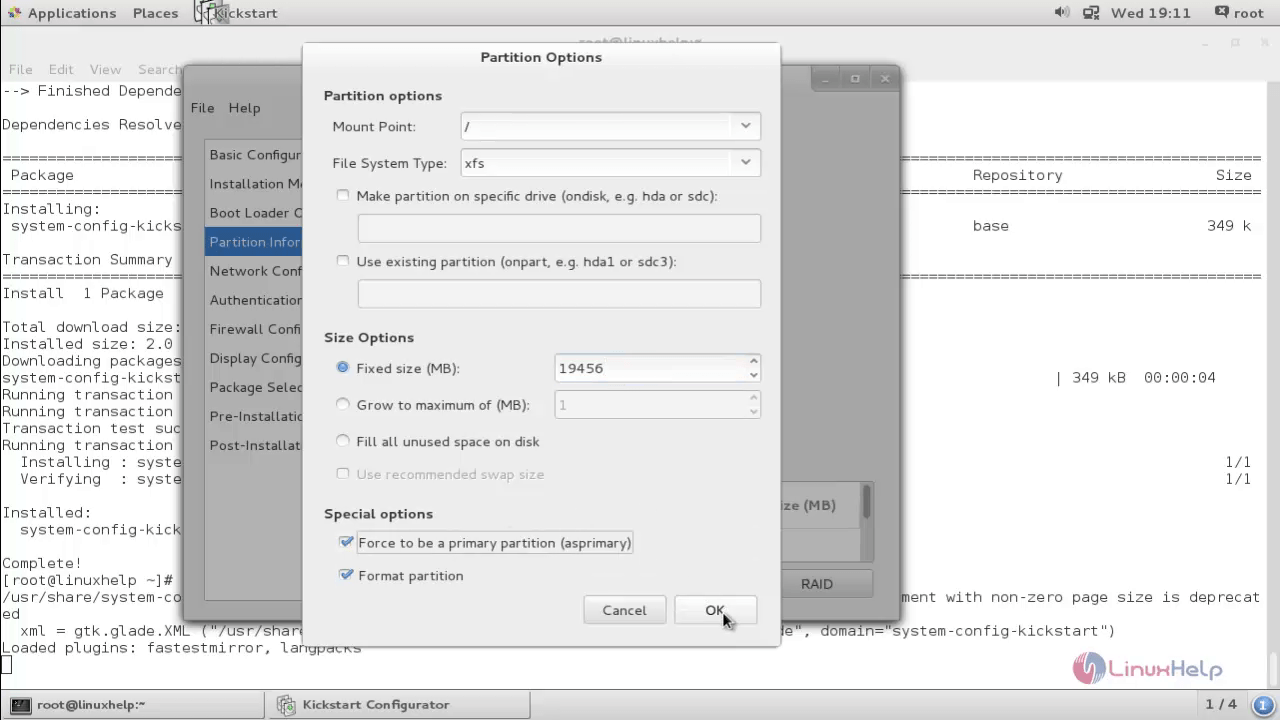
After entering the details click OK.
Now click Add
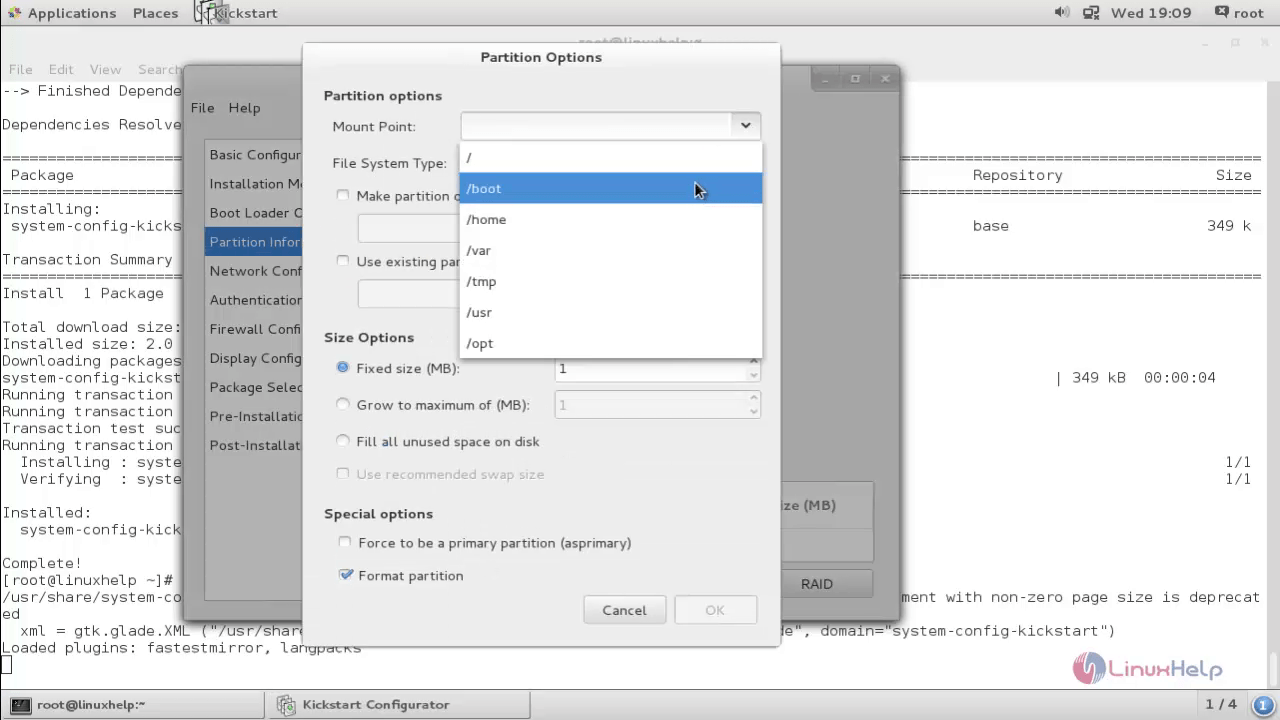
Enter the following details for / partitioning.
| Mount Point | / |
| File System Type | xfs |
| Size | 20 GB |
Kickstart
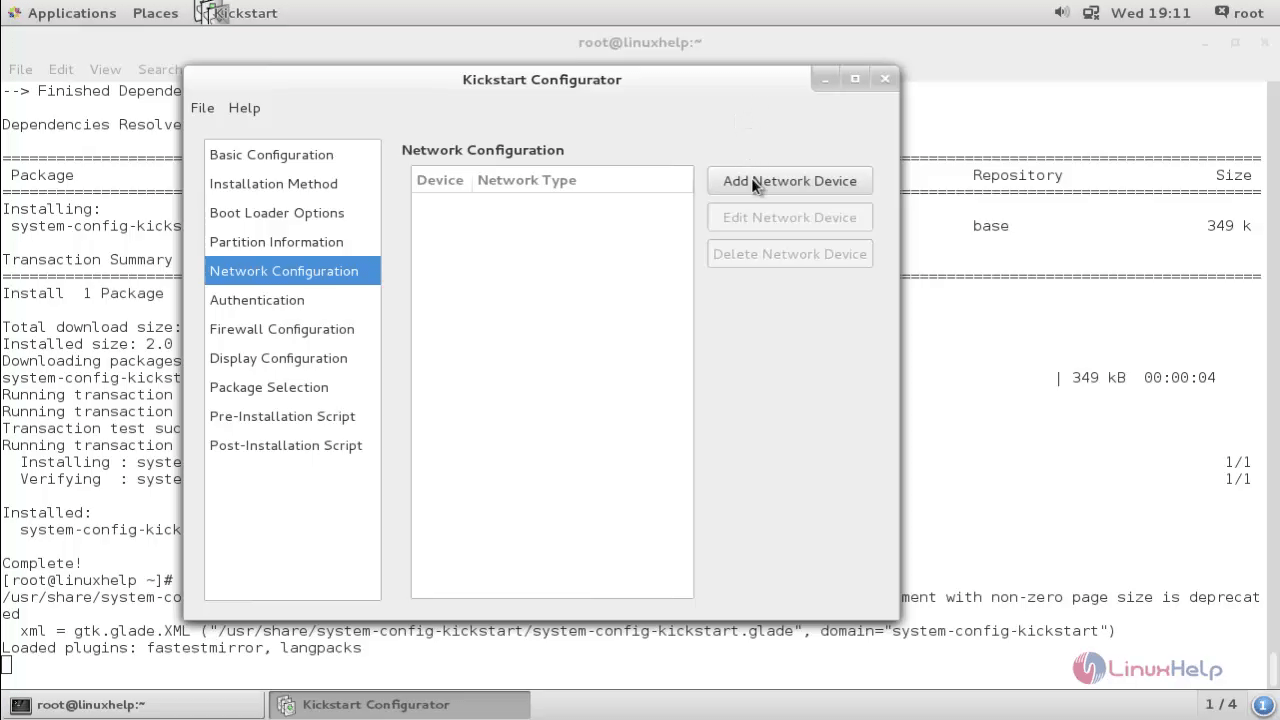
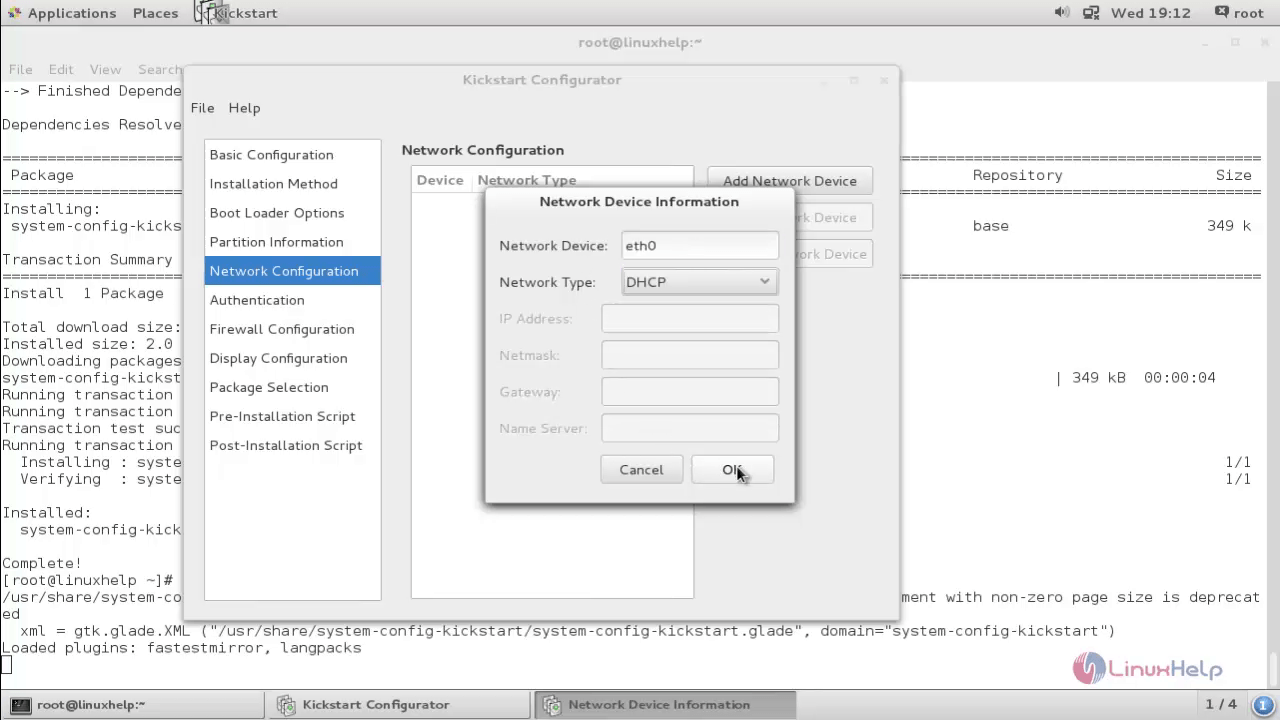
Select “ Network Configuration” and add the Network Device as follows. Here, you can choose either the DHCP or static IP.
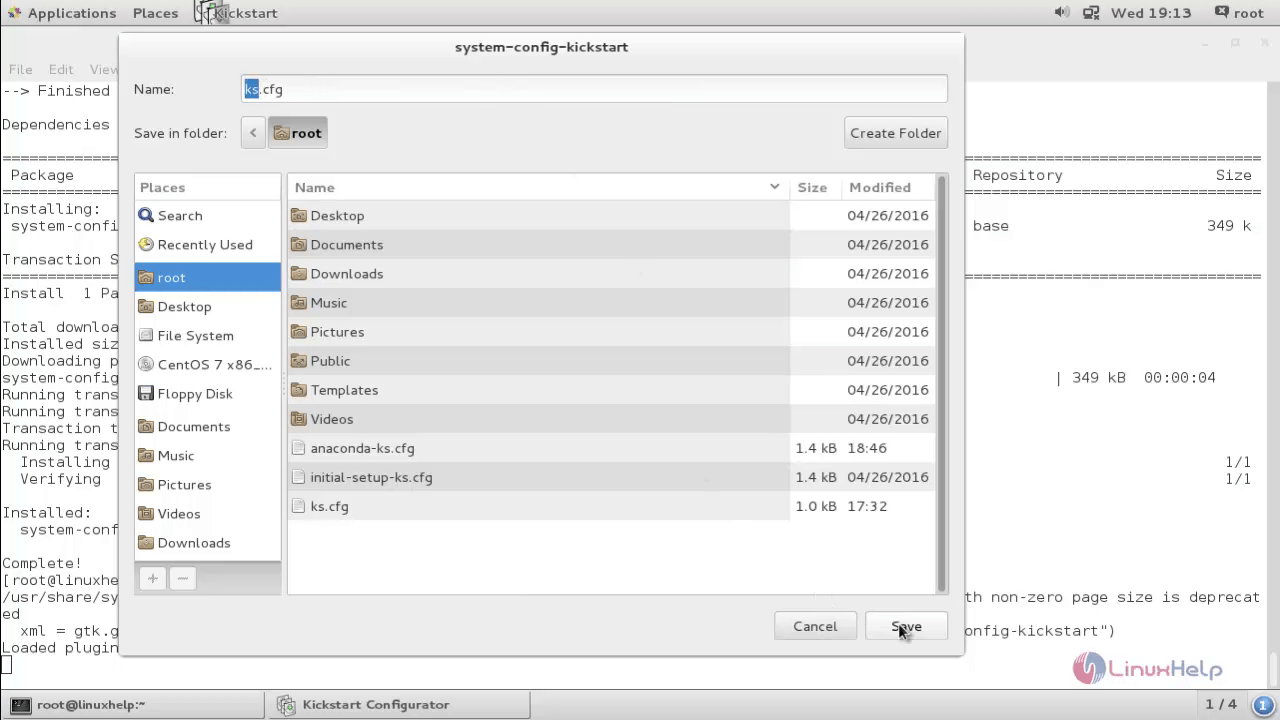
And finally Save the file.
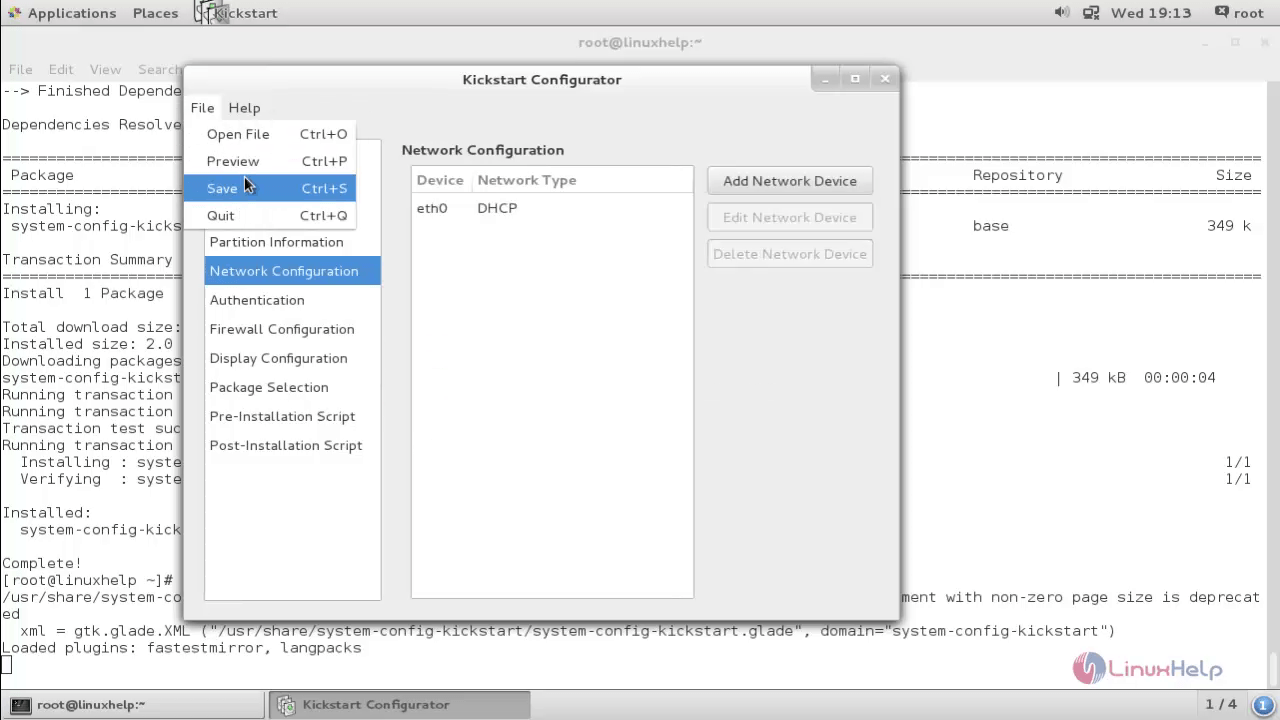
List the file in your home directory to view the new file called “ ks.cfg” for kickstart configuration.
Open the “ anaconda-ks.cfg” file and copy the following lines to the “ ks.cfg” file during the installation process.
%packages
@base
@core
@desktop-debugging
@dial-up
@fonts
@gnome-desktop
@guest-agents
@guest-desktop-agents
@input-methods
@internet-browser
@multimedia
@print-client
@x11

%end
To configure ftp server
Now install the FTP package.
[root@linuxhelp ~]# yum install vsftpd -y
Loaded plugins: fastestmirror, langpacks
Loading mirror speeds from cached hostfile
 * base: centos.mirror.net.in
 * extras: centos.mirror.net.in
 * updates: centos.mirror.net.in
Resolving Dependencies
-->  Running transaction check
--->  Package vsftpd.x86_64 0:3.0.2-11.el7_2 will be installed
-->  Finished Dependency Resolution
.
.
.
Running transaction
  Installing : vsftpd-3.0.2-11.el7_2.x86_64                                                                                             1/1
  Verifying  : vsftpd-3.0.2-11.el7_2.x86_64                                                                                             1/1

Installed:
  vsftpd.x86_64 0:3.0.2-11.el7_2

Complete!
Copy the ks.cfg file from /root/ks.cfg to the ftp path /var/ftp/pub/
[root@linuxhelp ~]# cp ks.cfg /var/ftp/pub/
Add the firewall for FTP
[root@linuxhelp ~]# firewall-cmd --permanent --add-service=ftp
success
[root@linuxhelp ~]# firewall-cmd --reload
Success
Start and enable the FTP service.
[root@linuxhelp ~]# systemctl start vsftpd
[root@linuxhelp ~]# systemctl enable vsftpd
ln -s ' /usr/lib/systemd/system/vsftpd.service'  ' /etc/systemd/system/multi-user.target.wants/vsftpd.service'
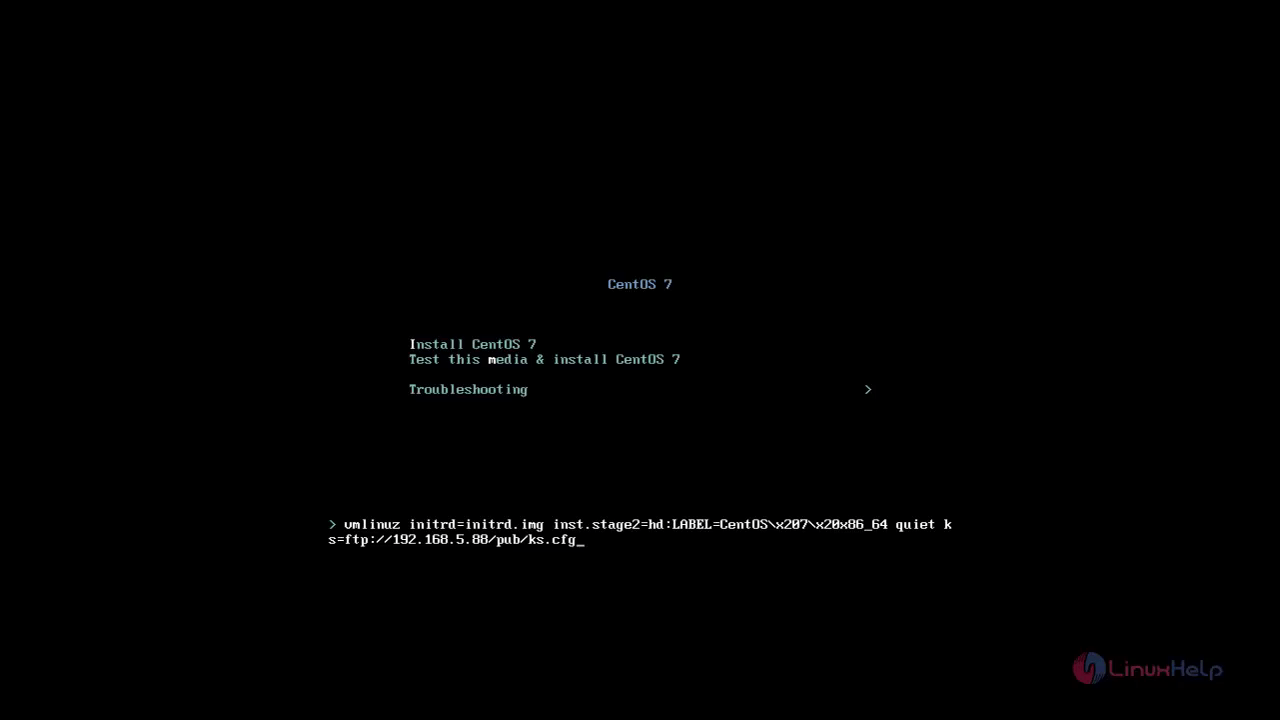
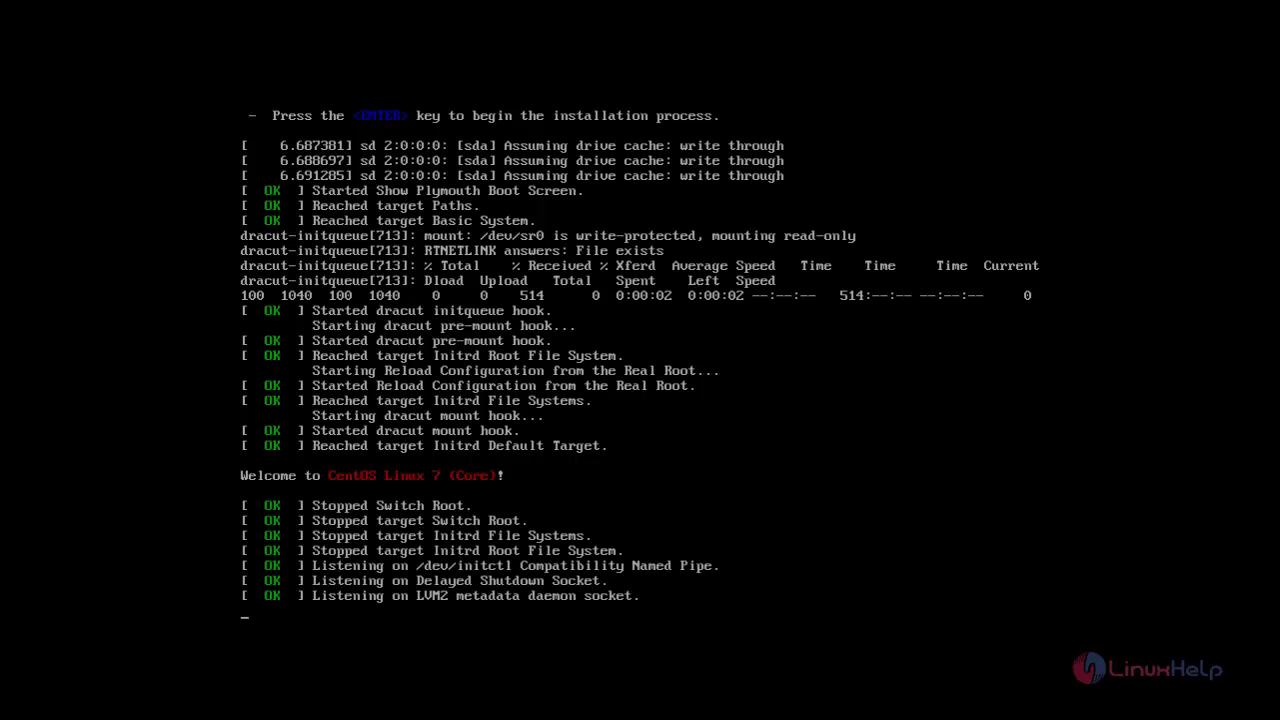
Bootup the client machine with Centos/RHEL 7 installation ISO image.
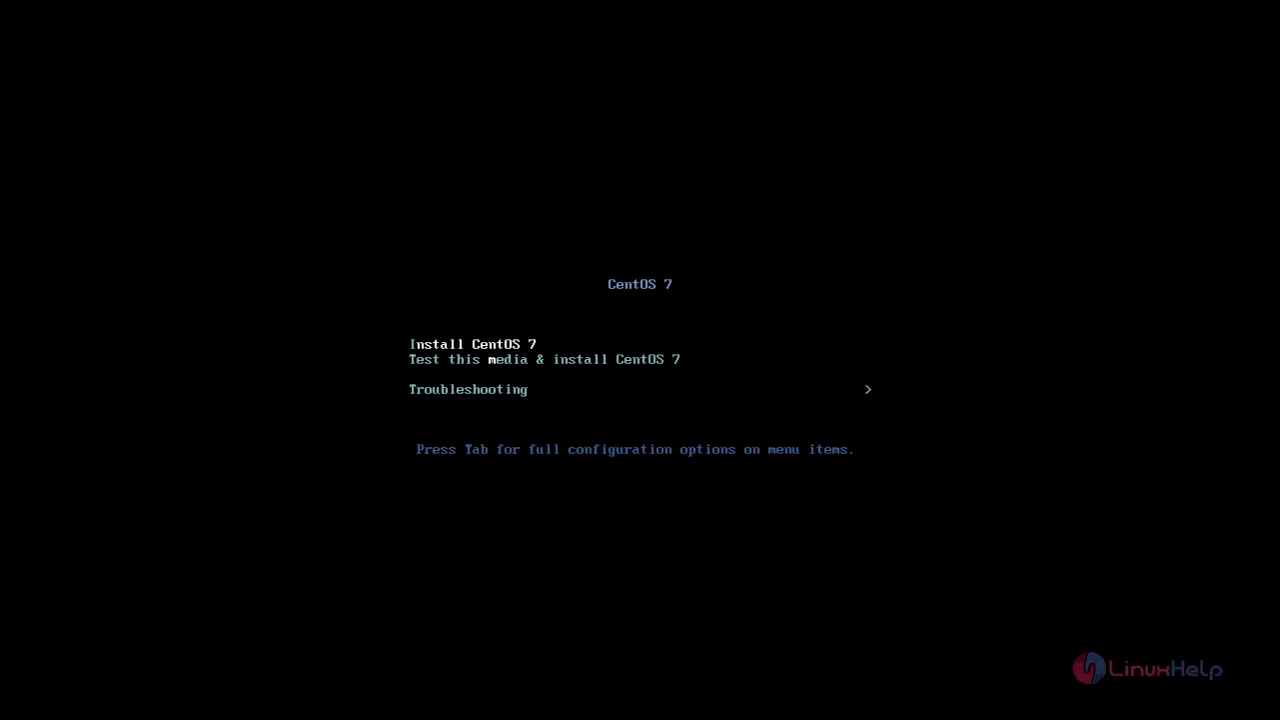
Press the “ Tab” button to inject the kickstart configuration file. Type the command ks=ftp://192.168.5.88/pub/ks.cfg as mentioned in the below image and press “ Enter” to continue with the installation.
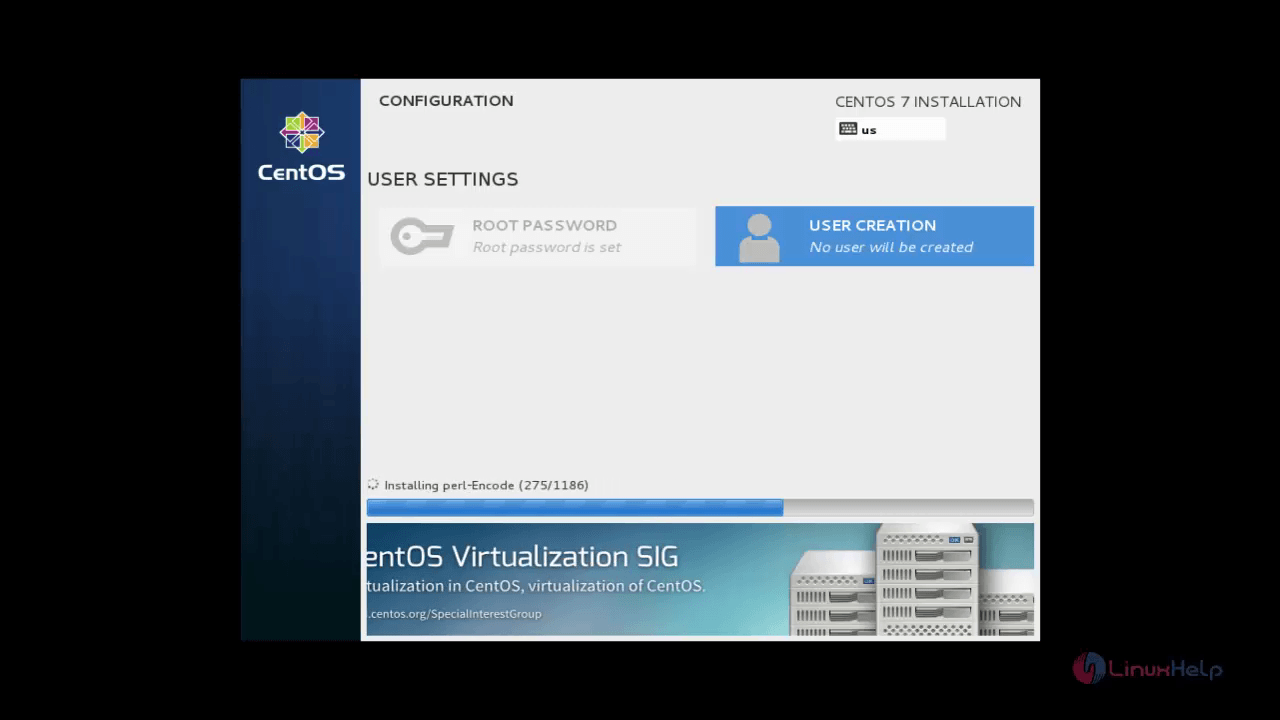
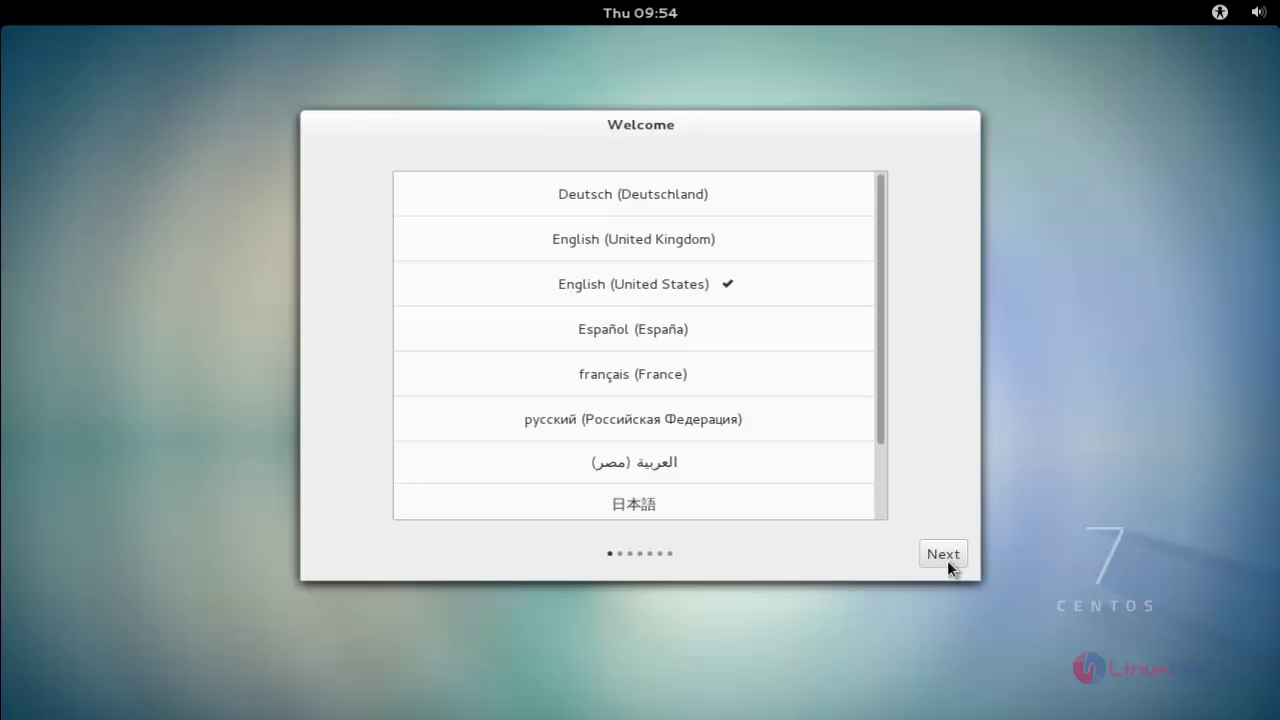
After installation process completes, turn on the machine and choose the Language.

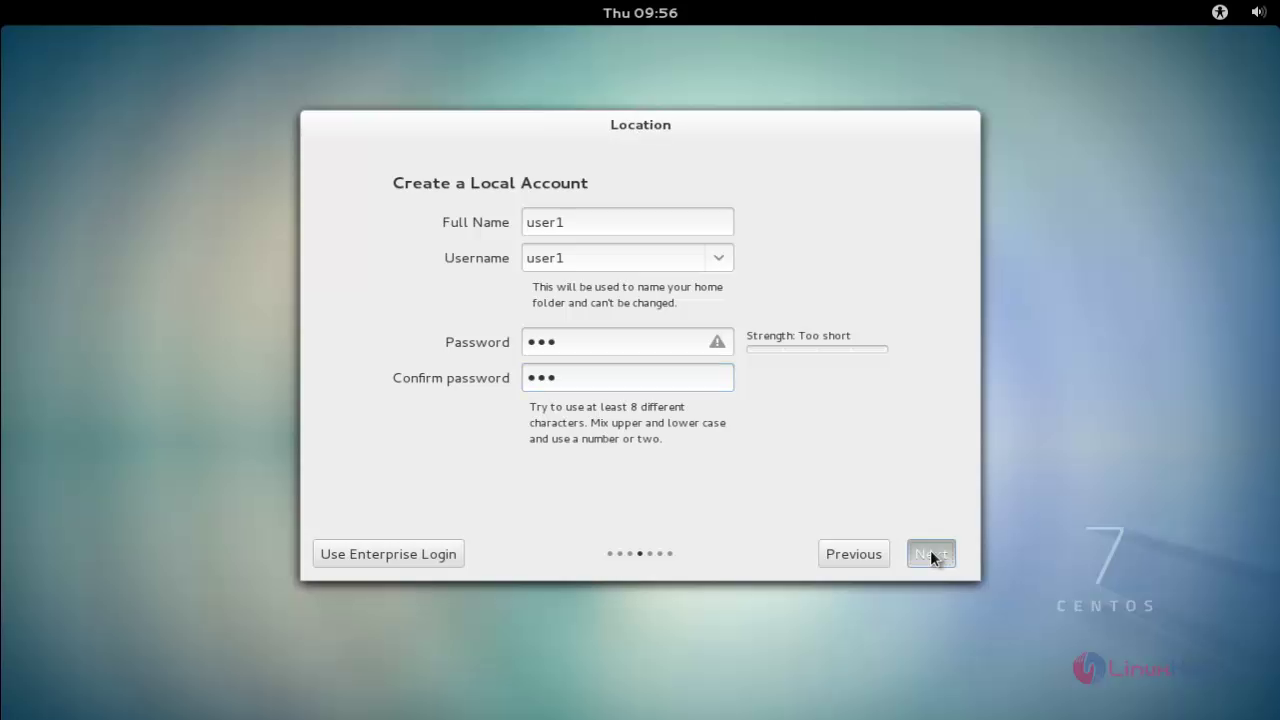
Enter the login credentials and click next.
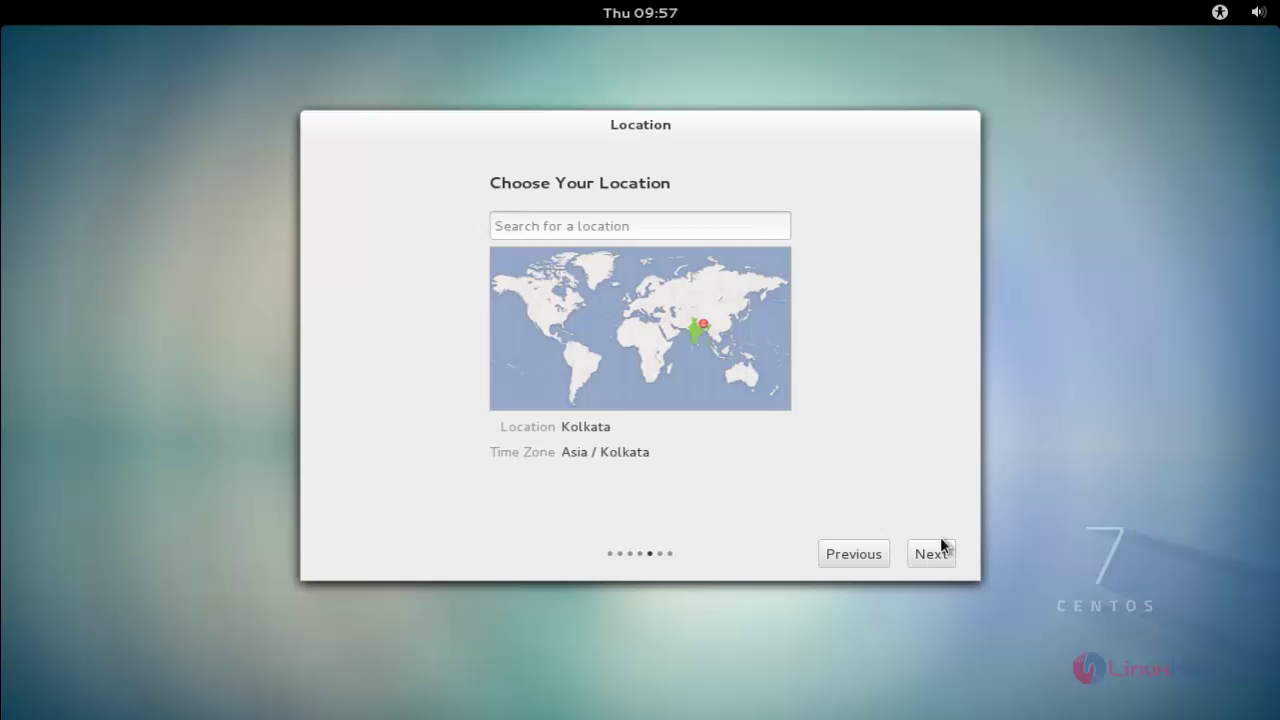
Choose your location and click next
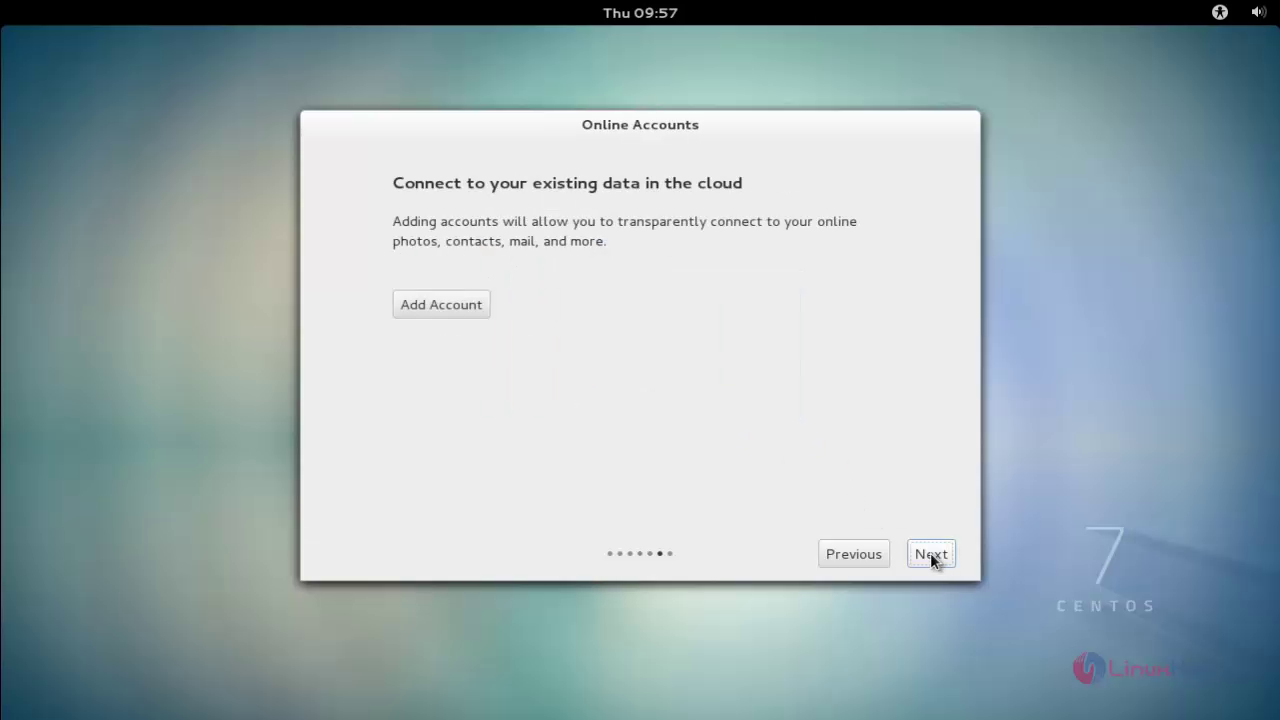
Click next to proceed further.
Click Start using CentOS Linux
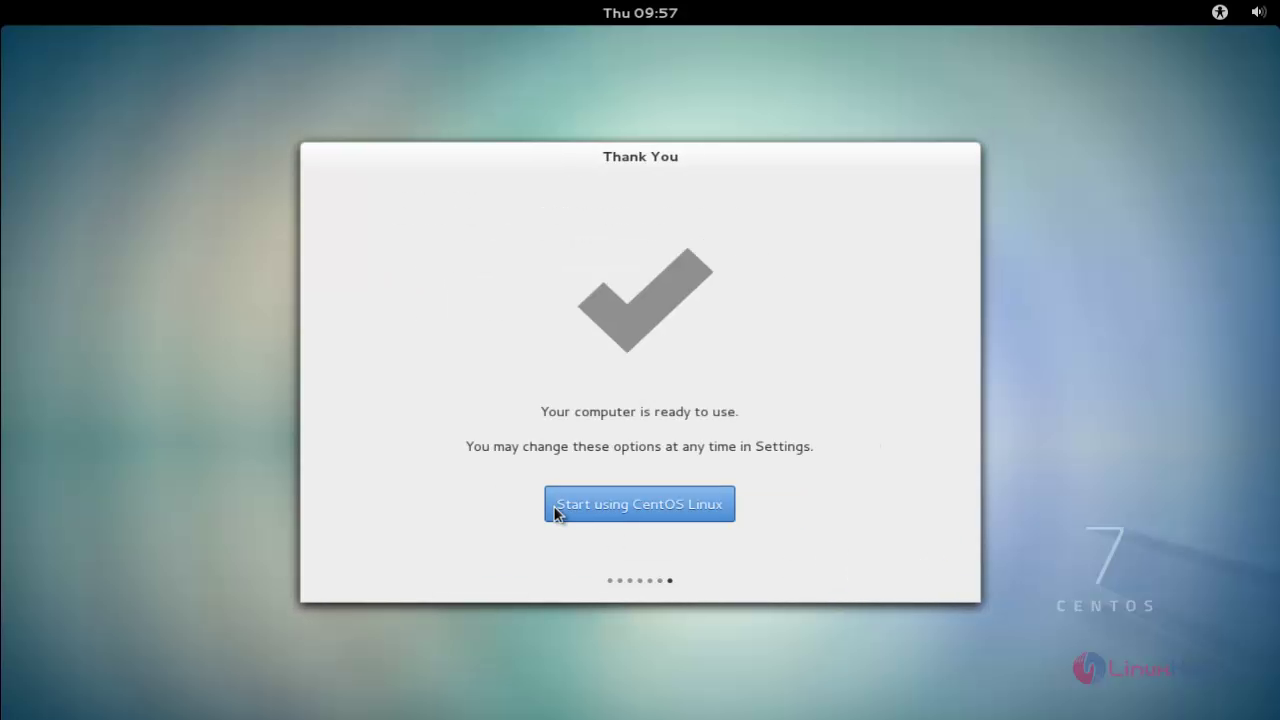
Thus the CentOS 7 installed successfully and the home screen appears.


Comments ( 0 )
No comments available