How to Install Geeklog CMS in CentOS
To install Geeklog CMS in Centos
Geeklog is an open source tool which is used for creating and managing dynamic web content. It can be used either as Weblog, CMS or Web Portal and it is written using PHP. It supports things such as forums, image galleries, comments, etc. as it has the necessary plug-ins. This tutorial gives a clear picture about the installation of Geeklog CMS on your CentOS machine.
To install and configure the Prerequisites
Geeklog requires the prior installation and configuration of certain files. Initiate the installation of the prerequisites by installing MariaDB server with the following command.
[root@linuxhelp1 Desktop]# yum install mariadb mariadb-server
Loaded plugins: fastestmirror, langpacks
Loading mirror speeds from cached hostfile
* base: centos.excellmedia.net
.
.
.
perl-Data-Dumper.x86_64 0:2.145-3.el7 perl-IO-Compress.noarch 0:2.061-2.el7
perl-Net-Daemon.noarch 0:0.48-5.el7 perl-PlRPC.noarch 0:0.2020-14.el7
Dependency Updated:
mariadb-libs.x86_64 1:5.5.50-1.el7_2
Complete!
Start MariaDB server and enable the service to start at boot.
[root@linuxhelp1 Desktop]# systemctl start mariadb
[root@linuxhelp1 Desktop]# systemctl enable mariadb
ln -s ' /usr/lib/systemd/system/mariadb.service'  ' /etc/systemd/system/multi-user.target.wants/mariadb.service'
Run the mysql_secure_installation command to configure the mariadb server
[root@linuxhelp1 Desktop]# mysql_secure_installation
/usr/bin/mysql_secure_installation: line 379: find_mysql_client: command not found
NOTE: RUNNING ALL PARTS OF THIS SCRIPT IS RECOMMENDED FOR ALL MariaDB
SERVERS IN PRODUCTION USE! PLEASE READ EACH STEP CAREFULLY!
In order to log into MariaDB to secure it, we' ll need the current
password for the root user. If you' ve just installed MariaDB, and
you haven' t set the root password yet, the password will be blank,
so you should just press enter here.
Enter current password for root (enter for none):
OK, successfully used password, moving on...
Setting the root password ensures that nobody can log into the MariaDB
root user without the proper authorisation.
Set root password? [Y/n] y
New password:
Re-enter new password:
Password updated successfully!
Reloading privilege tables..
... Success!
By default, a MariaDB installation has an anonymous user, allowing anyone
to log into MariaDB without having to have a user account created for
them. This is intended only for testing, and to make the installation
go a bit smoother. You should remove them before moving into a
production environment.
Remove anonymous users? [Y/n] y
... Success!
Normally, root should only be allowed to connect from ' localhost' . This
ensures that someone cannot guess at the root password from the network.
Disallow root login remotely? [Y/n] y
... Success!
By default, MariaDB comes with a database named ' test'  that anyone can
access. This is also intended only for testing, and should be removed
before moving into a production environment.
Remove test database and access to it? [Y/n] y
- Dropping test database...
... Success!
- Removing privileges on test database...
... Success!
Reloading the privilege tables will ensure that all changes made so far
will take effect immediately.
Reload privilege tables now? [Y/n] y
... Success!
Cleaning up...
All done! If you' ve completed all of the above steps, your MariaDB
installation should now be secure.
Thanks for using MariaDB!
Once it is installed, use the following command to login to the MariaDB server. Create a database for Geeklog in it.
[root@linuxhelp1 Desktop]# mysql -u root -p
Enter password:
Welcome to the MariaDB monitor. Commands end with   or g.
Your MariaDB connection id is 10
Server version: 5.5.50-MariaDB MariaDB Server
Copyright (c) 2000, 2016, Oracle, MariaDB Corporation Ab and others.
Type ' help '  or ' h'  for help. Type ' c'  to clear the current input statement.
MariaDB [(none)]>  create database geeklog
Query OK, 1 row affected (0.00 sec)
MariaDB [(none)]>  create user ' geekloguser' @' localhost'  identified by ' password'
Query OK, 0 rows affected (0.01 sec)
MariaDB [(none)]>  GRANT ALL PRIVILEGES ON `geeklog`.* TO ' geekloguser' @' localhost'
Query OK, 0 rows affected (0.00 sec)
MariaDB [(none)]>  flush privileges
Query OK, 0 rows affected (0.00 sec)
MariaDB [(none)]>  exit
Bye
Now install Apache web server by running the following command.
[root@linuxhelp1 Desktop]# yum install httpd
Loaded plugins: fastestmirror, langpacks
Loading mirror speeds from cached hostfile
&hellip
&hellip
Installed:
httpd.x86_64 0:2.4.6-40.el7.centos.4
Dependency Installed:
apr.x86_64 0:1.4.8-3.el7 apr-util.x86_64 0:1.5.2-6.el7 httpd-tools.x86_64 0:2.4.6-40.el7.centos.4
mailcap.noarch 0:2.1.41-2.el7
Complete!
Start and enable the Apache service.
[root@linuxhelp1 Desktop]# systemctl start httpd
[root@linuxhelp1 Desktop]# systemctl enable httpd
ln -s ' /usr/lib/systemd/system/httpd.service'  ' /etc/systemd/system/multi-user.target.wants/httpd.service'
Once Apache service is enabled, use the following command to install PHP.
[root@linuxhelp1 Desktop]# yum install php php-mysql php-gd php-common php-pear

Loaded plugins: fastestmirror, langpacks
Loading mirror speeds from cached hostfile
* base: centos.excellmedia.net
* extras: centos.excellmedia.net
.
.
.
Installed:
php.x86_64 0:5.4.16-36.3.el7_2 php-common.x86_64 0:5.4.16-36.3.el7_2 php-gd.x86_64 0:5.4.16-36.3.el7_2
php-mysql.x86_64 0:5.4.16-36.3.el7_2 php-pear.noarch 1:1.9.4-21.el7
Dependency Installed:
libzip.x86_64 0:0.10.1-8.el7 php-cli.x86_64 0:5.4.16-36.3.el7_2 php-pdo.x86_64 0:5.4.16-36.3.el7_2
php-process.x86_64 0:5.4.16-36.3.el7_2 php-xml.x86_64 0:5.4.16-36.3.el7_2 t1lib.x86_64 0:5.1.2-14.el7
Complete!
To install Geeklog
Now download the Geeklog installation package from the following link https://www.geeklog.net/downloads/index.php?cid=8
Change the directory for the downloaded file as follows.
[root@linuxhelp1 Desktop]# cd ../Downloads/
[root@linuxhelp1 Downloads]# ls -l
total 16256
-rw-r--r-- 1 root root 11801336 Nov 15 01:59 geeklog-2.1.1.tar.gz
Extract the downloaded package to /var/www/ directory by using the following command.
[root@linuxhelp1 Downloads]# tar -xvf geeklog-2.1.1.tar.gz -C /var/www/

geeklog-2.1.1/
geeklog-2.1.1/public_html/
geeklog-2.1.1/public_html/editors/
geeklog-2.1.1/public_html/editors/fckeditor/
.
.
.
geeklog-2.1.1/system/pear/scripts/peclcmd.php
geeklog-2.1.1/system/lib-webservices.php
geeklog-2.1.1/system/memberdetail.thtml
geeklog-2.1.1/system/lib-custom.php
Create a new directory in your website name under the /var/www/html/ directory as follows.
[root@linuxhelp1 Downloads]# mkdir /var/www/html/linuxhelp1.com
[root@linuxhelp1 Downloads]# cd /var/www/
Move all the files from the public_html directory to the newly created directory.
[root@linuxhelp1 www]# mv geeklog-2.1.1/public_html/* /var/www/html/linuxhelp1.com
Use the following command to change ownership for the directory.
[root@linuxhelp1 www]# chown -R apache:apache /var/www/html/linuxhelp1.com
Now it is essential to configure Apache VirtualHost. Create a conf file as follows.
[root@linuxhelp1 www]# vim /etc/httpd/conf.d/vhosts.conf
Add the following line to the conf file
IncludeOptional vhosts.d/*.conf
Create a vhosts.d directory as follows.
[root@linuxhelp1 www]# mkdir /etc/httpd/vhosts.d
Now create a configuration file for your website by using the following file.
[root@linuxhelp1 www]# vim /etc/httpd/vhosts.d/linuxhelp1.com.conf
Add the following lines to the newly created conf file.
< VirtualHost 192.168.5.238:80>
ServerAdmin [email protected]
DocumentRoot " /var/www/html/linxuhelp1.com"
ServerName linuxhelp1.com
ServerAlias www.yourwebsite.com
ErrorLog " /var/log/httpd/yourwebsite.com-error_log"
CustomLog " /var/log/httpd/yourwebsite.com-access_log"  combined

< Directory " /var/www/html/linuxhelp1.com/" >
DirectoryIndex index.html index.php
Options FollowSymLinks
AllowOverride All
Require all granted
< /Directory>
< /VirtualHost>
Once VirtualHost is configured, restart the Apache web server with the following command.
[root@linuxhelp1 www]# systemctl restart httpd
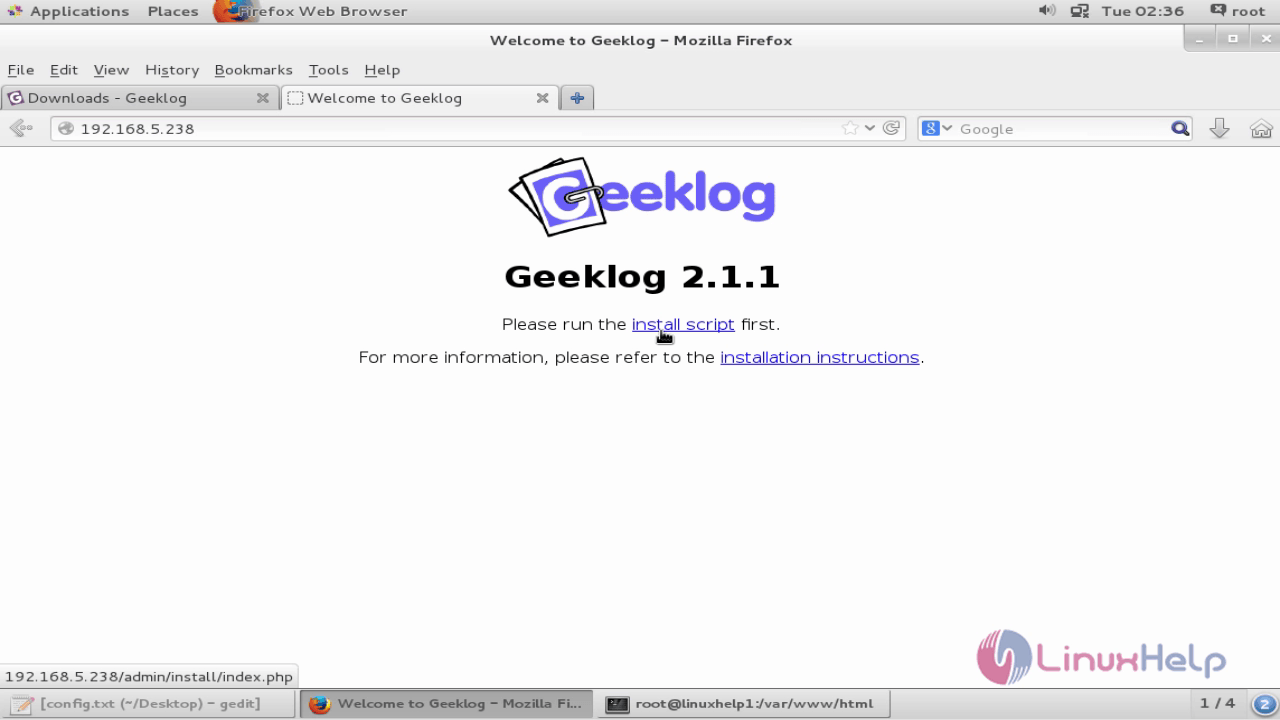
Now open the web browser and navigate to http://IP_address/">http://< IP_ADDRESS> /
Geeklog CMS installer page appears as follows. Click on the Install Script option
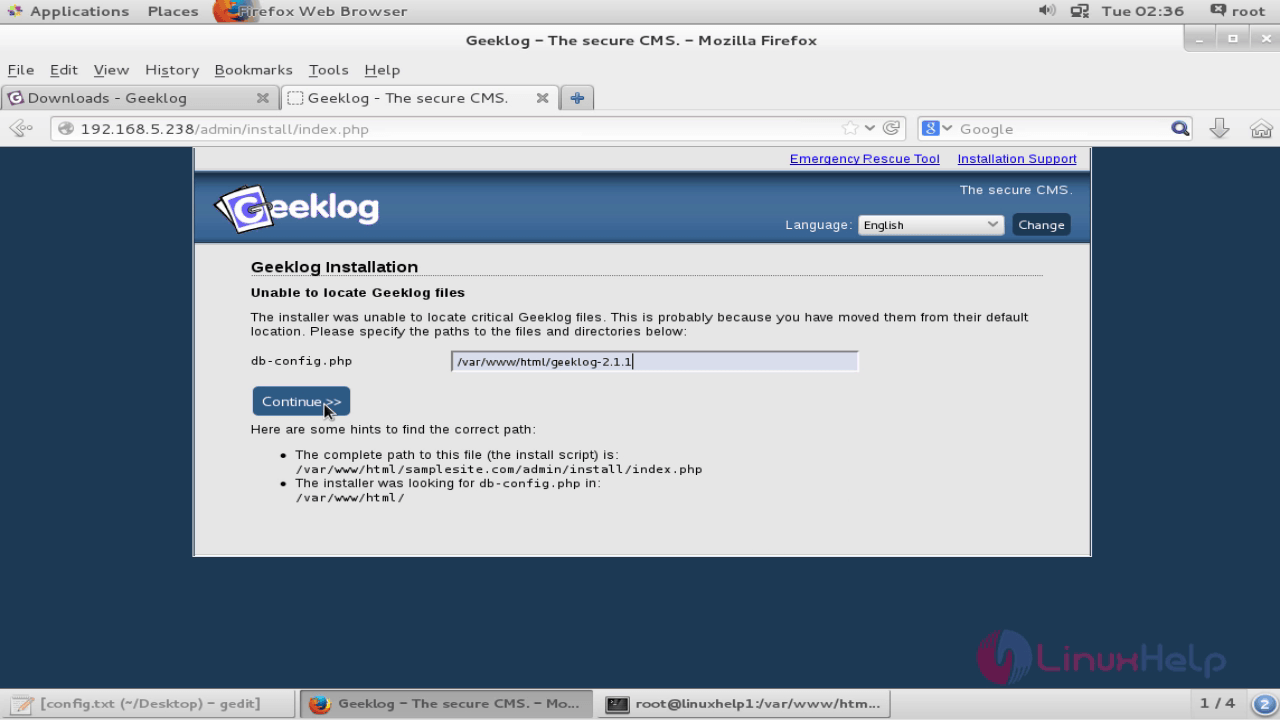
In the terminal make the following changes. Copy the directory generated by the pwd command.
[root@linuxhelp1 html]# ls -l
total 8
drwxr-xr-x 10 3002 users 4096 Dec 9 2015 geeklog-2.1.1
drwxr-xr-x 17 apache apache 4096 Nov 15 02:27 linuxhelp1.com
[root@linuxhelp1 html]# cd geeklog-2.1.1/
[root@linuxhelp1 geeklog-2.1.1]# ls -l
total 28
drwxrwxr-x 2 3002 users 19 Dec 9 2015 backups
drwxrwxr-x 4 3002 users 55 Dec 9 2015 data
-rw-r--r-- 1 3002 users 505 Dec 9 2015 db-config.php
-rwxr-xr-x 1 3002 users 509 Dec 9 2015 emailgeeklogstories
-rw-r--r-- 1 3002 users 206 Dec 9 2015 INSTALL
drwxr-xr-x 2 3002 users 4096 Dec 9 2015 language
drwxrwxr-x 2 3002 users 69 Dec 9 2015 logs
drwxr-xr-x 8 3002 users 92 Dec 9 2015 plugins
drwxr-xr-x 2 3002 users 6 Nov 15 02:03 public_html
-rw-r--r-- 1 3002 users 7285 Dec 9 2015 readme
drwxr-xr-x 3 3002 users 107 Dec 9 2015 sql
[root@linuxhelp1 geeklog-2.1.1]# pwd
/var/www/html/geeklog-2.1.1
Paste the directory name on the tab and click continue.
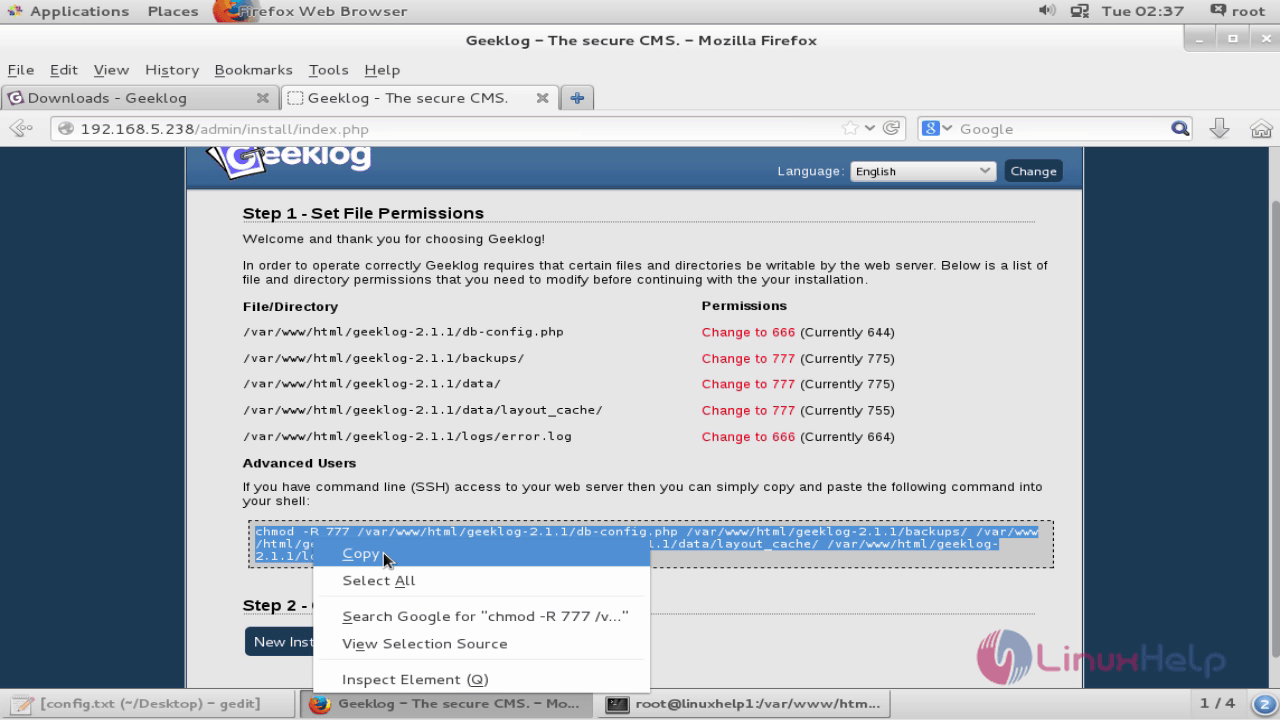
Change the permissions for the files.
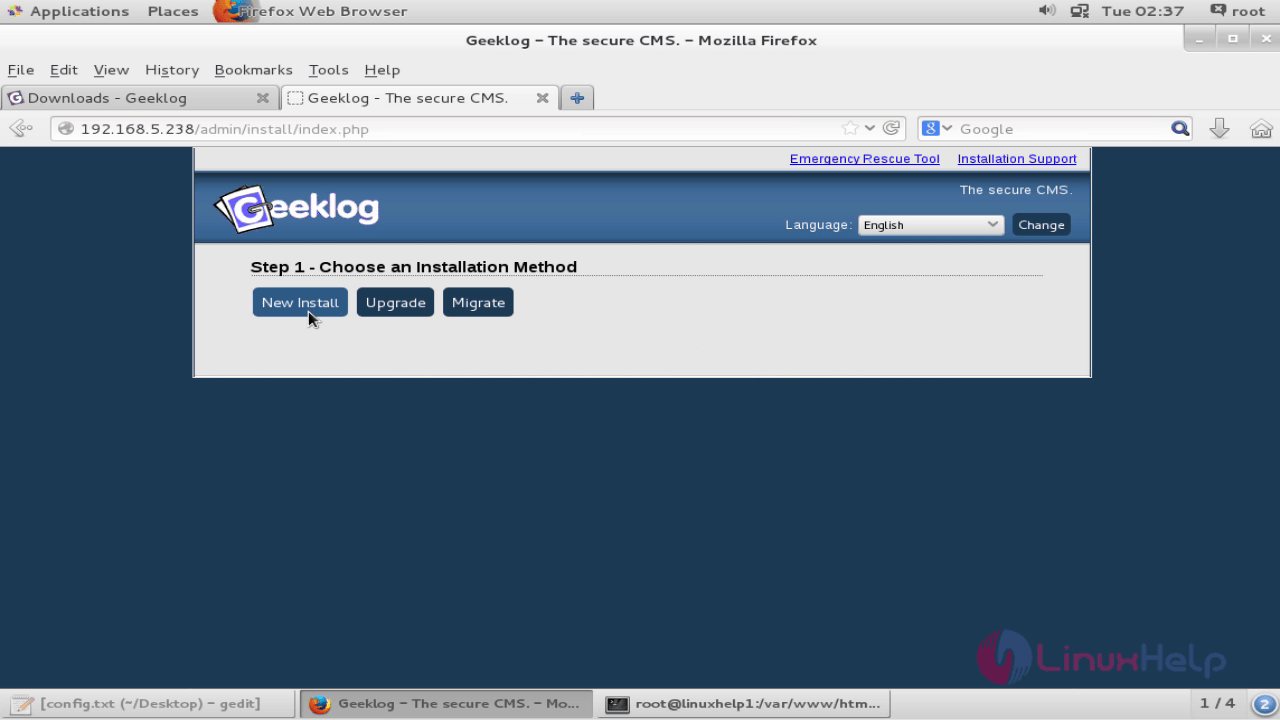
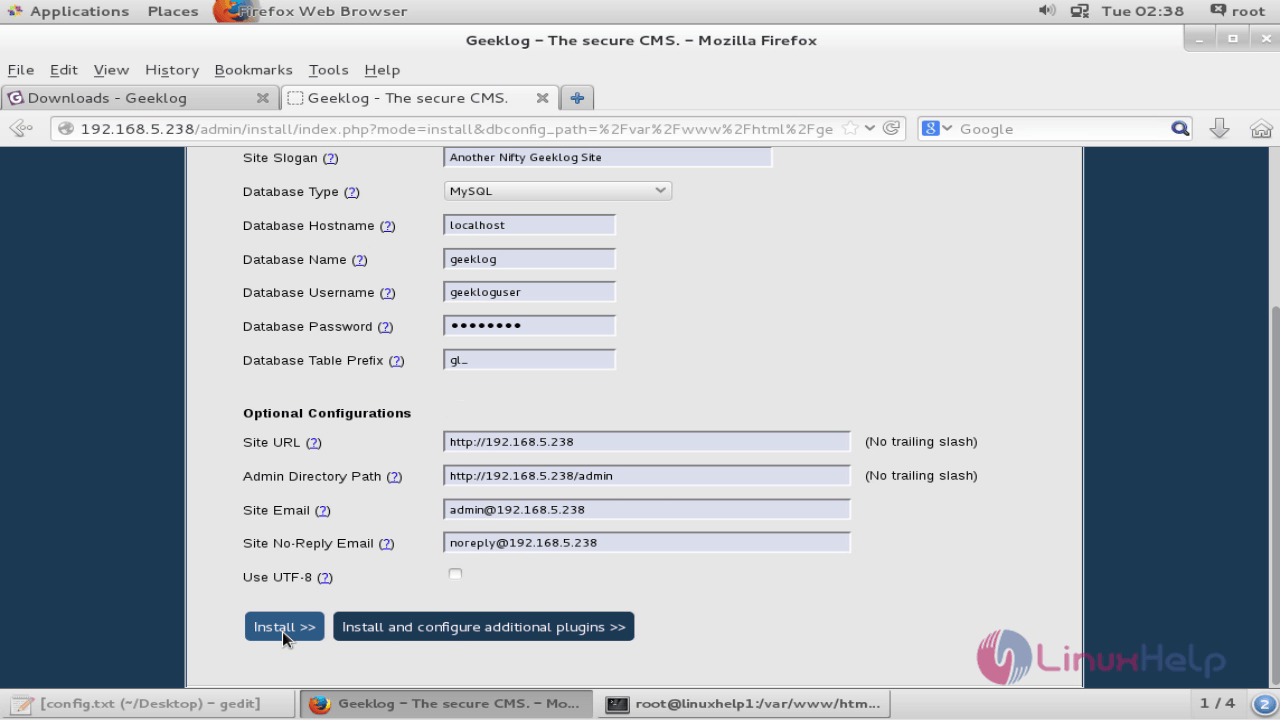
Now choose the installation method.
Make the necessary configurations and click install.
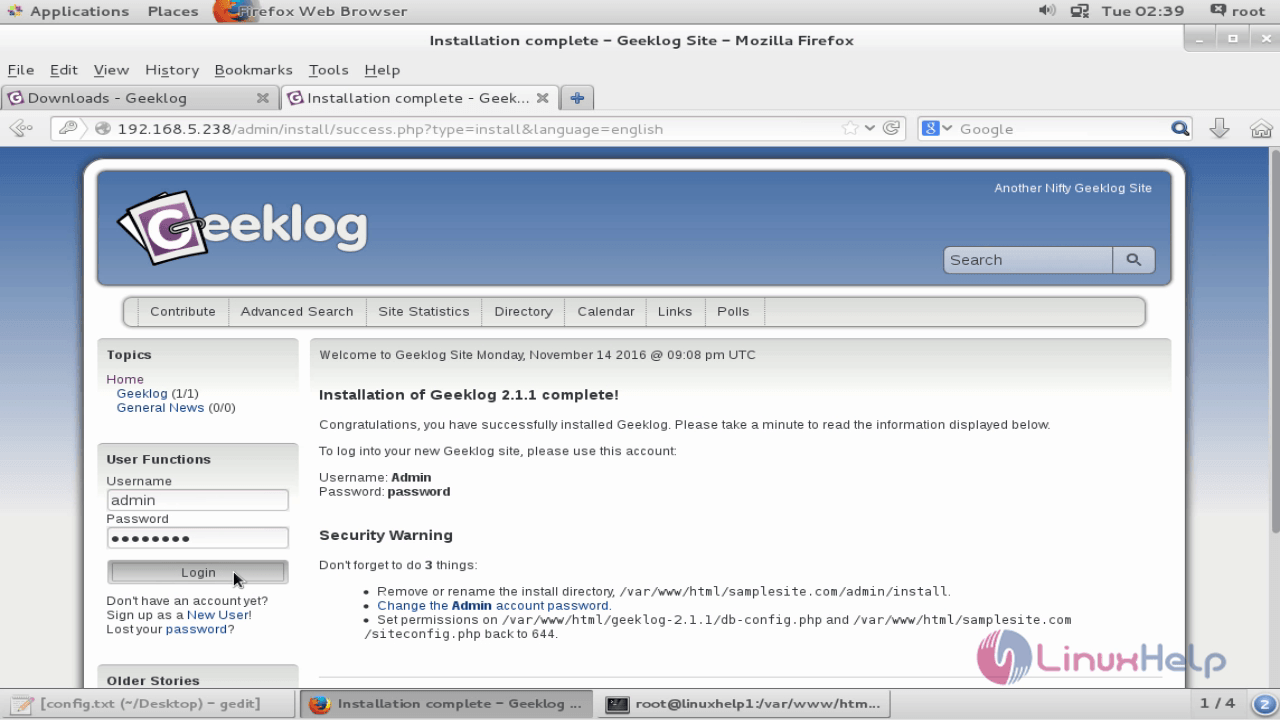
The installation is now complete. Login using the default credentials.
Comments ( 0 )
No comments available